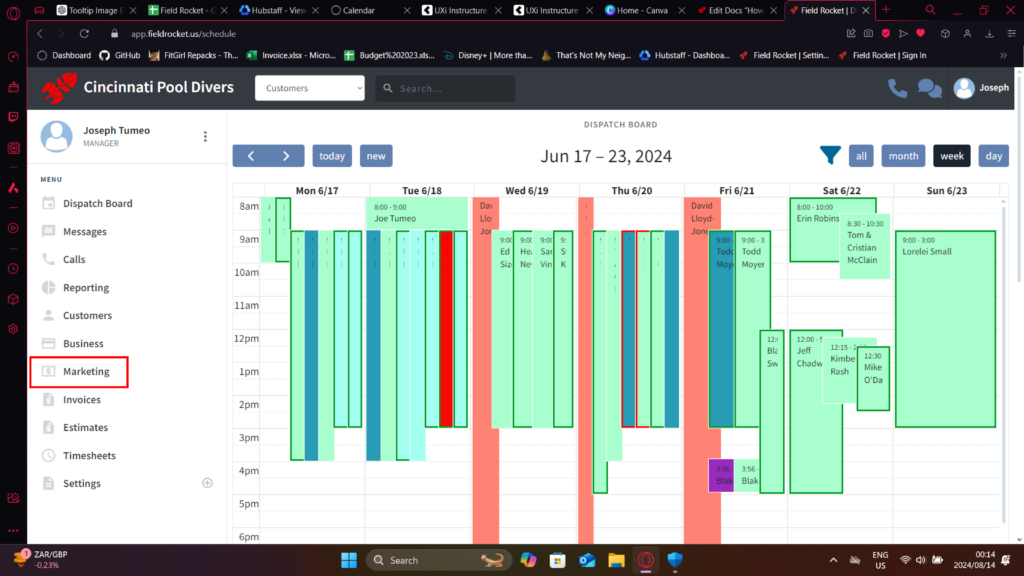
Starting from your Dispatch Board, click the “Marketing” button on the left-hand side.
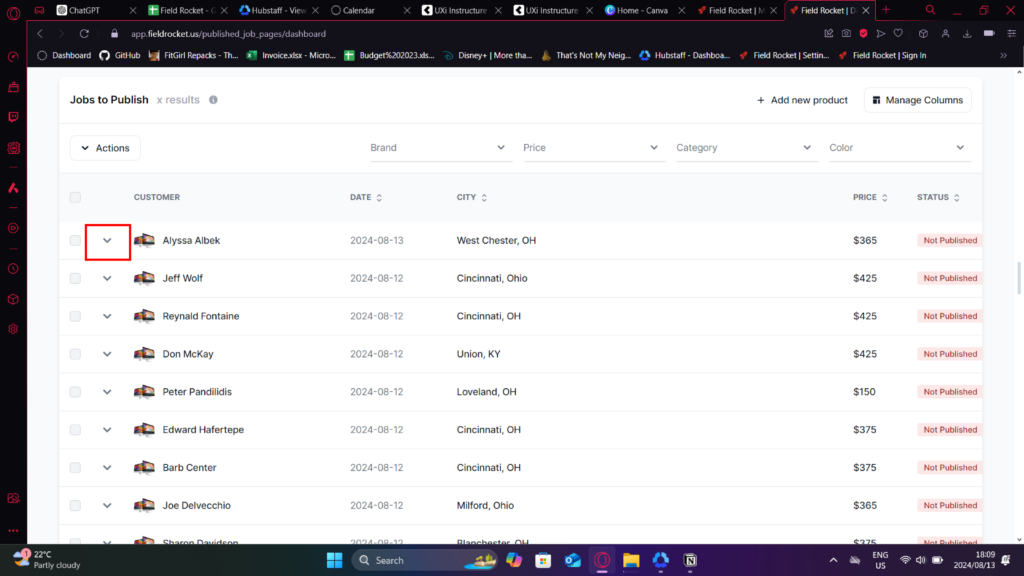
Scroll down to the “Jobs to Publish” section. It may take a while to load, but once it does, information on available jobs should appear. Click the dropdown button next to the job title to view the information and/or images associated with it.
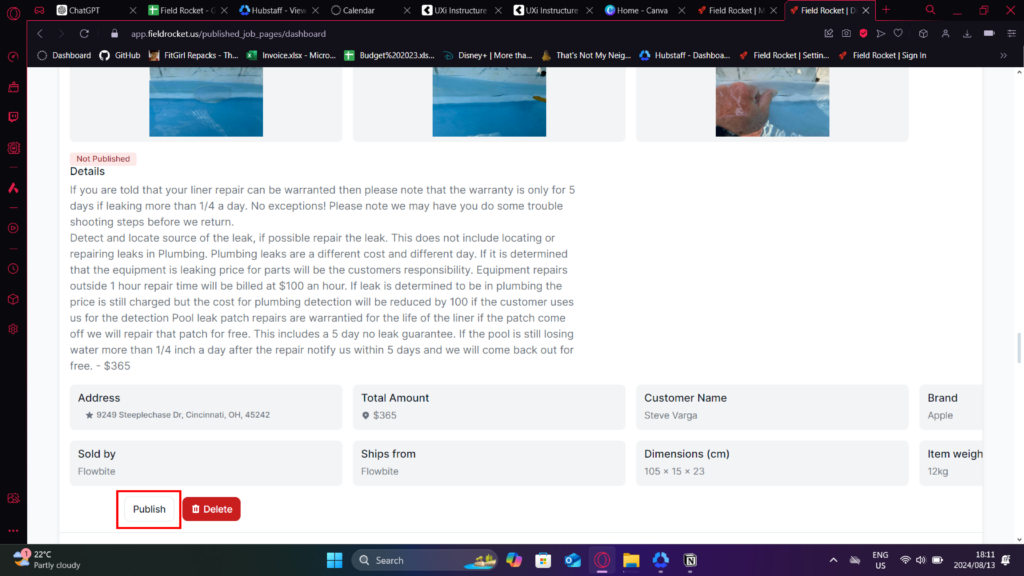
Select one of the recent jobs that has the status “Not Published.” Once selected, scroll down to the bottom of the information and click the “Publish” button.
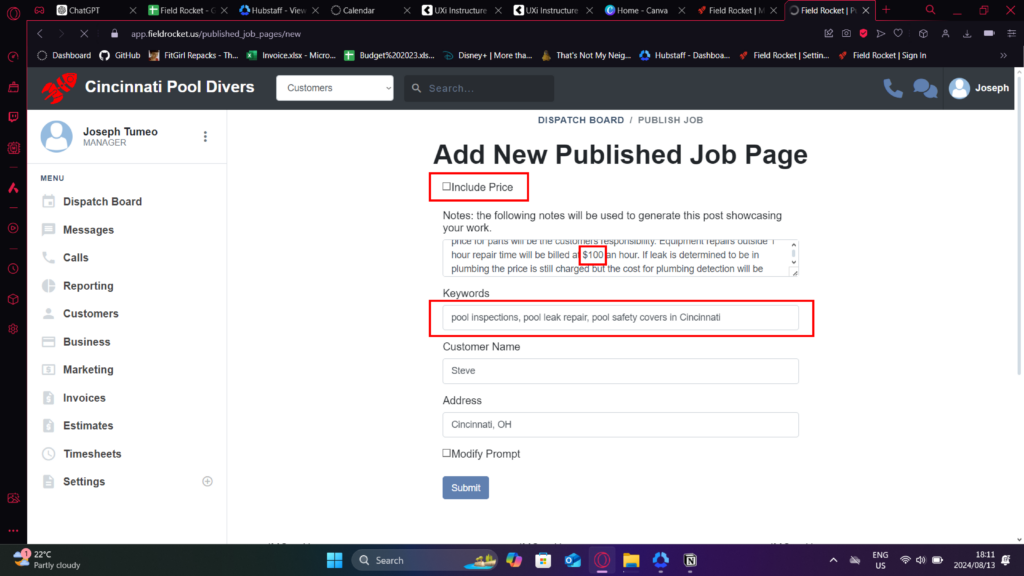
Review the job notes. Ensure that the “Price Included” option is unchecked. However, even if it is unchecked, prices may still appear in the job notes, so make sure to remove any prices manually. Choose relevant keywords for the job, and if necessary, add your own.
If images are included, check the boxes above the most relevant and suitable ones, such as a before-and-after shot.
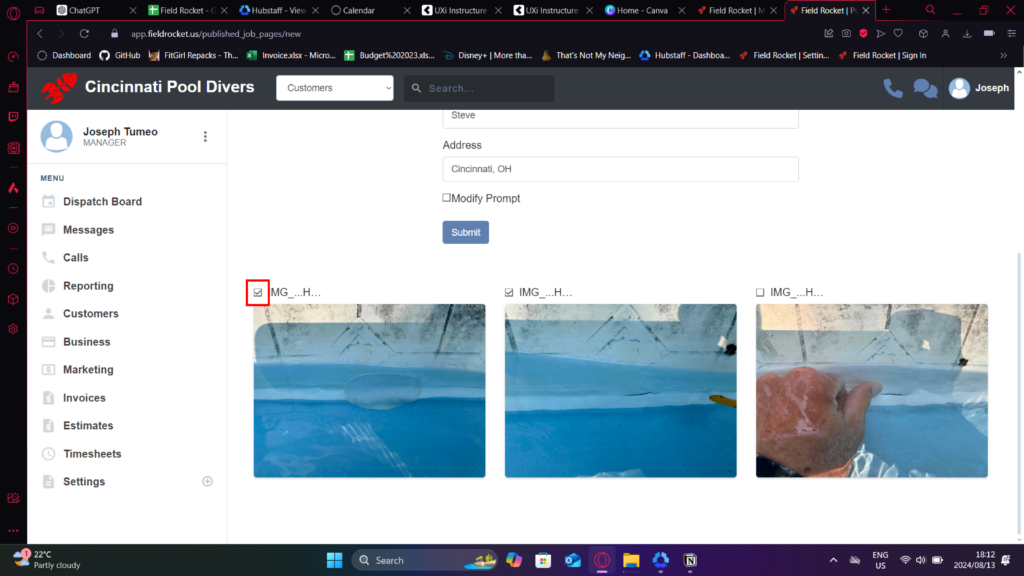
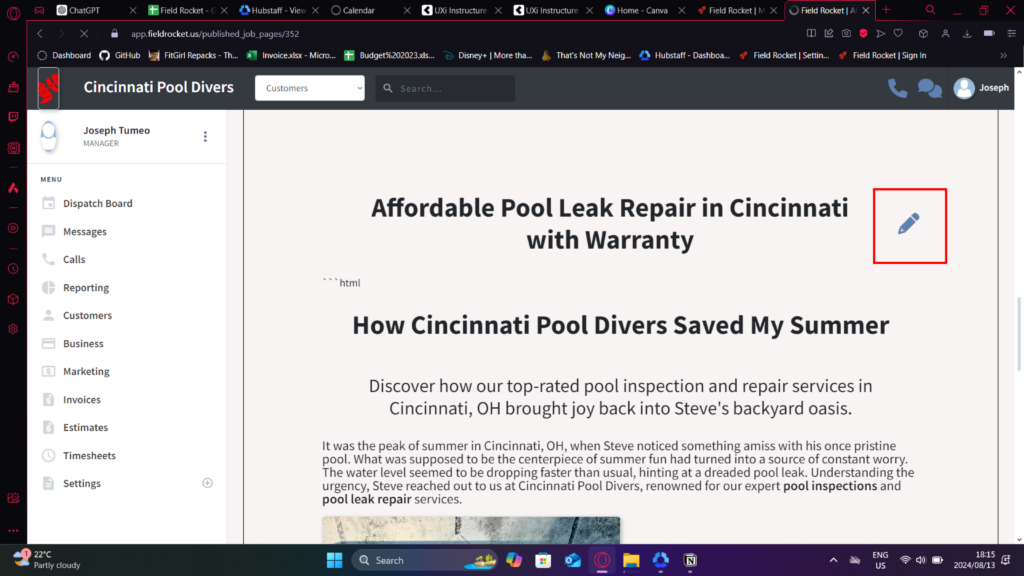
After reviewing everything, press the “Submit” button and wait for the next screen to load. Once loaded, scroll down to find your article. Click the button to edit the article:
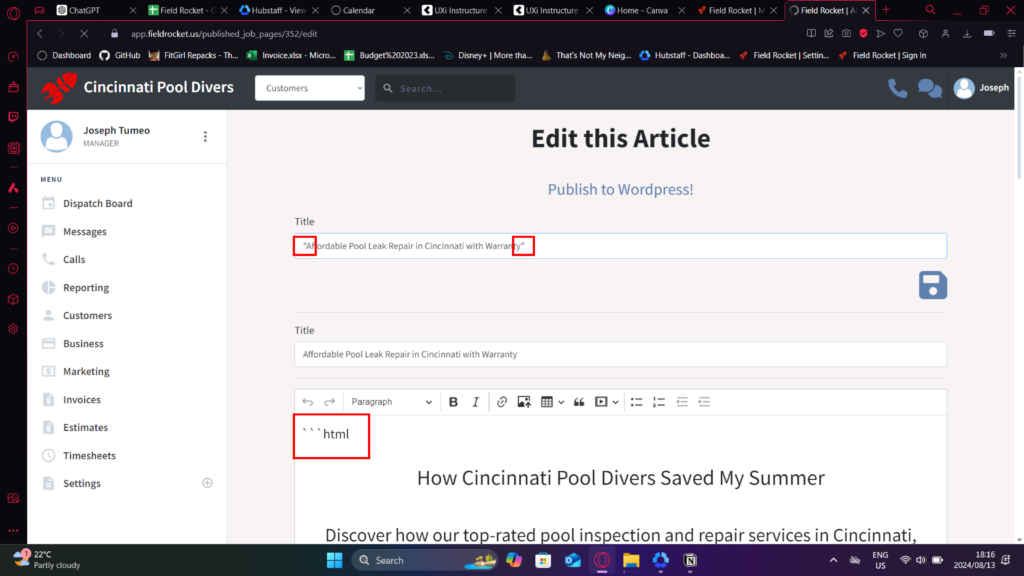
While editing, check the title and remove any quotation marks that may be around it. In the article body, remove any HTML tags at the top and bottom. If no images were included in the job, ensure that you remove any empty image links.
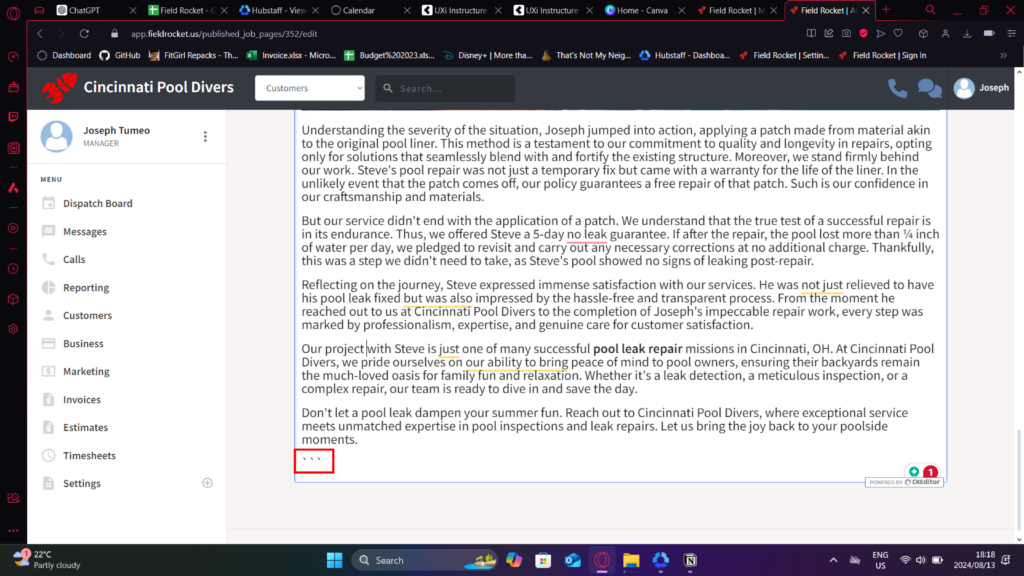
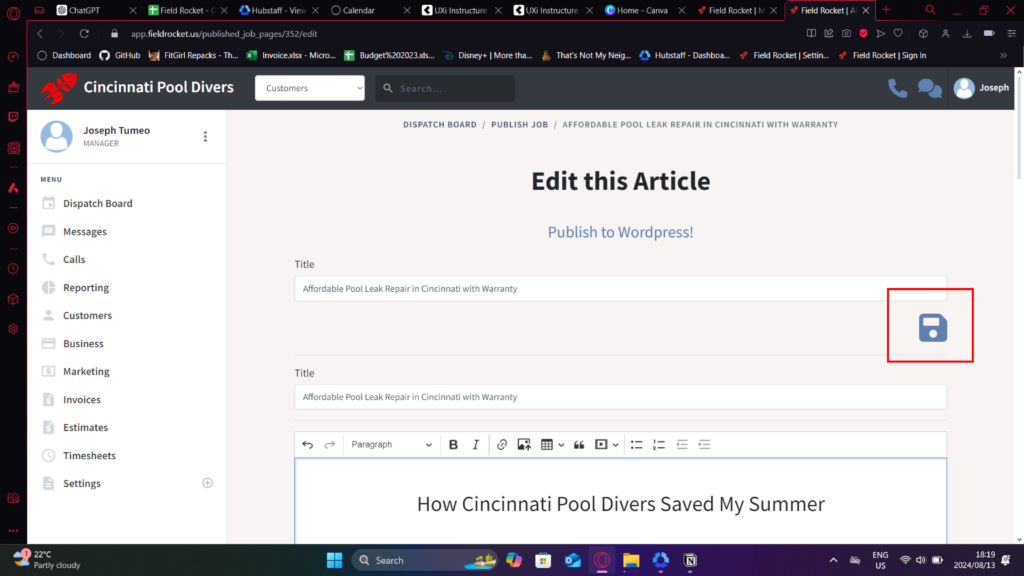
After reviewing and editing the article, press save:
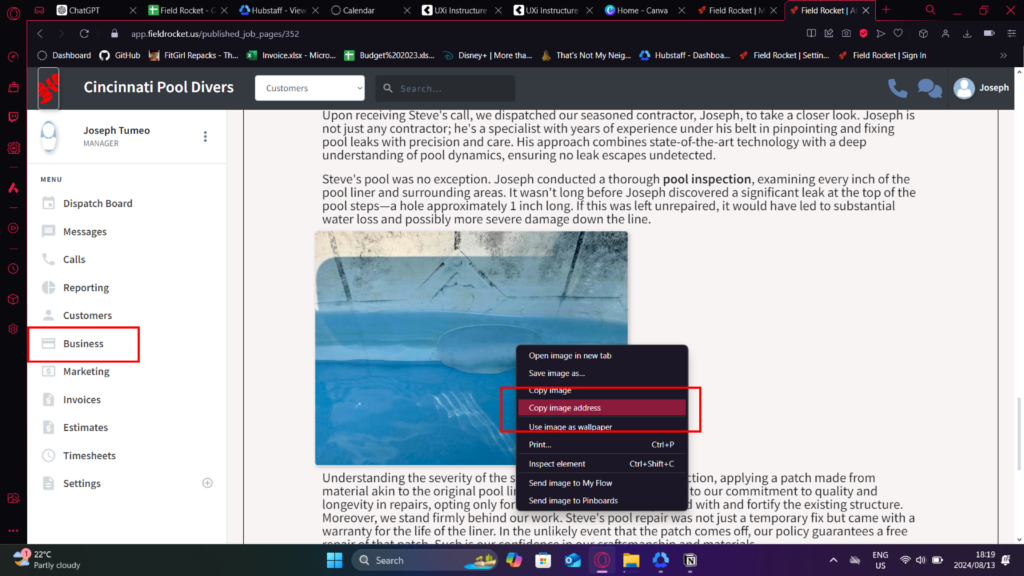
Right-click on an image in the article that would work best as the tooltip and copy the image address. If no images are available, right-click on the “Business” button on the left and open it in a new tab. Use the logo’s image address instead.
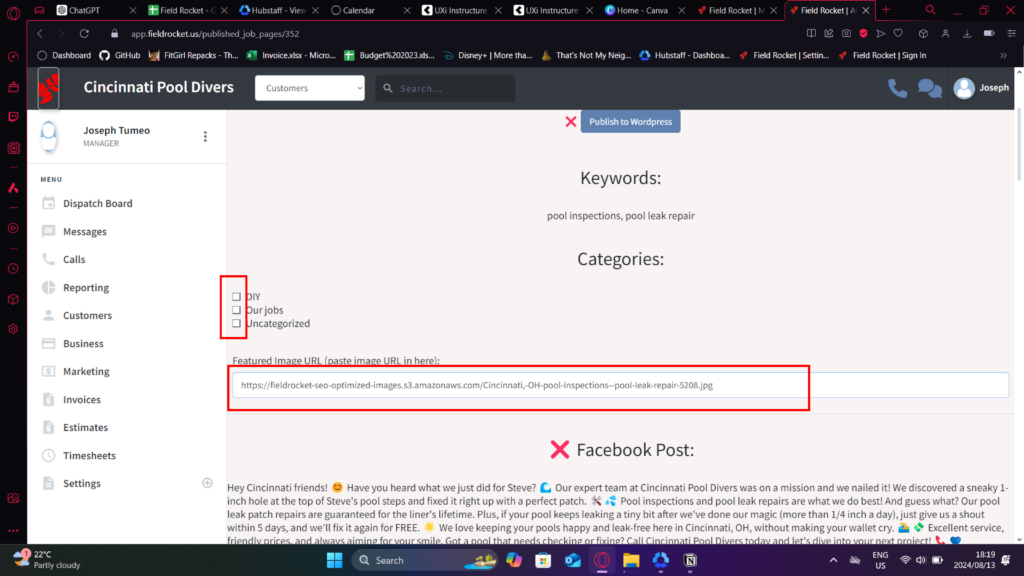
Scroll back up to the top and paste the image URL into the input box. Check the boxes for the categories that are most relevant to the job. Ensure you do this after editing the article, as editing will clear the category selections.
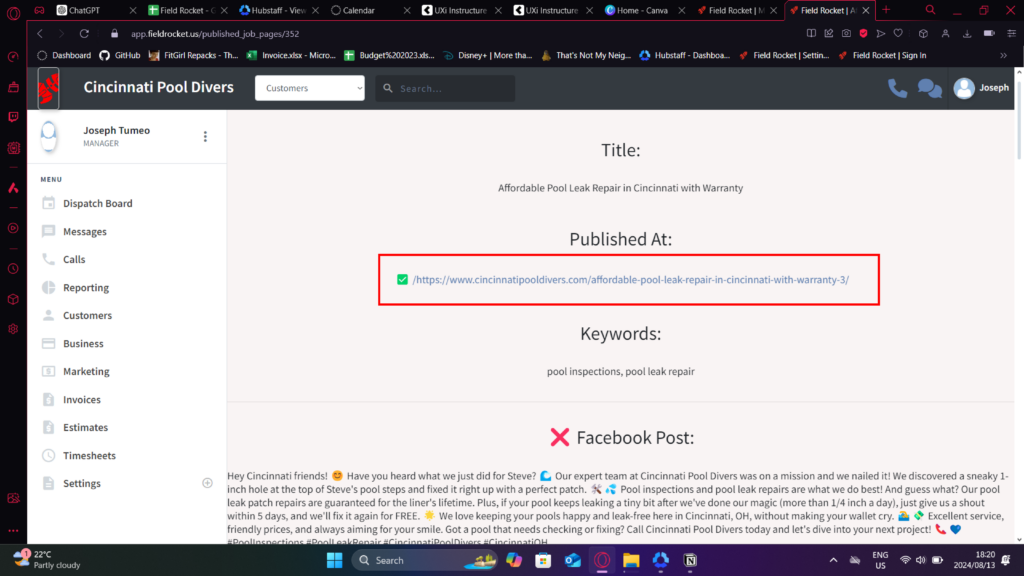
Finally, press “Publish to WordPress.” Once the process is complete, a link to the article will be displayed.


Leave a Reply