This guide demonstrates how to set up Field Rocket to capture inbound leads for a contracting business.
Start by opening the downloaded Field Rocket app.
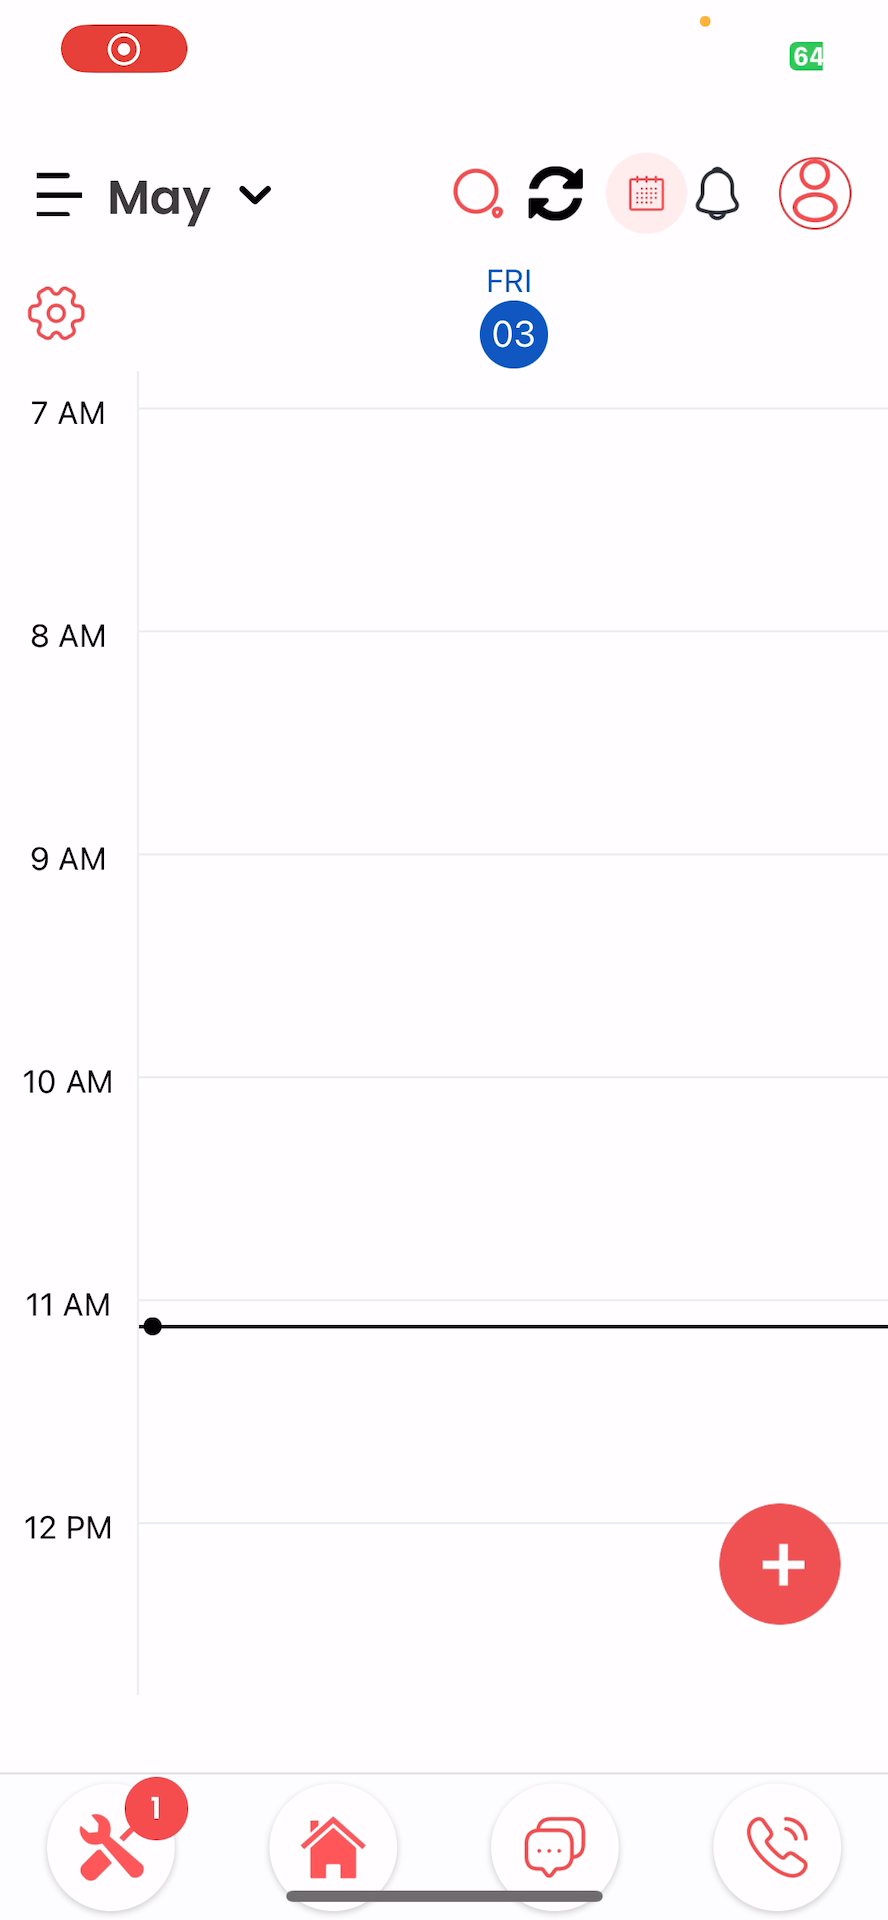
Step 1: Open the Field Rocket app.
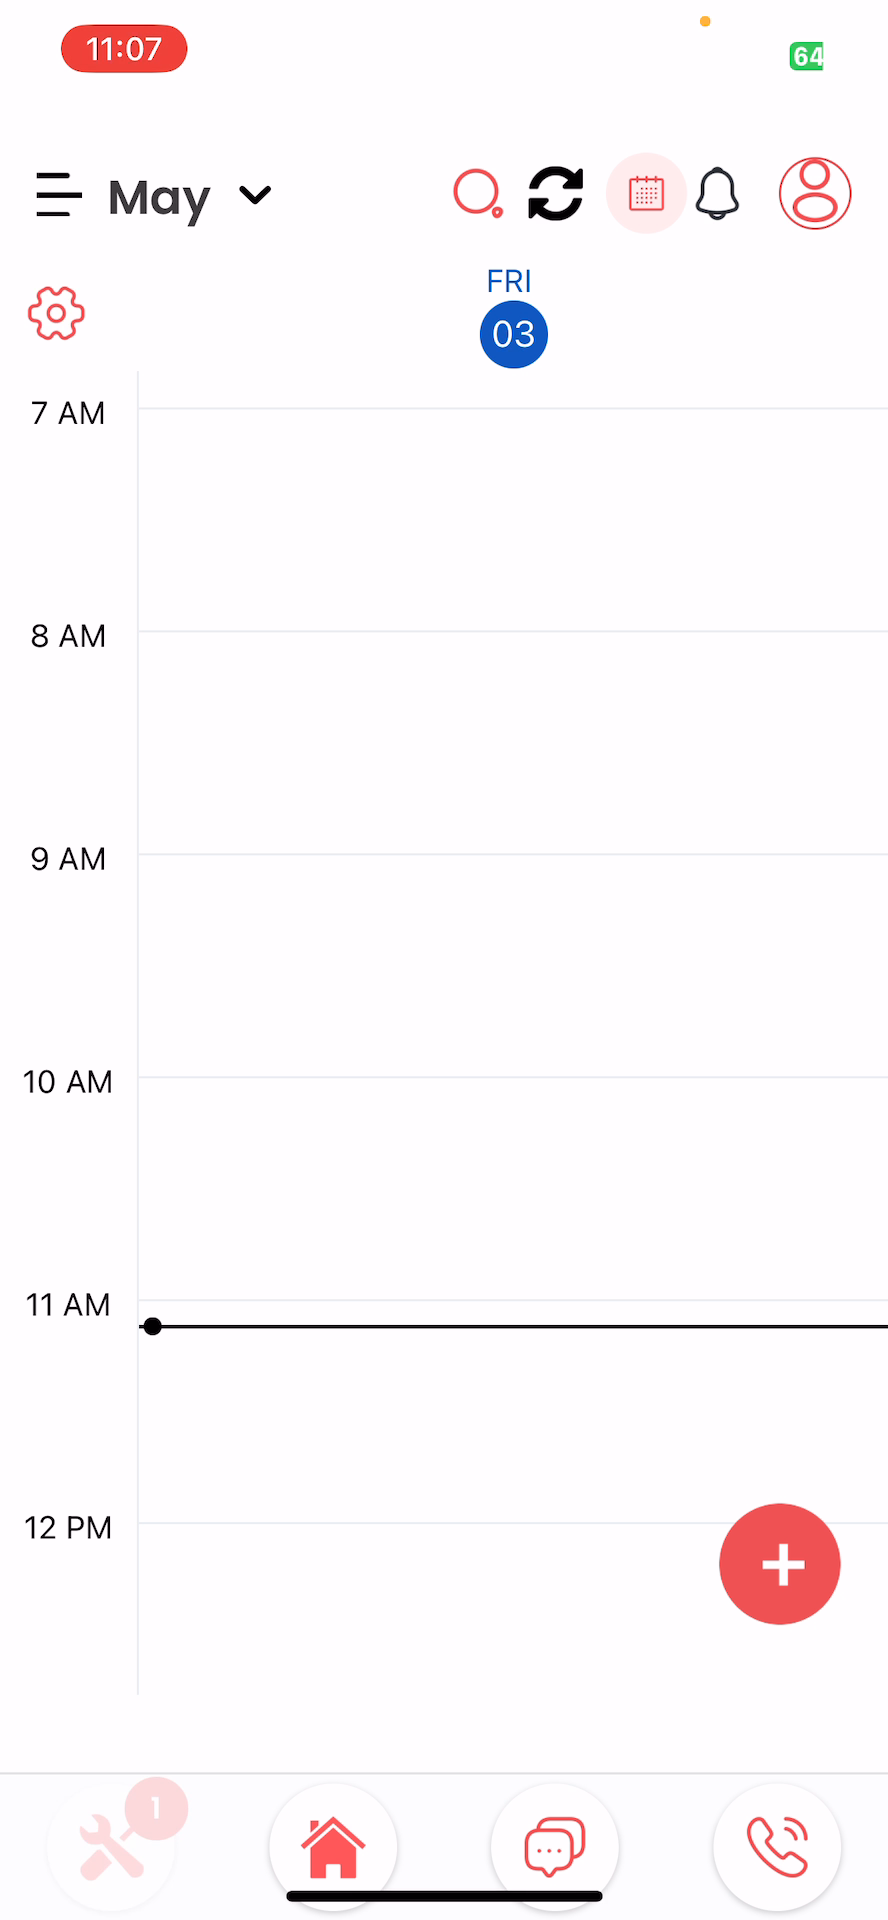
Step 2: Click on the wrench and screwdriver icon located at the bottom left of the screen.
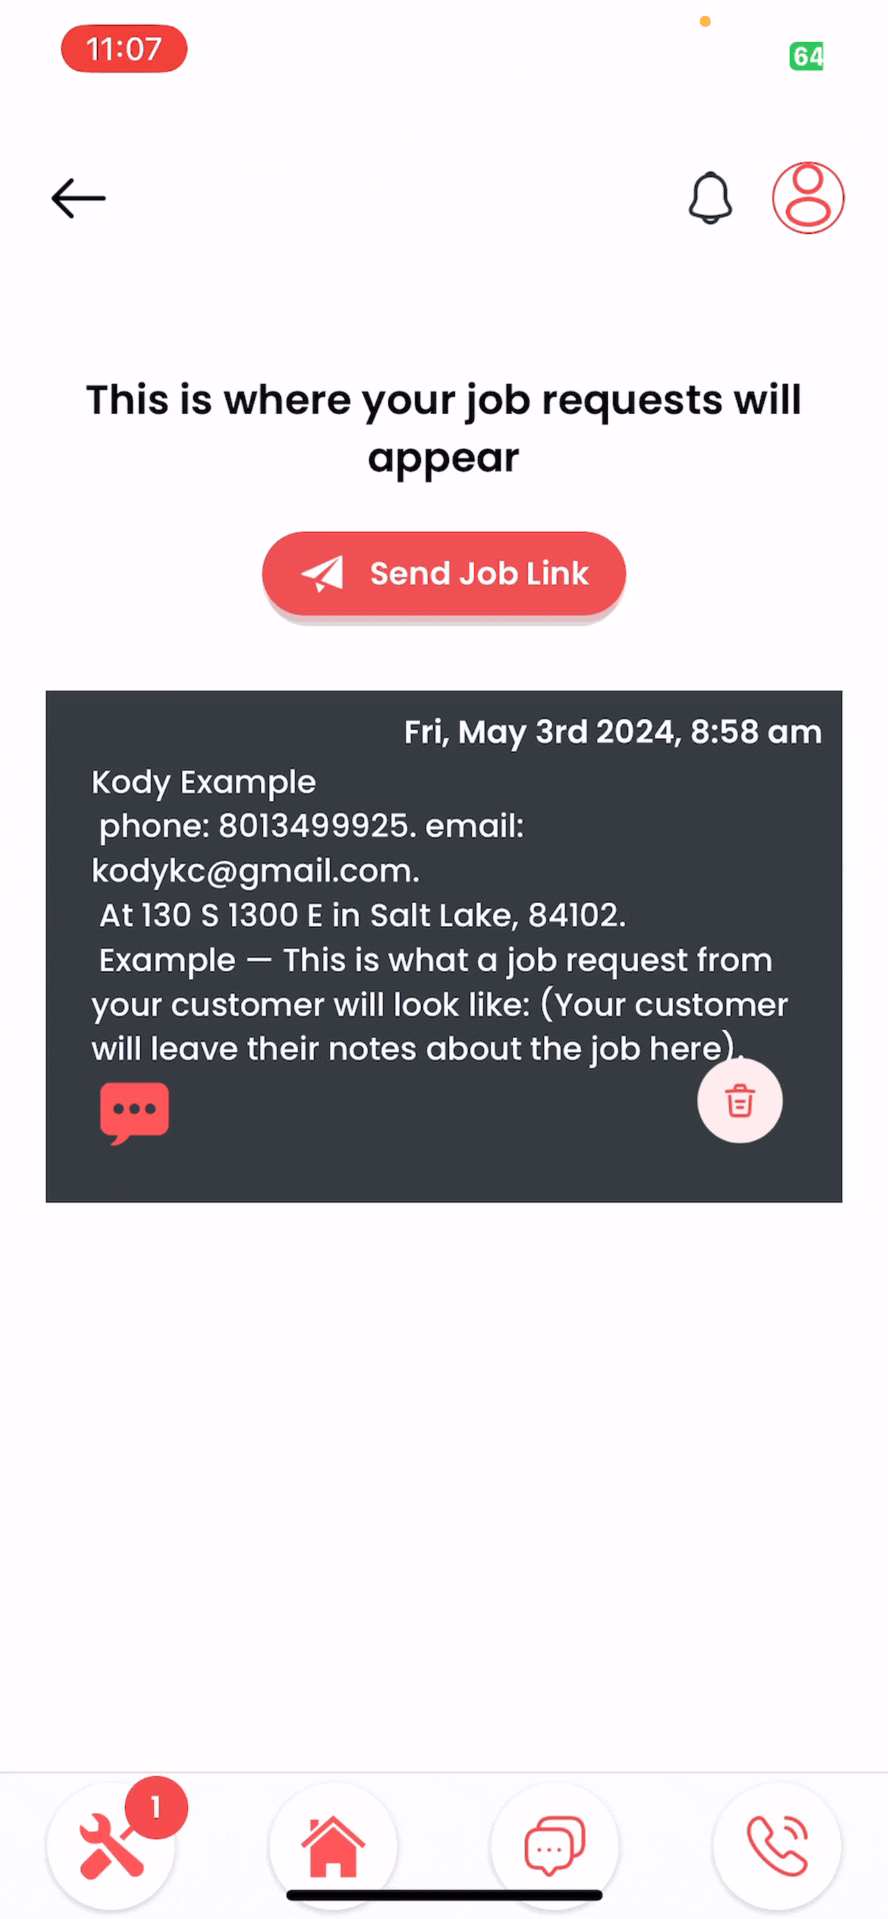
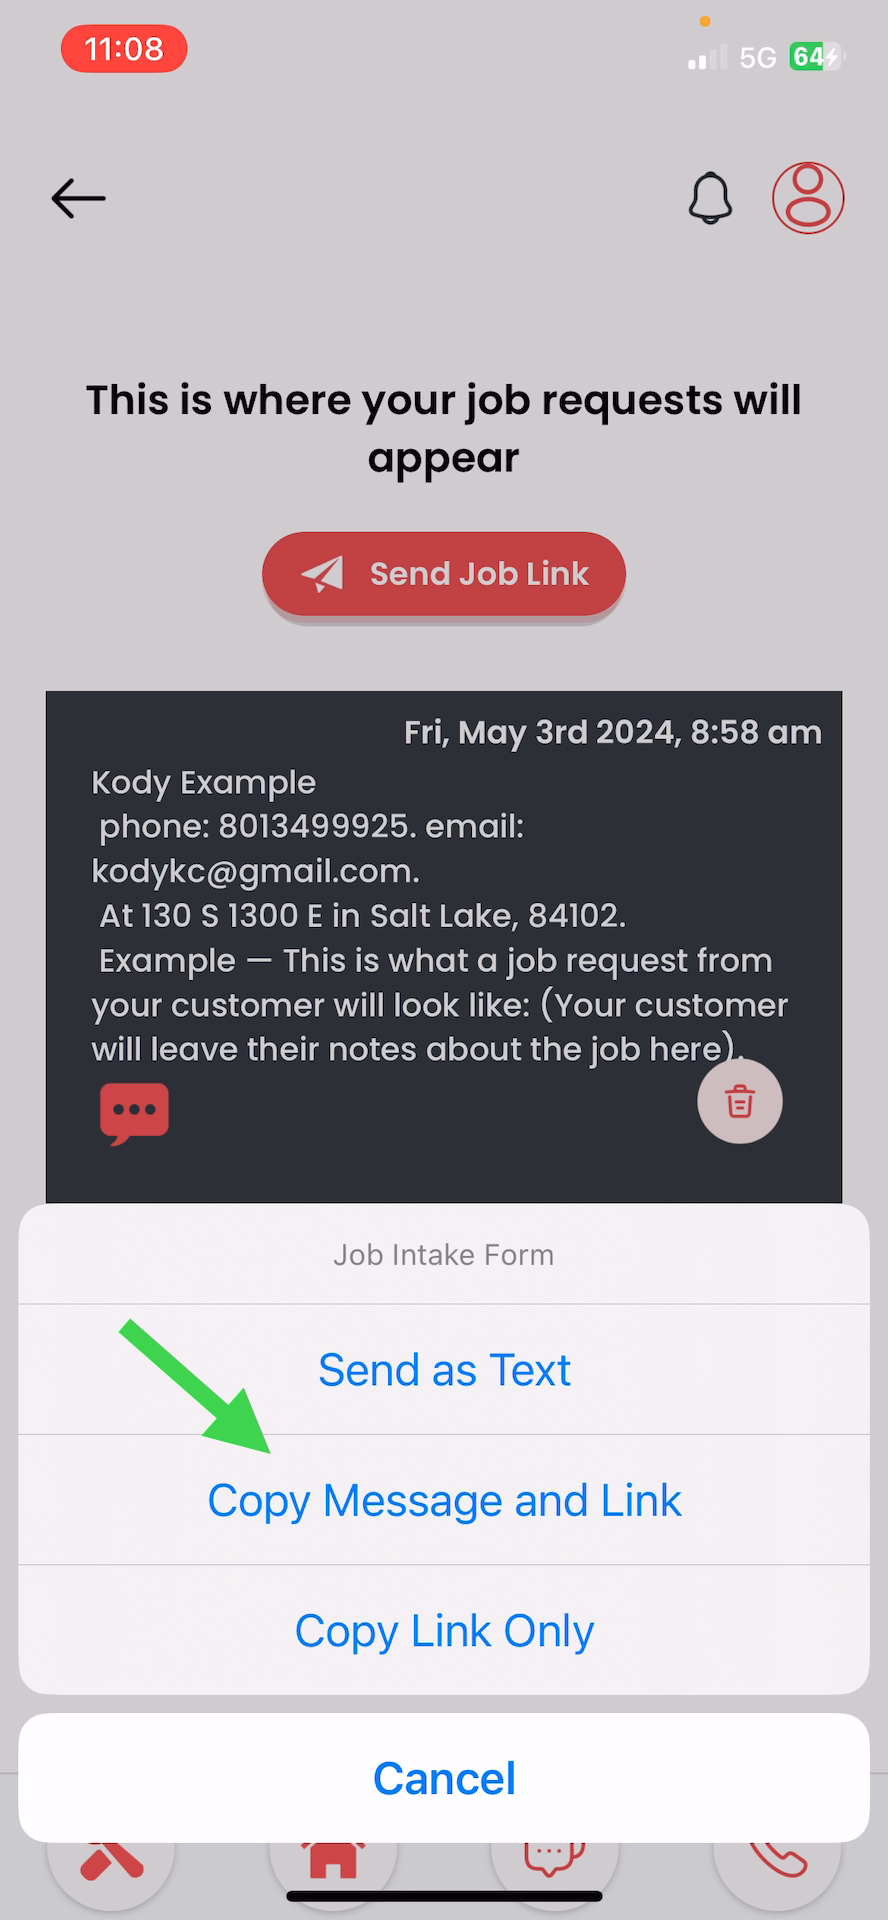
Step 3: Tap on the red send job link button in the middle of the screen, then click on “Copy Message and Link”
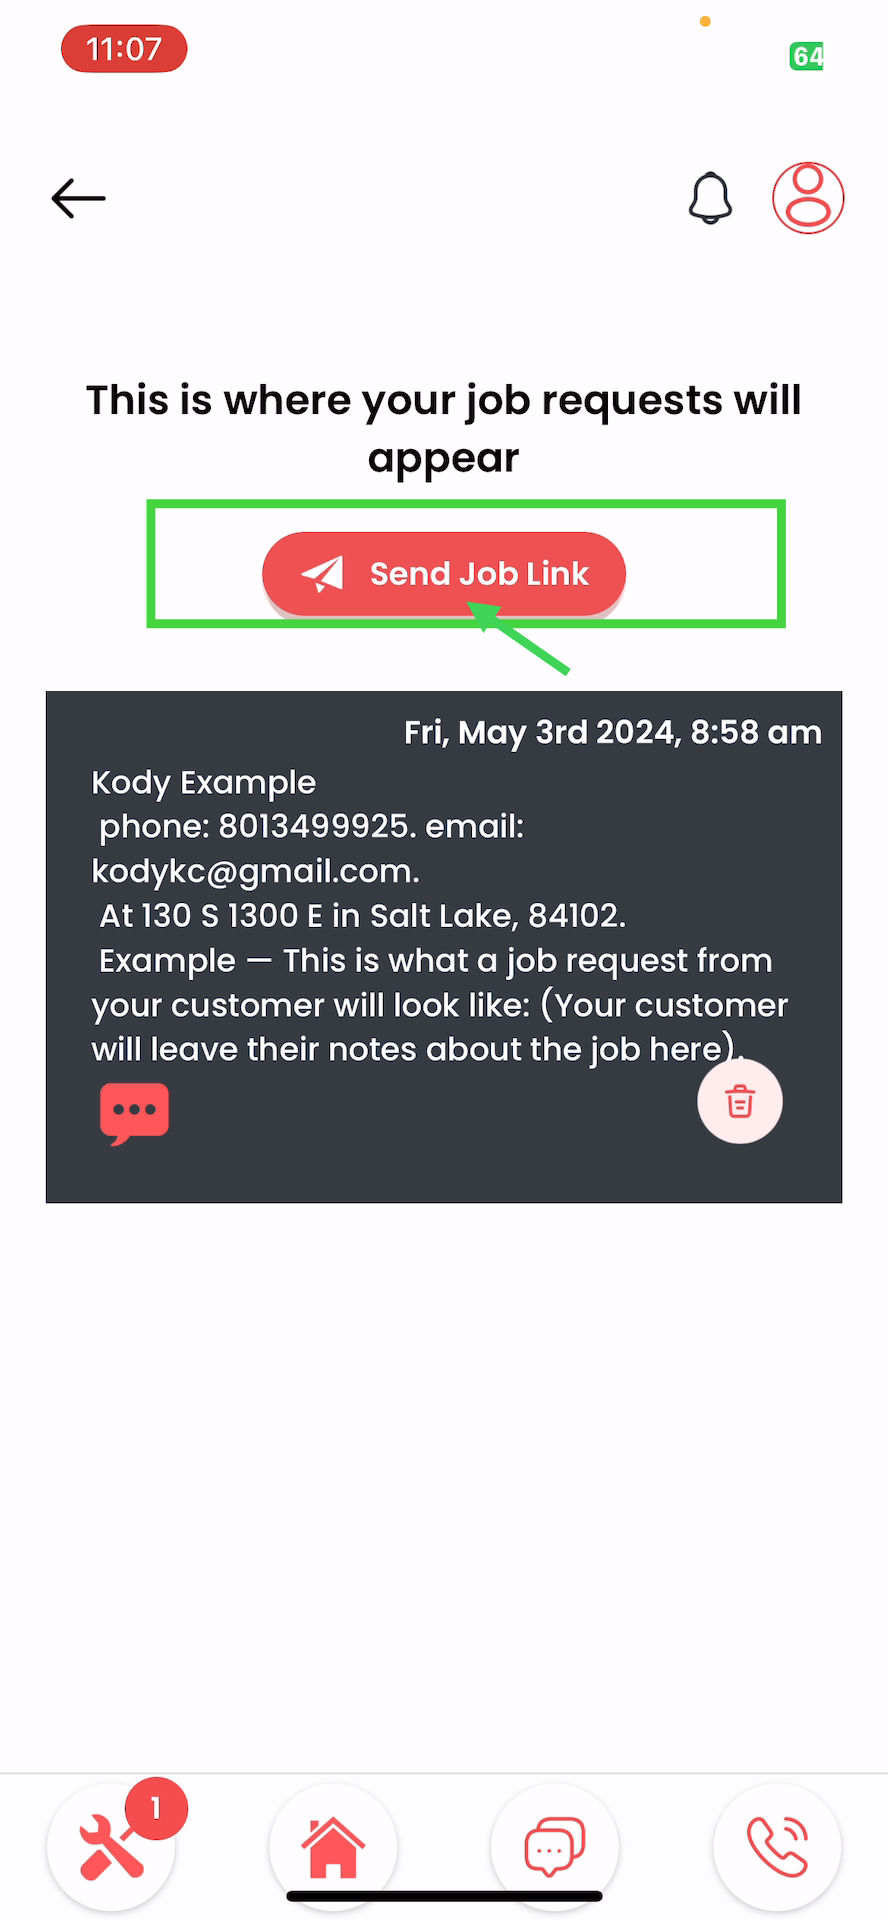
Step 4: From the menu that appears, select the second option, copy message and link.
Step 5: Close the Field Rocket app.
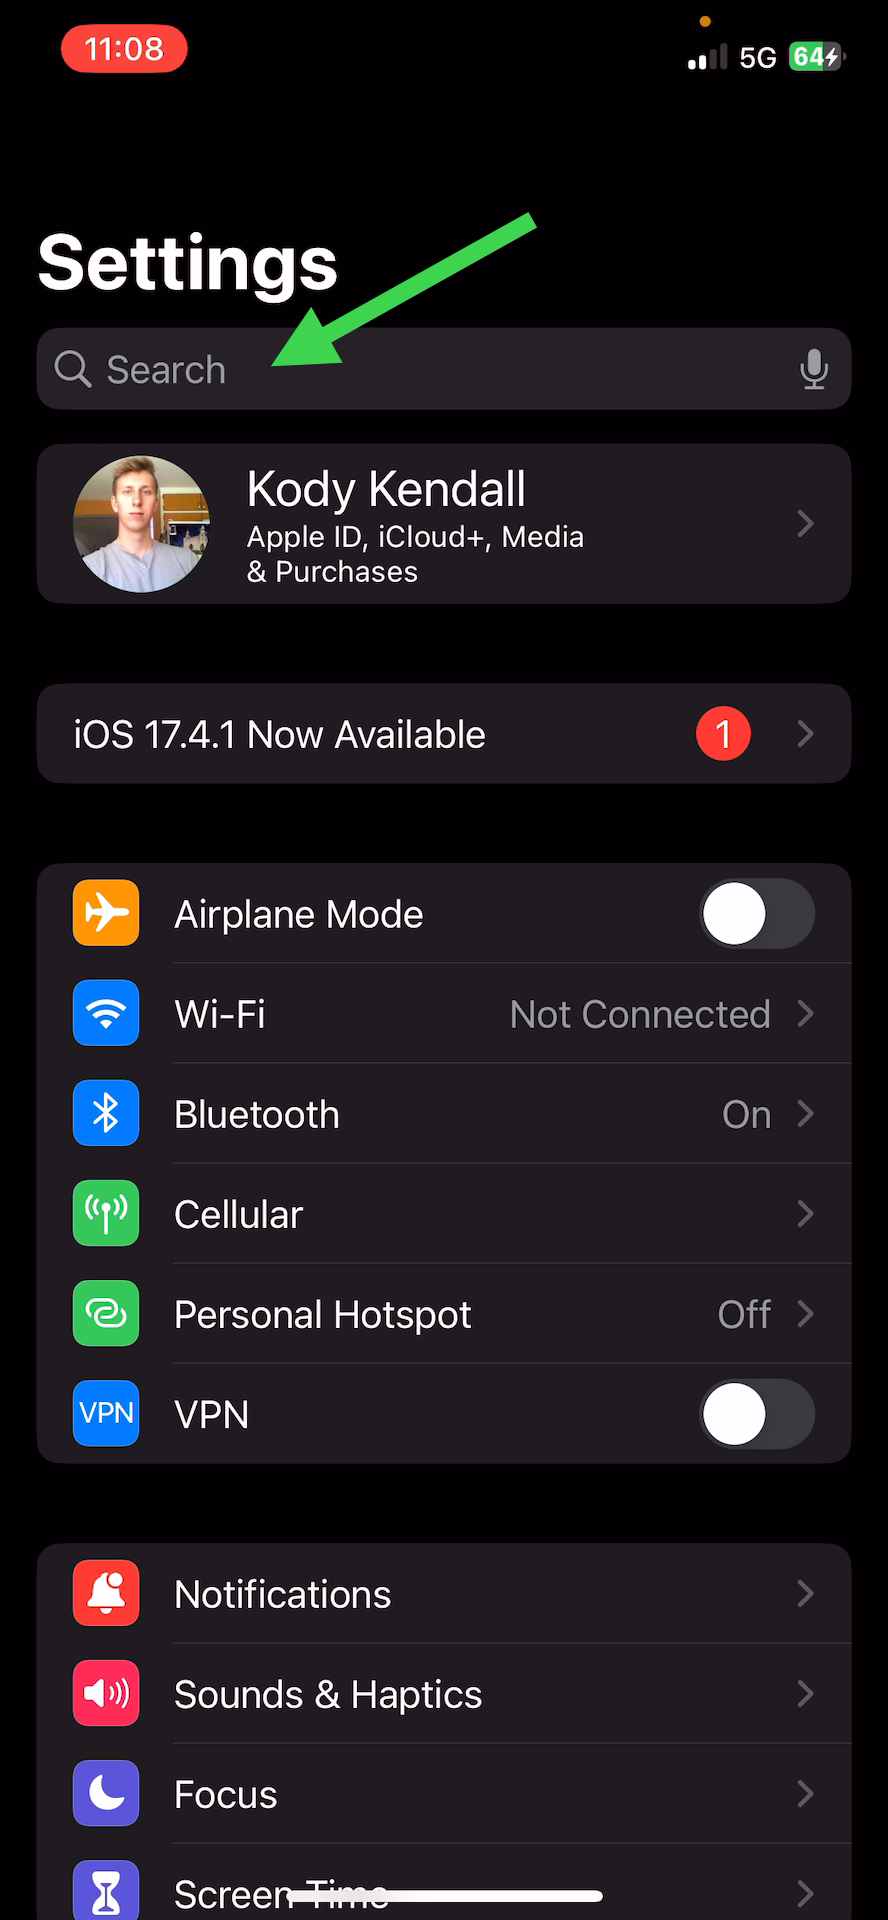
Step 6: Open your iPhone settings.
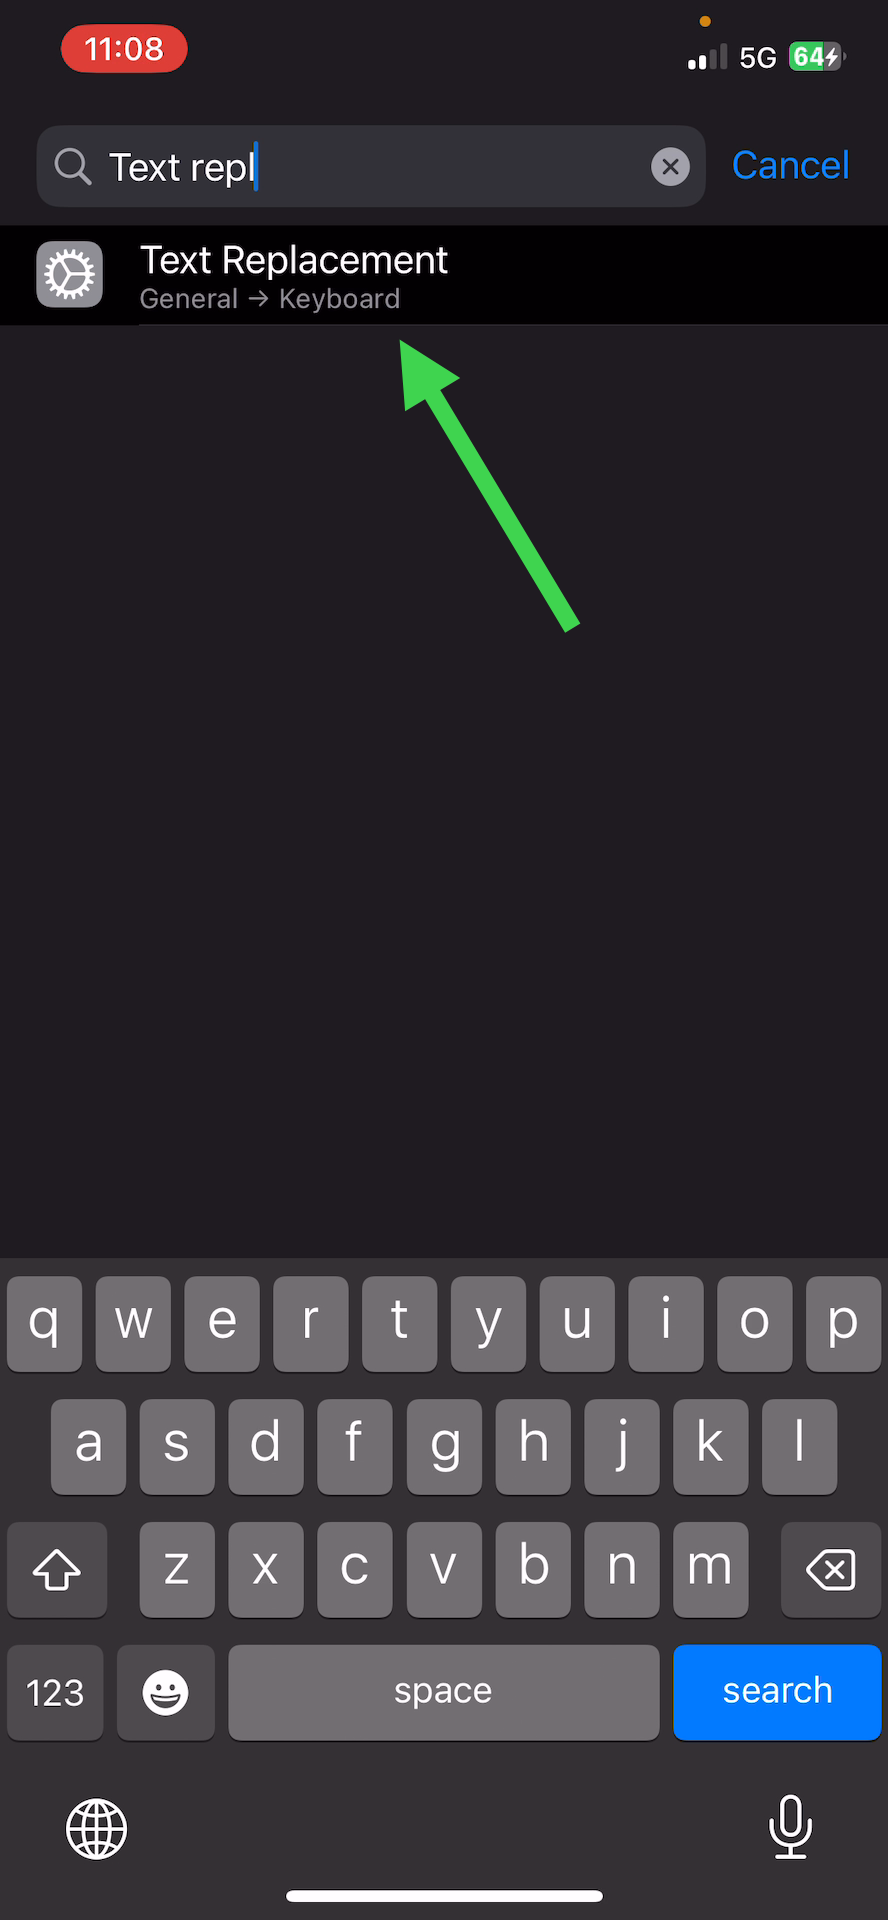
Step 7: Tap on the search bar at the top of the screen.
Step 8: Type in text replace in the search bar.
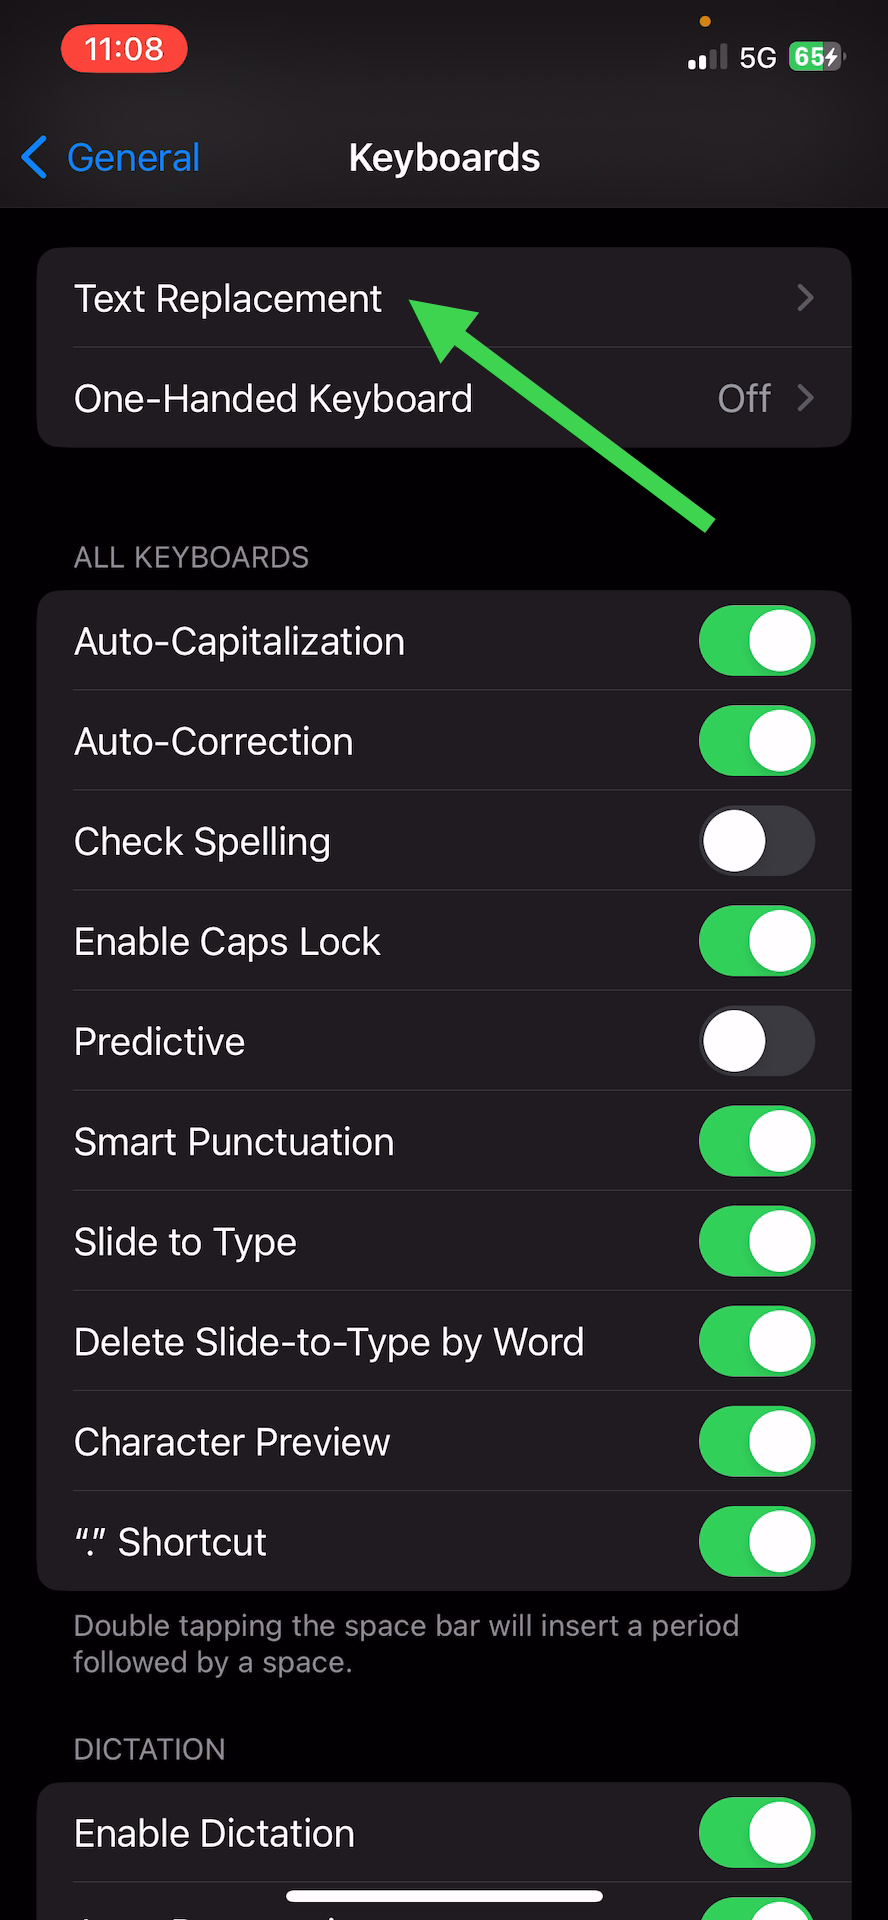
Step 9: Tap on the text replacement option that appears.
Step 10: Tap on the text replacement option again under the keyboards section.
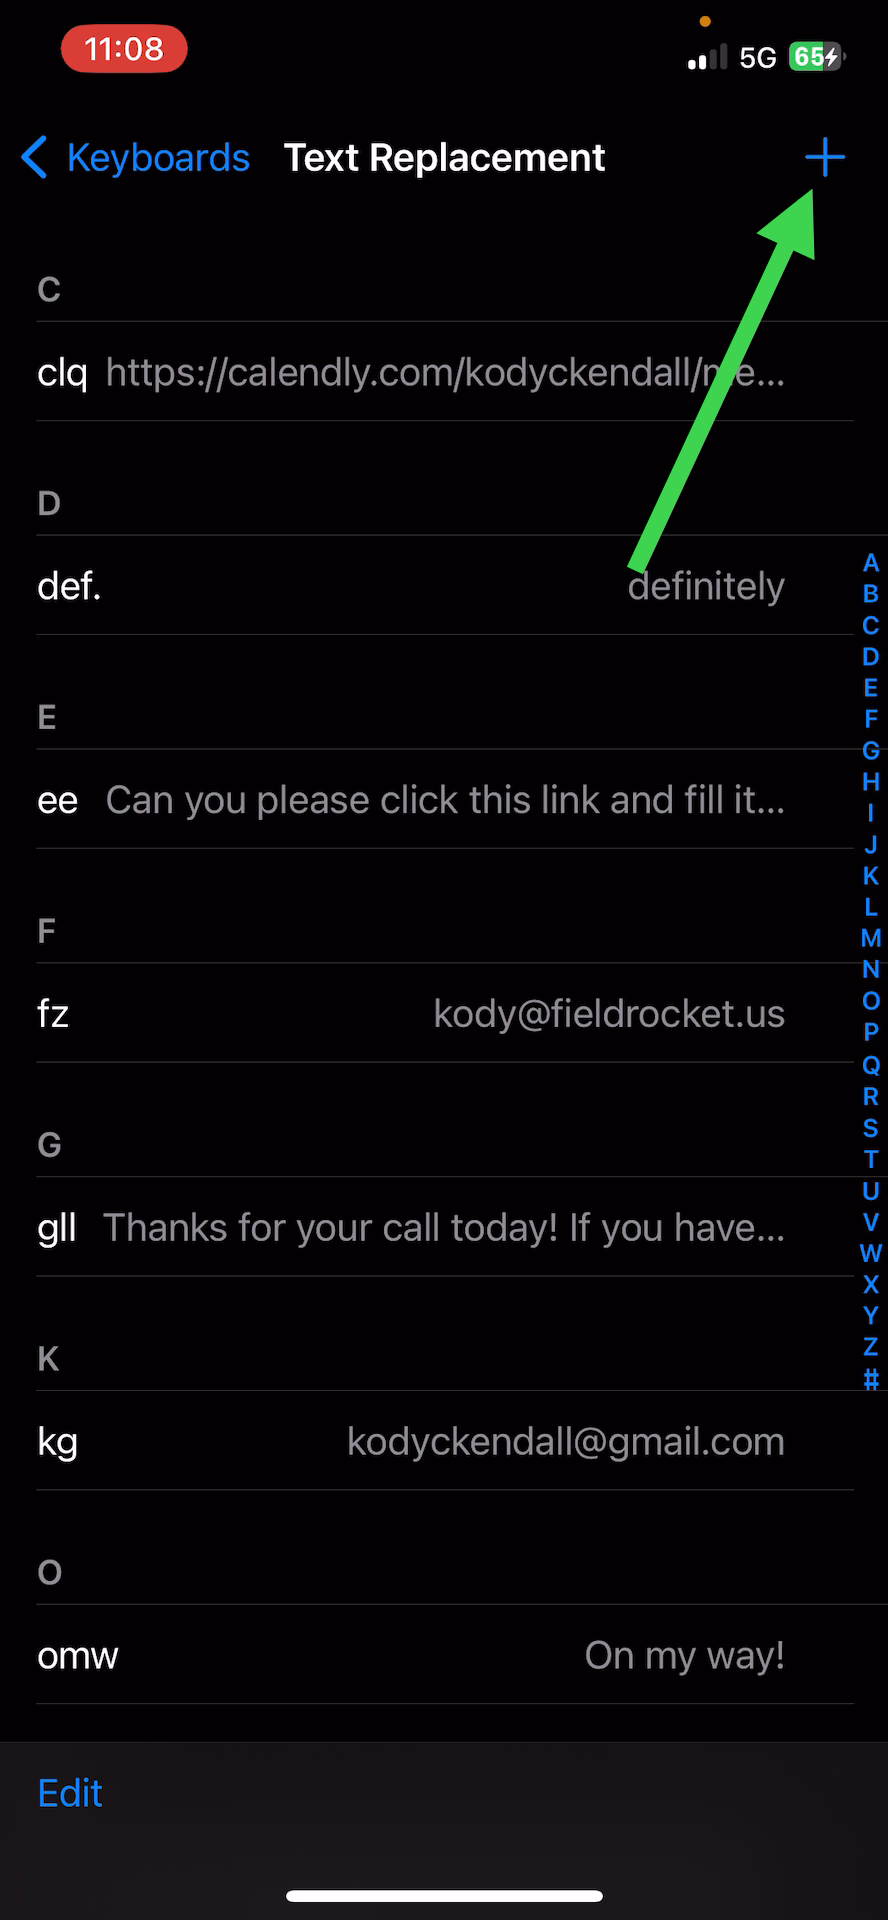
Step 11: Tap on the blue plus button located at the top right of the screen.
Step 12: Tap on the blinking blue cursor on the phrase.
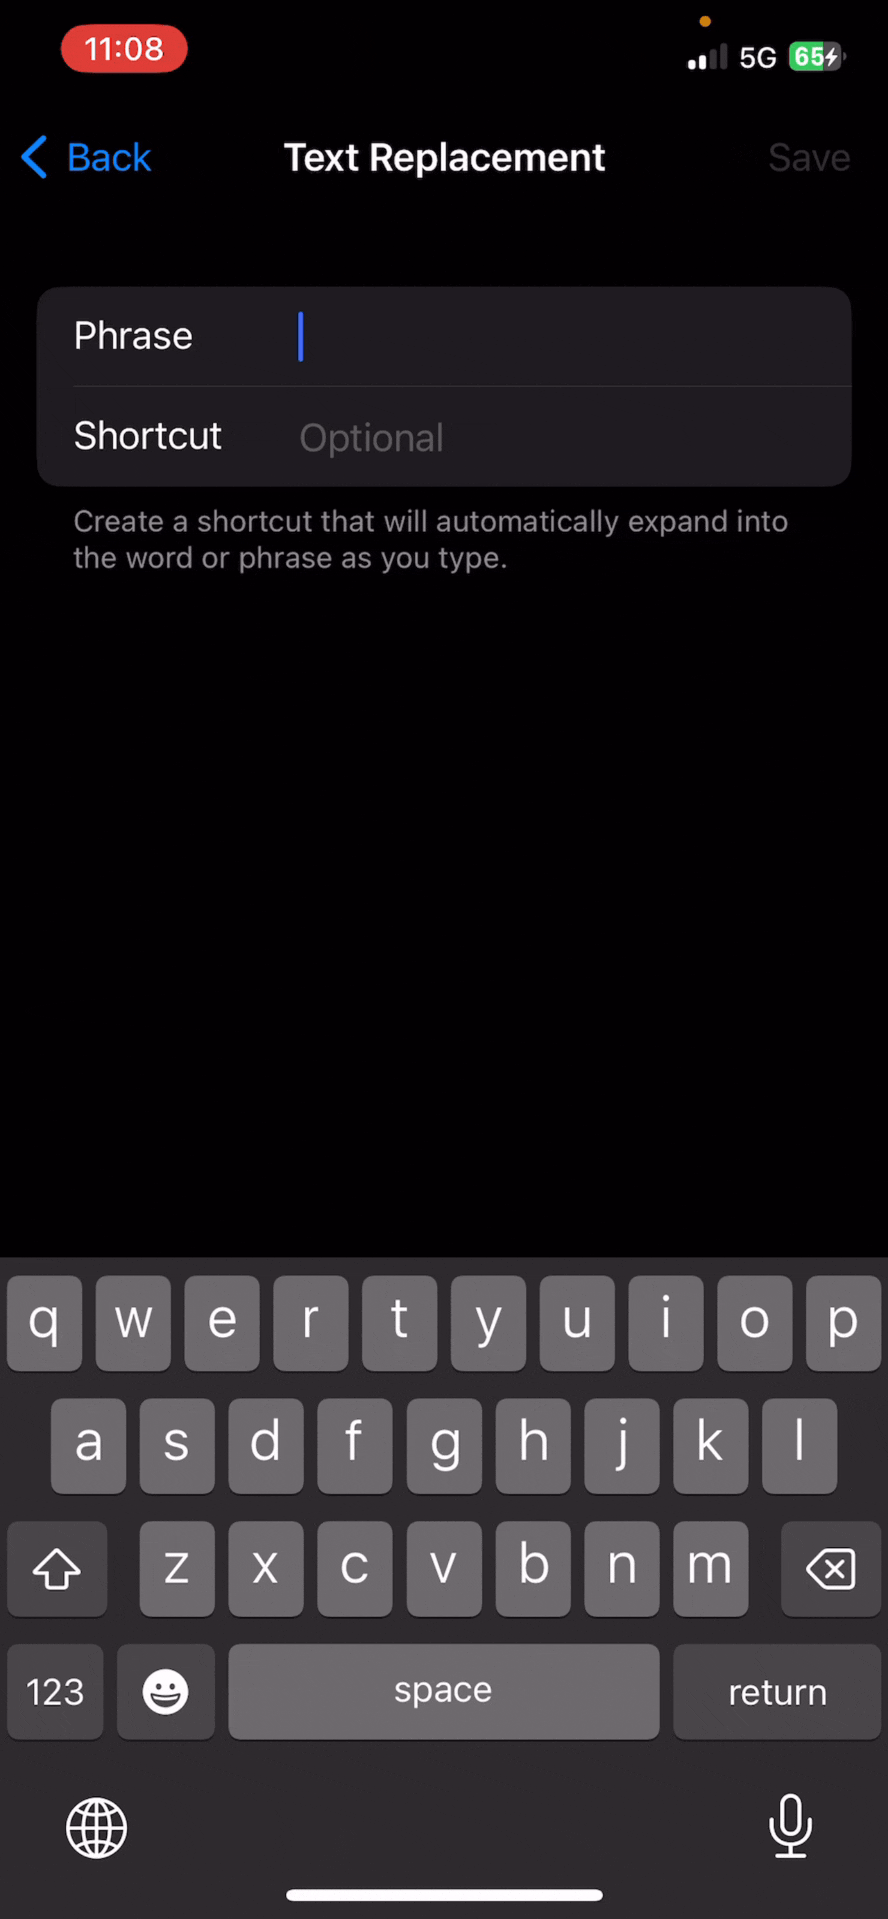
Step 13: Click paste to paste in the message copied from the app.
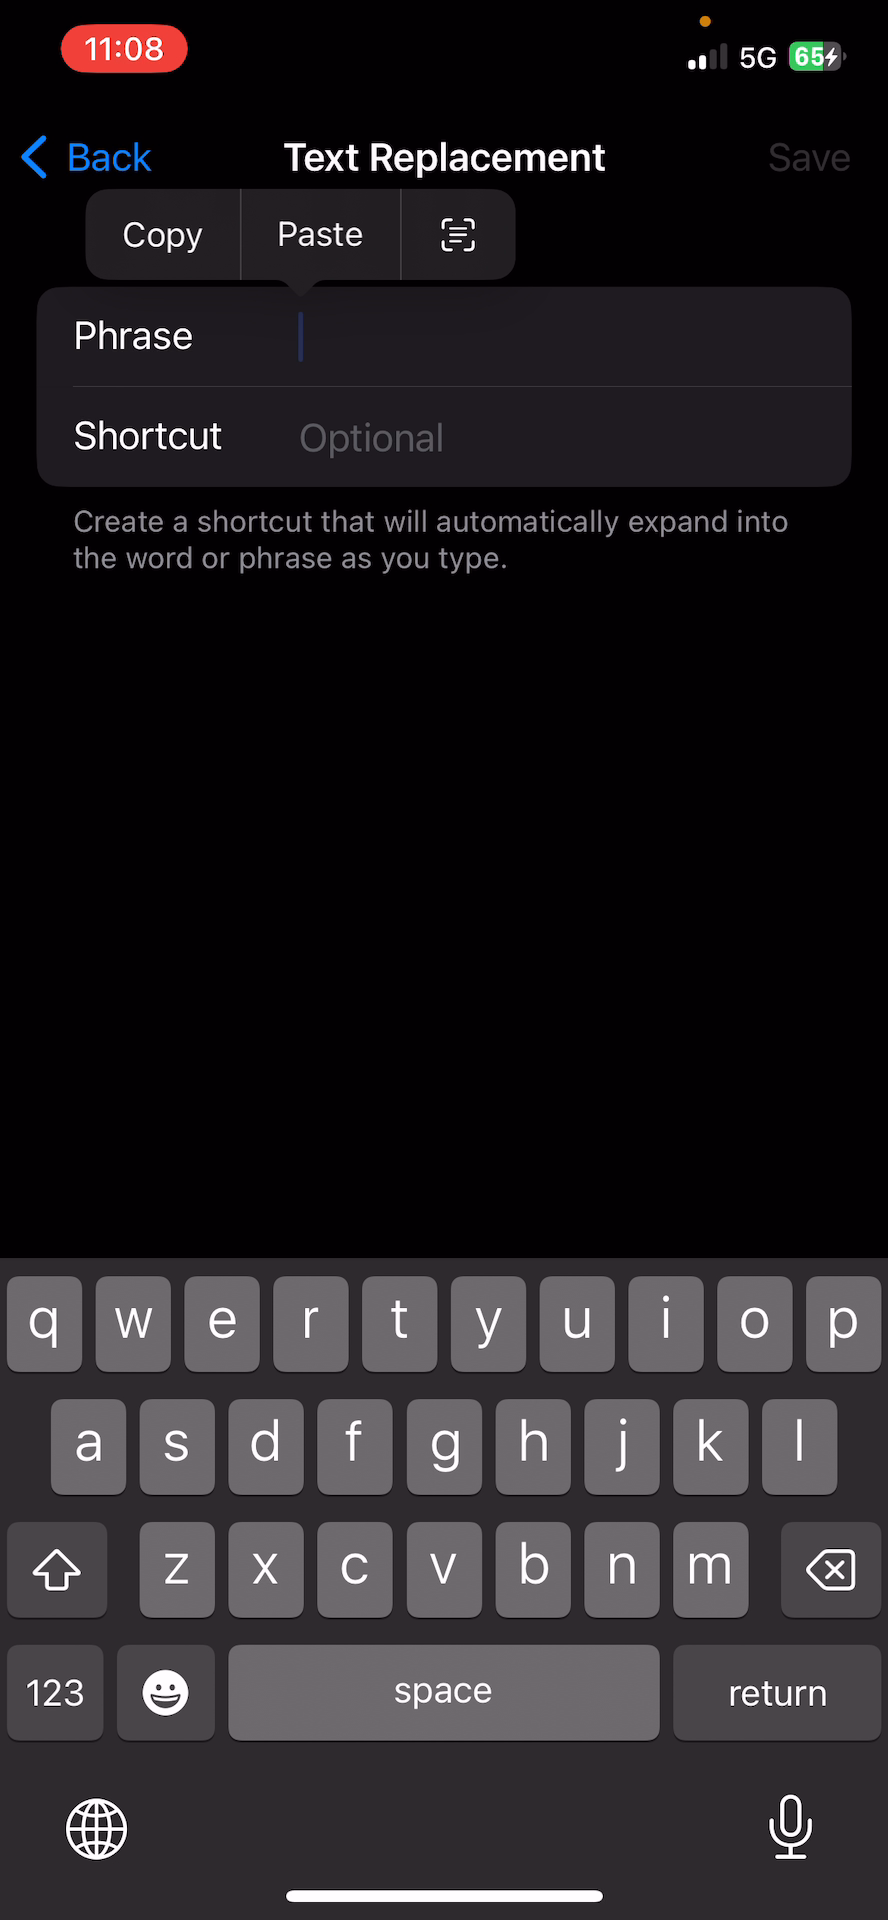
Step 14: Enter a unique, easy-to-remember shortcut, such as “qz”, or “qq”

Step 15: Click the save button located at the top right of the screen.
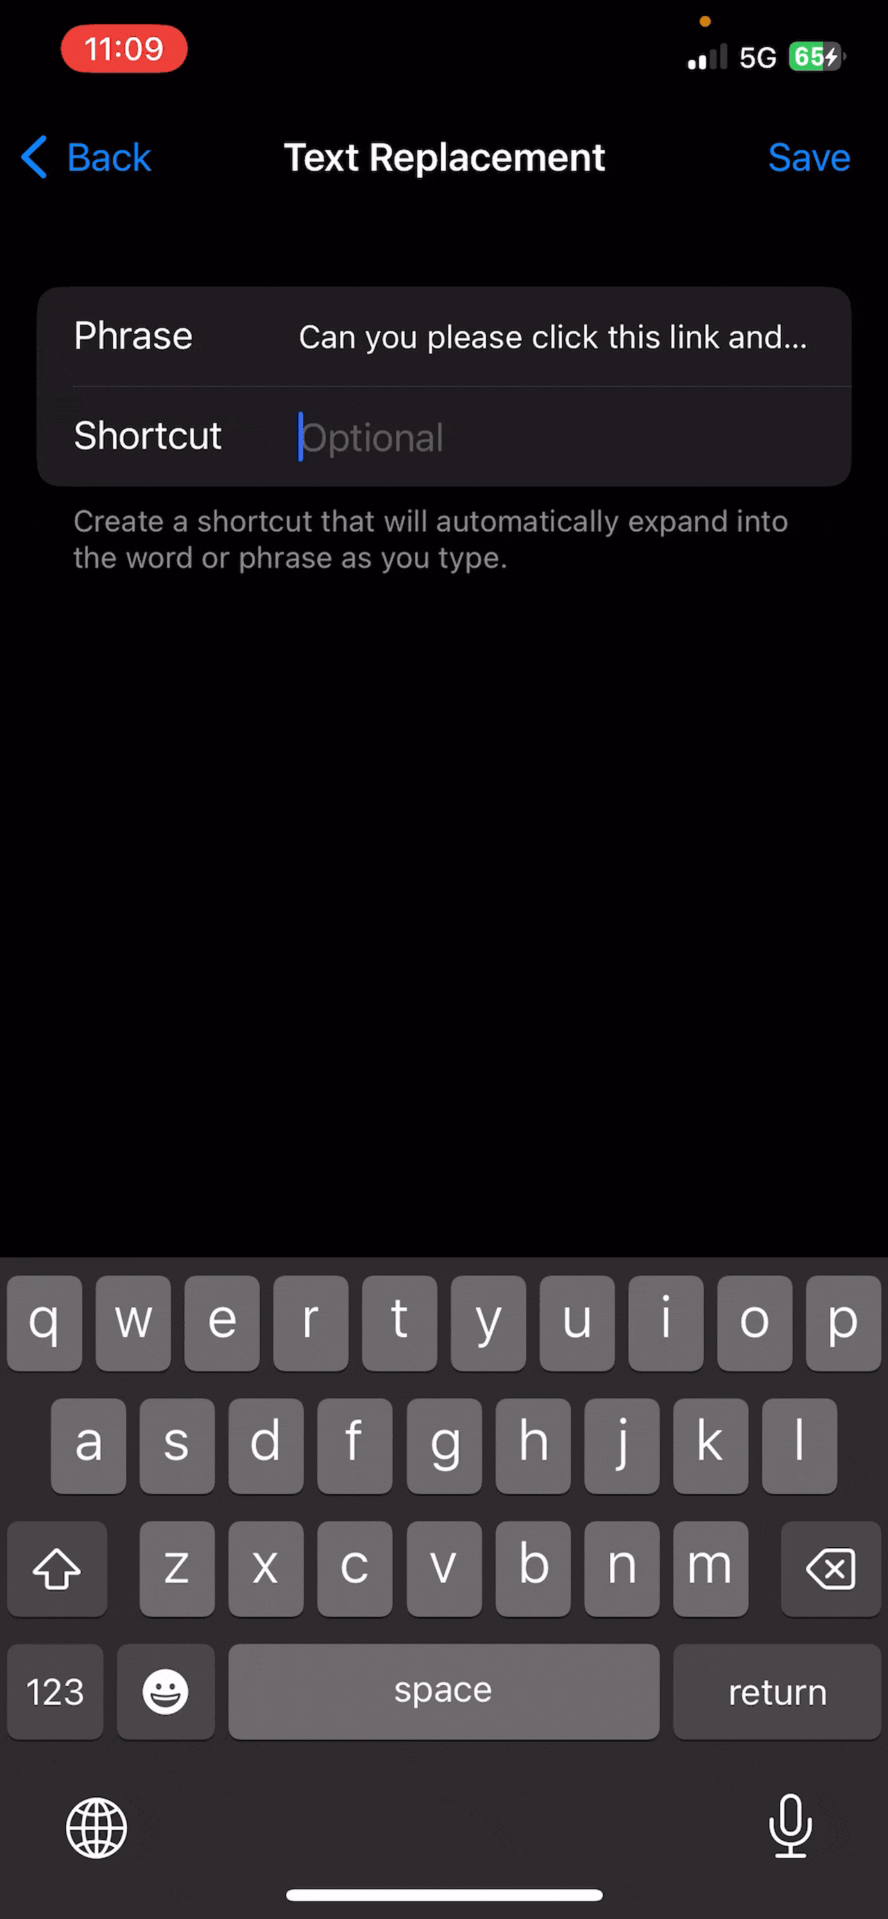
The shortcut will now auto-fill the entire message along with the Field Rocket link when typing it in a text message.
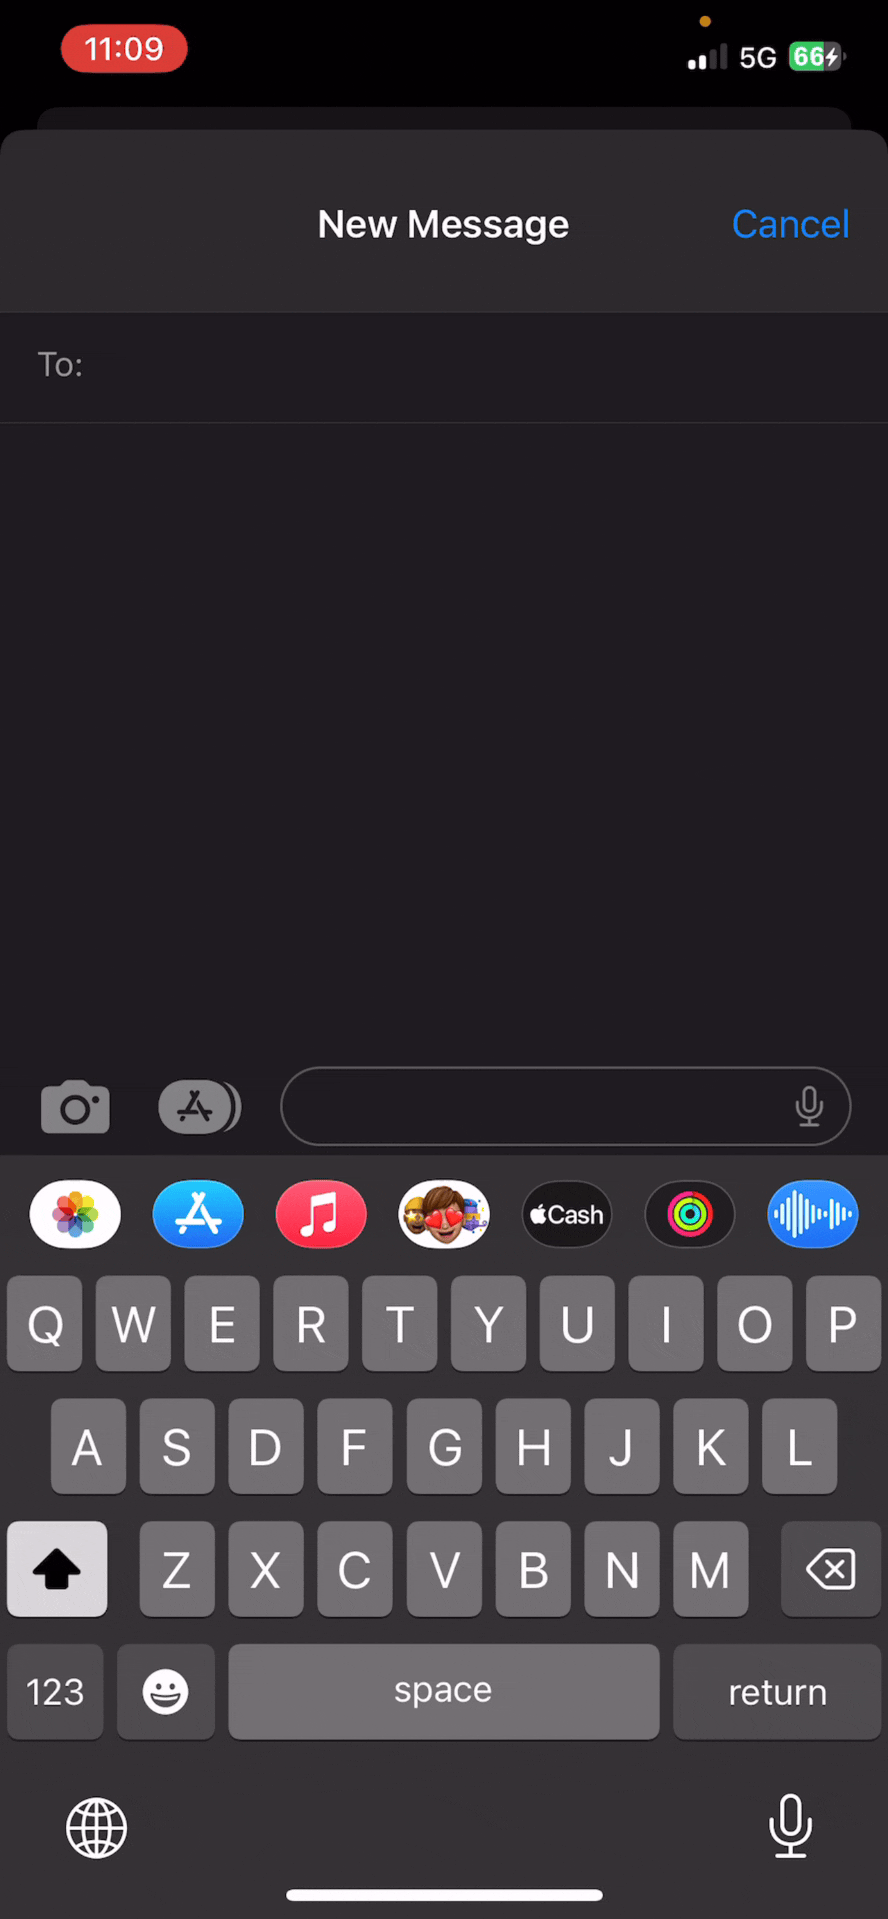
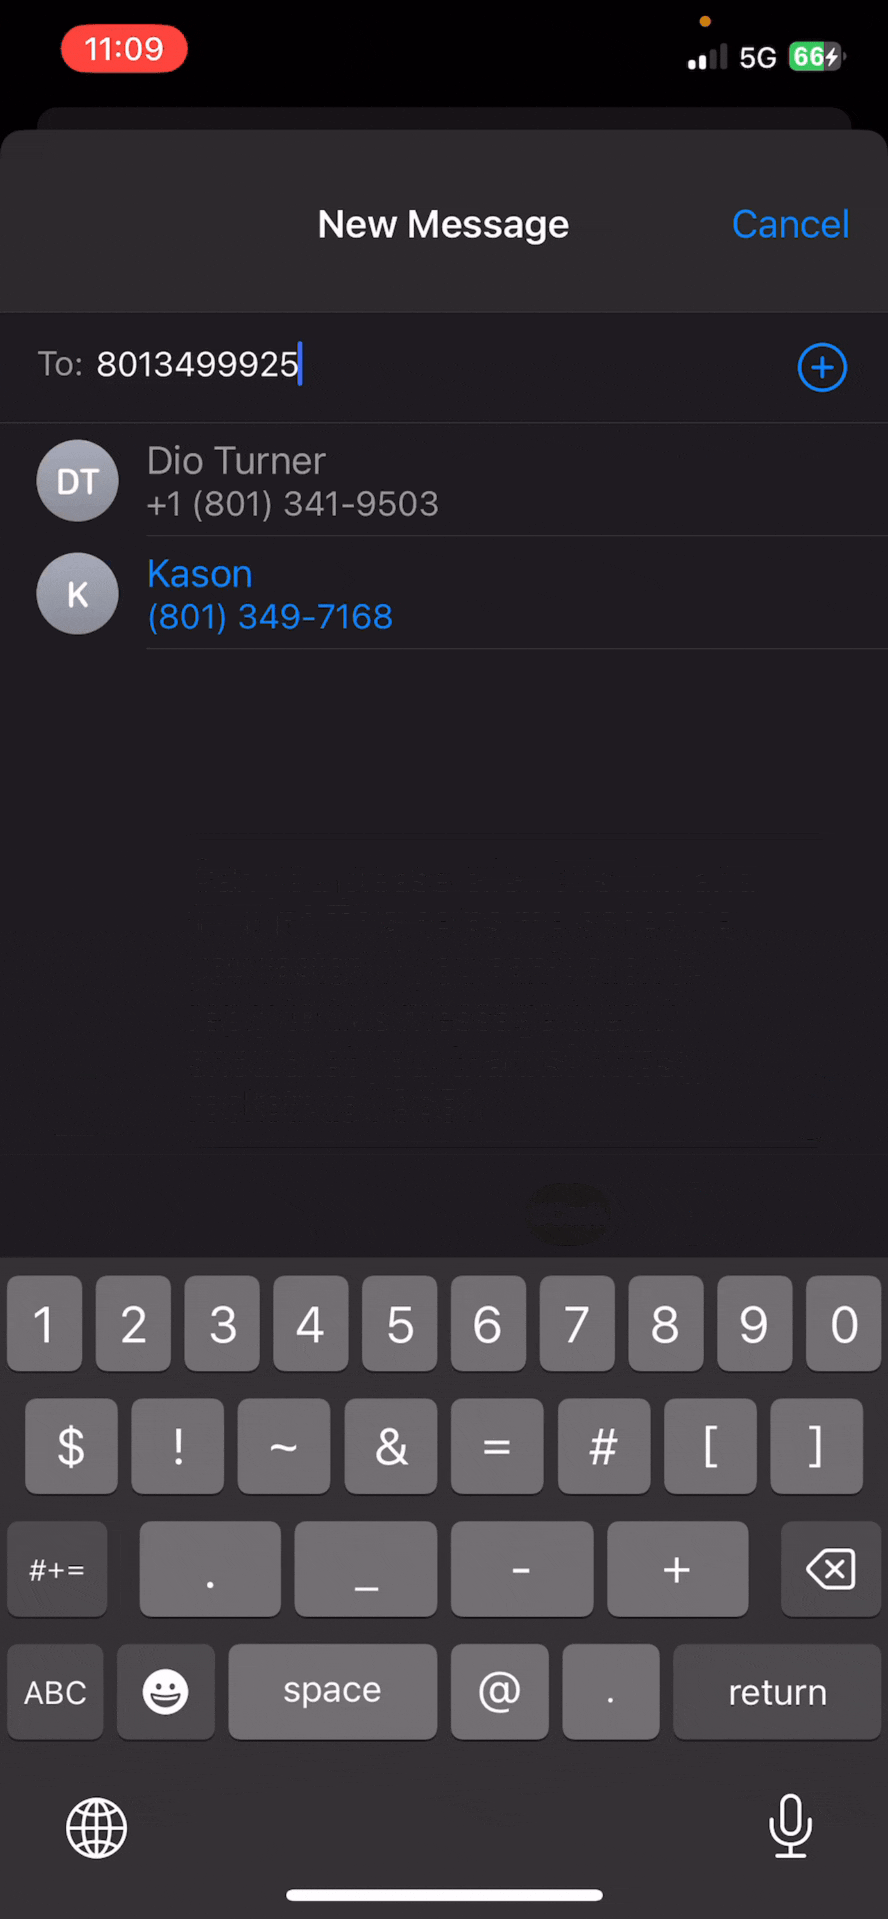
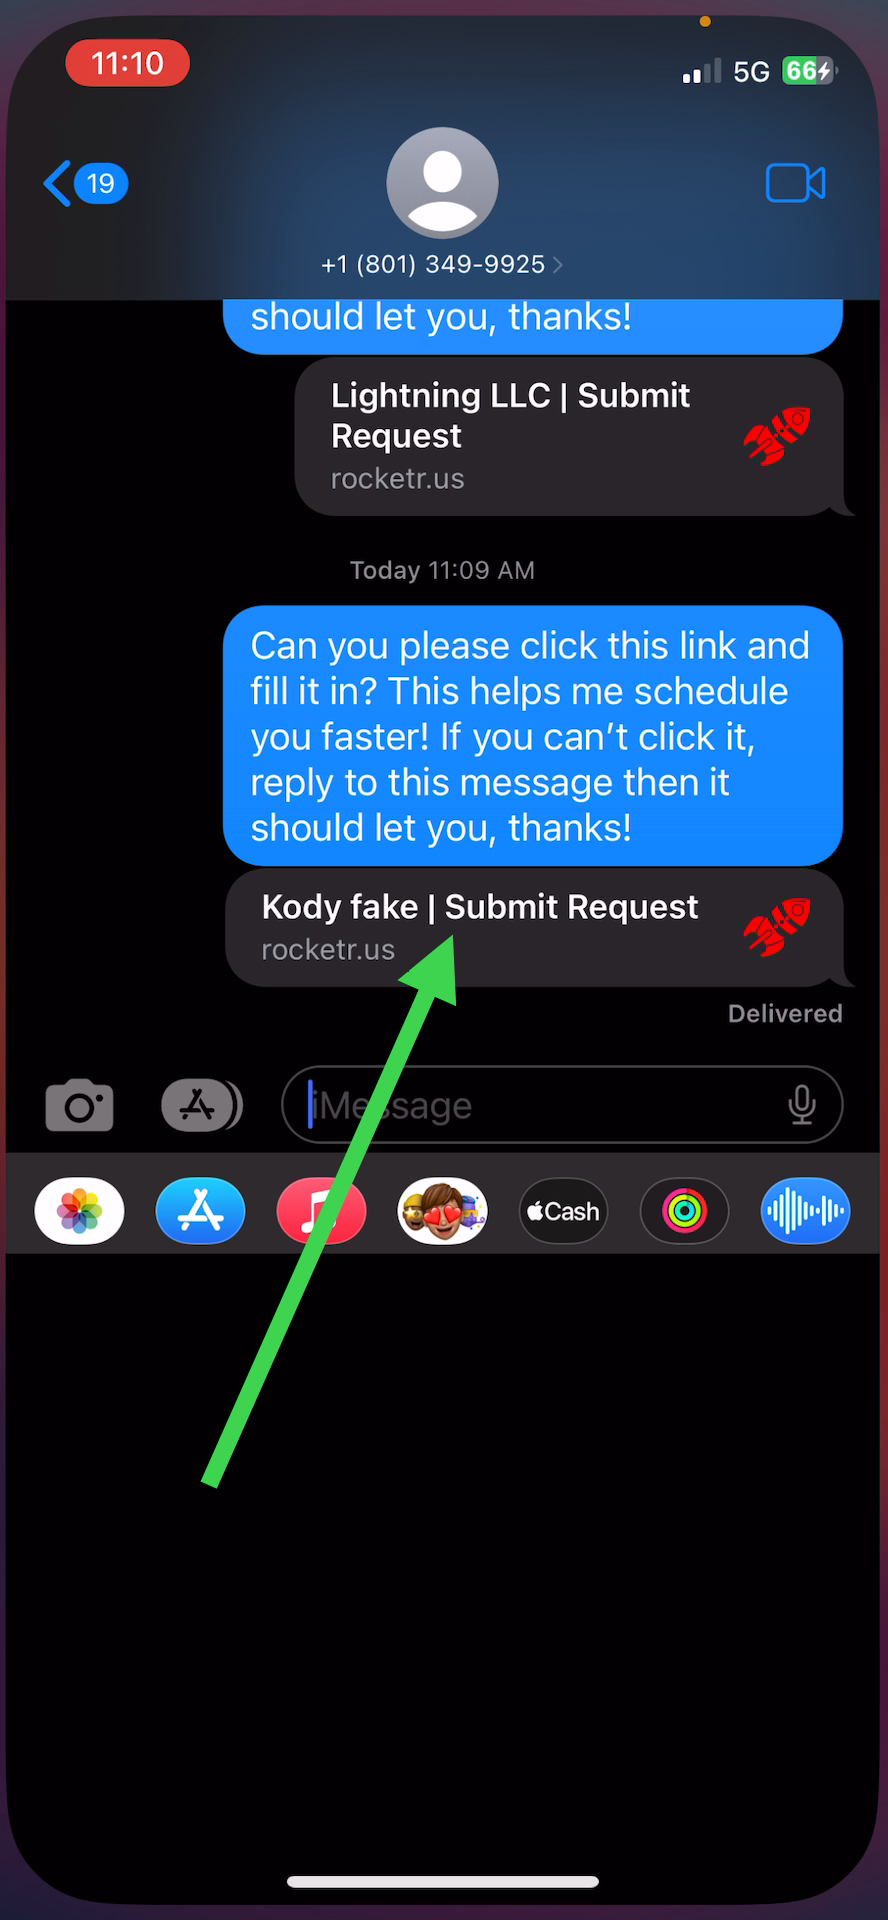
Step 16: Type the shortcut in a text message and hit space.
Step 17: Send the message.
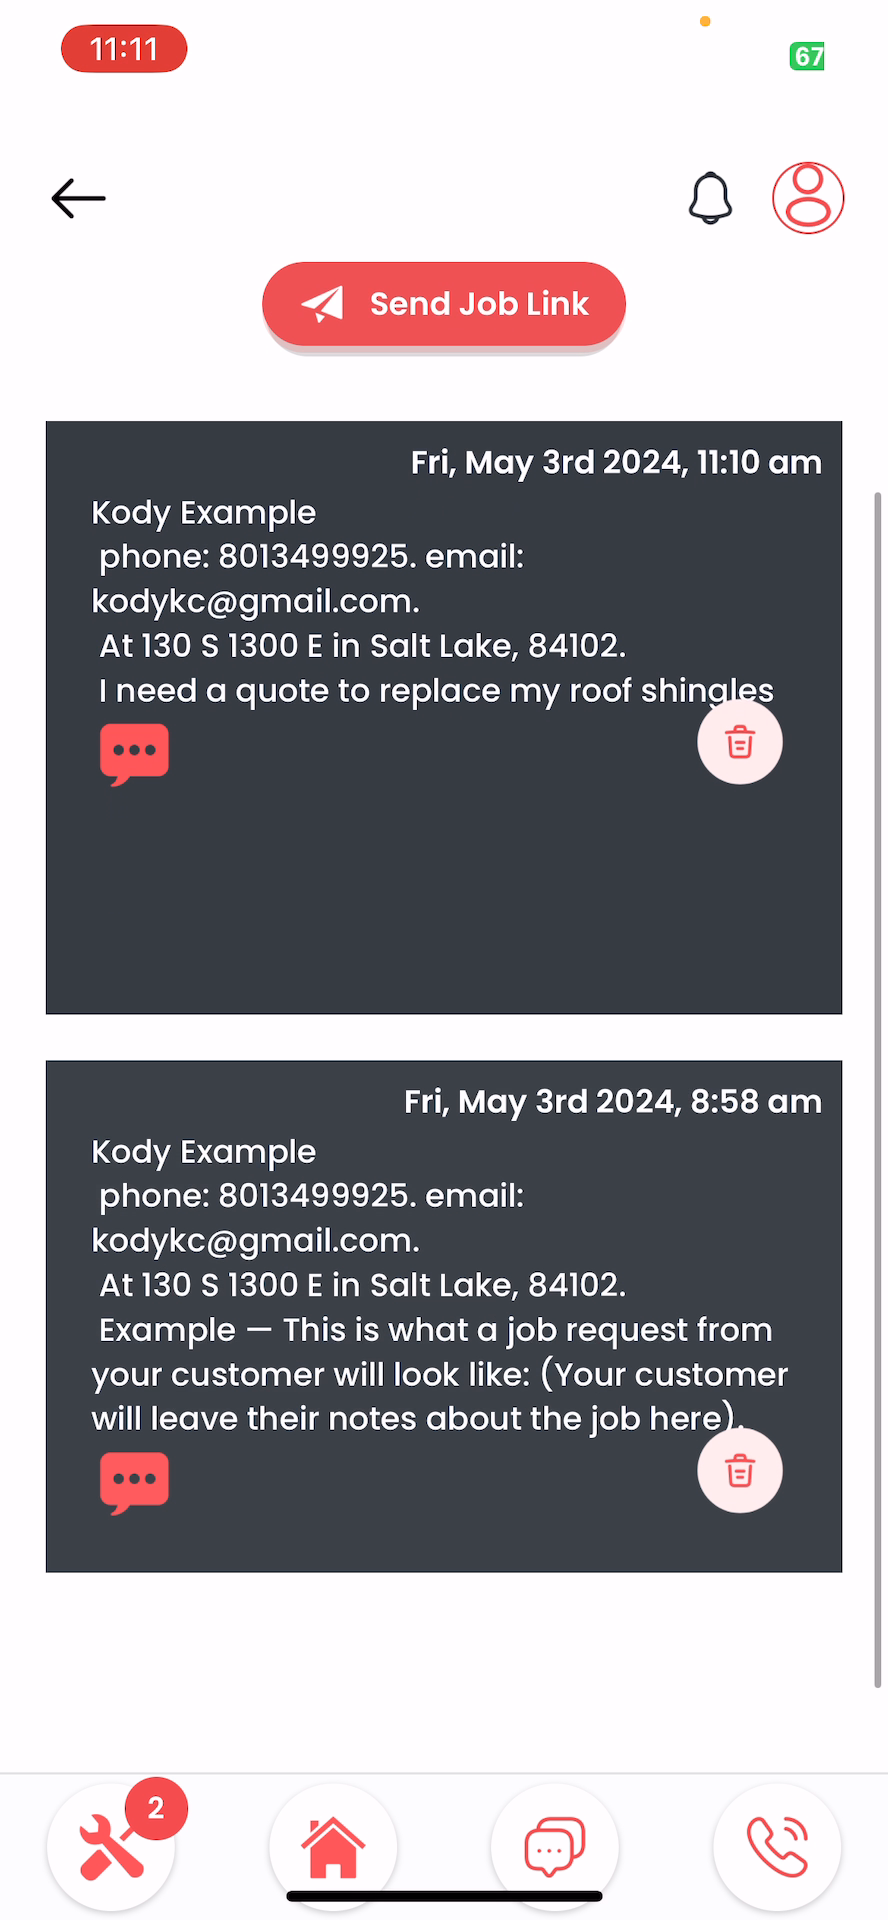
Step 18: To see what your customer will fill out, click on the “submit request link” you just sent
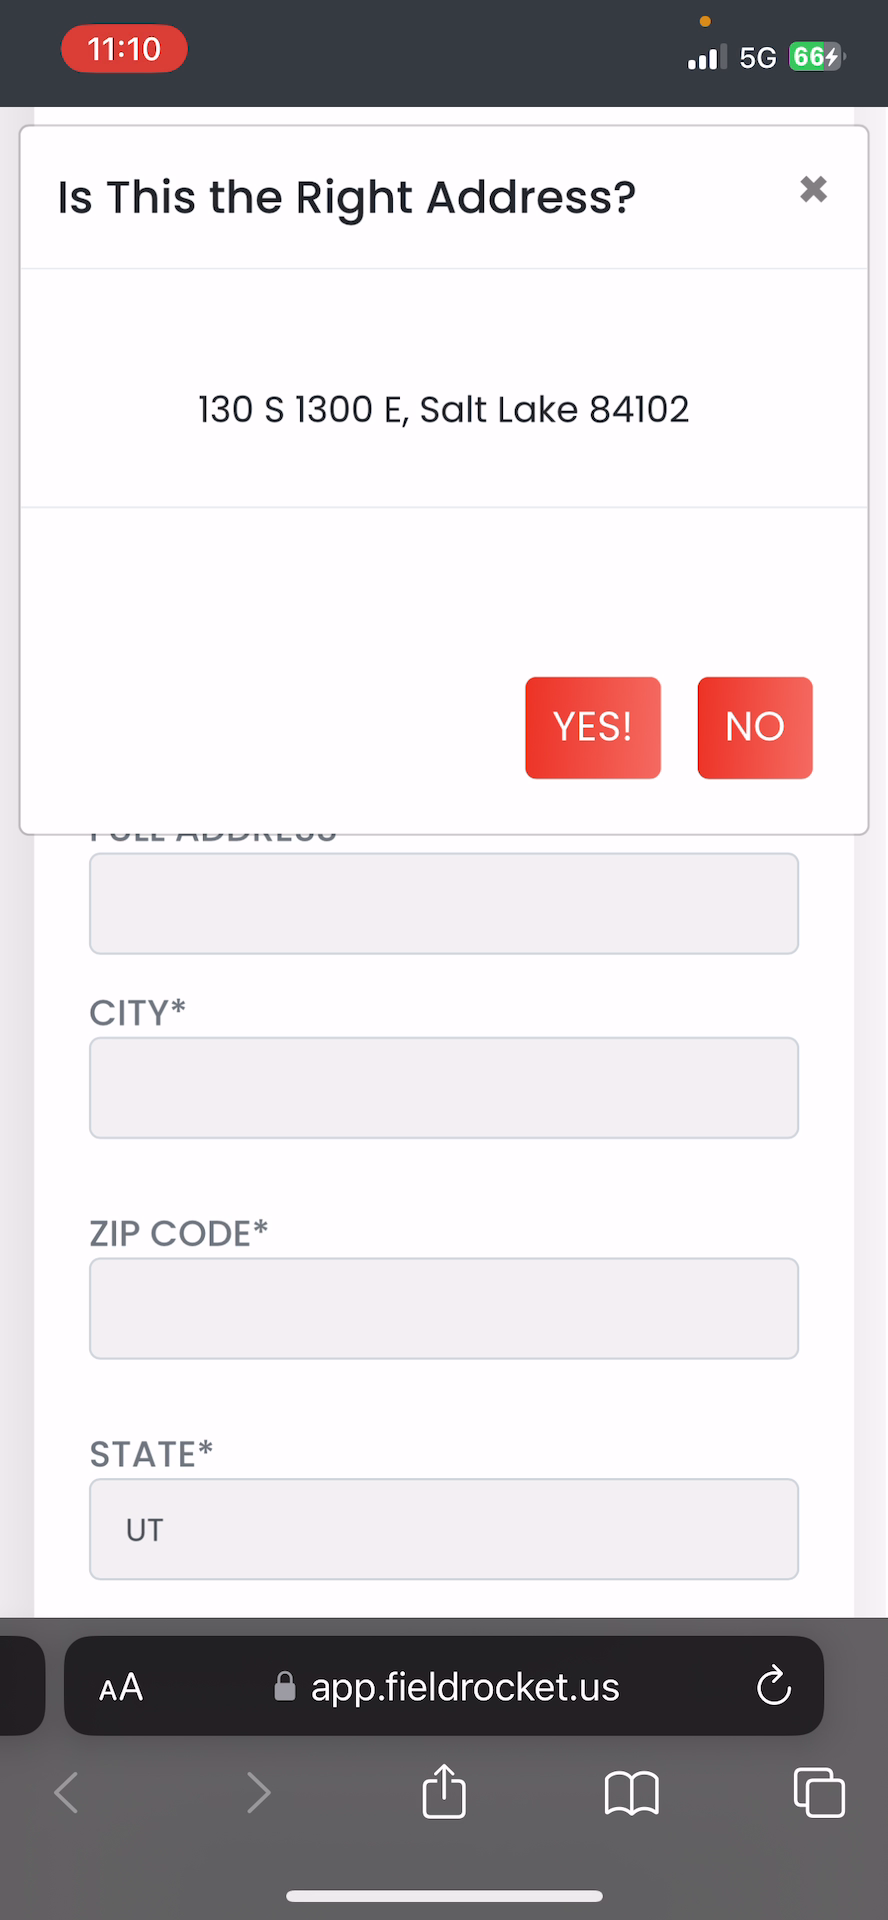
This will take the customer to a page where they can enter their information.
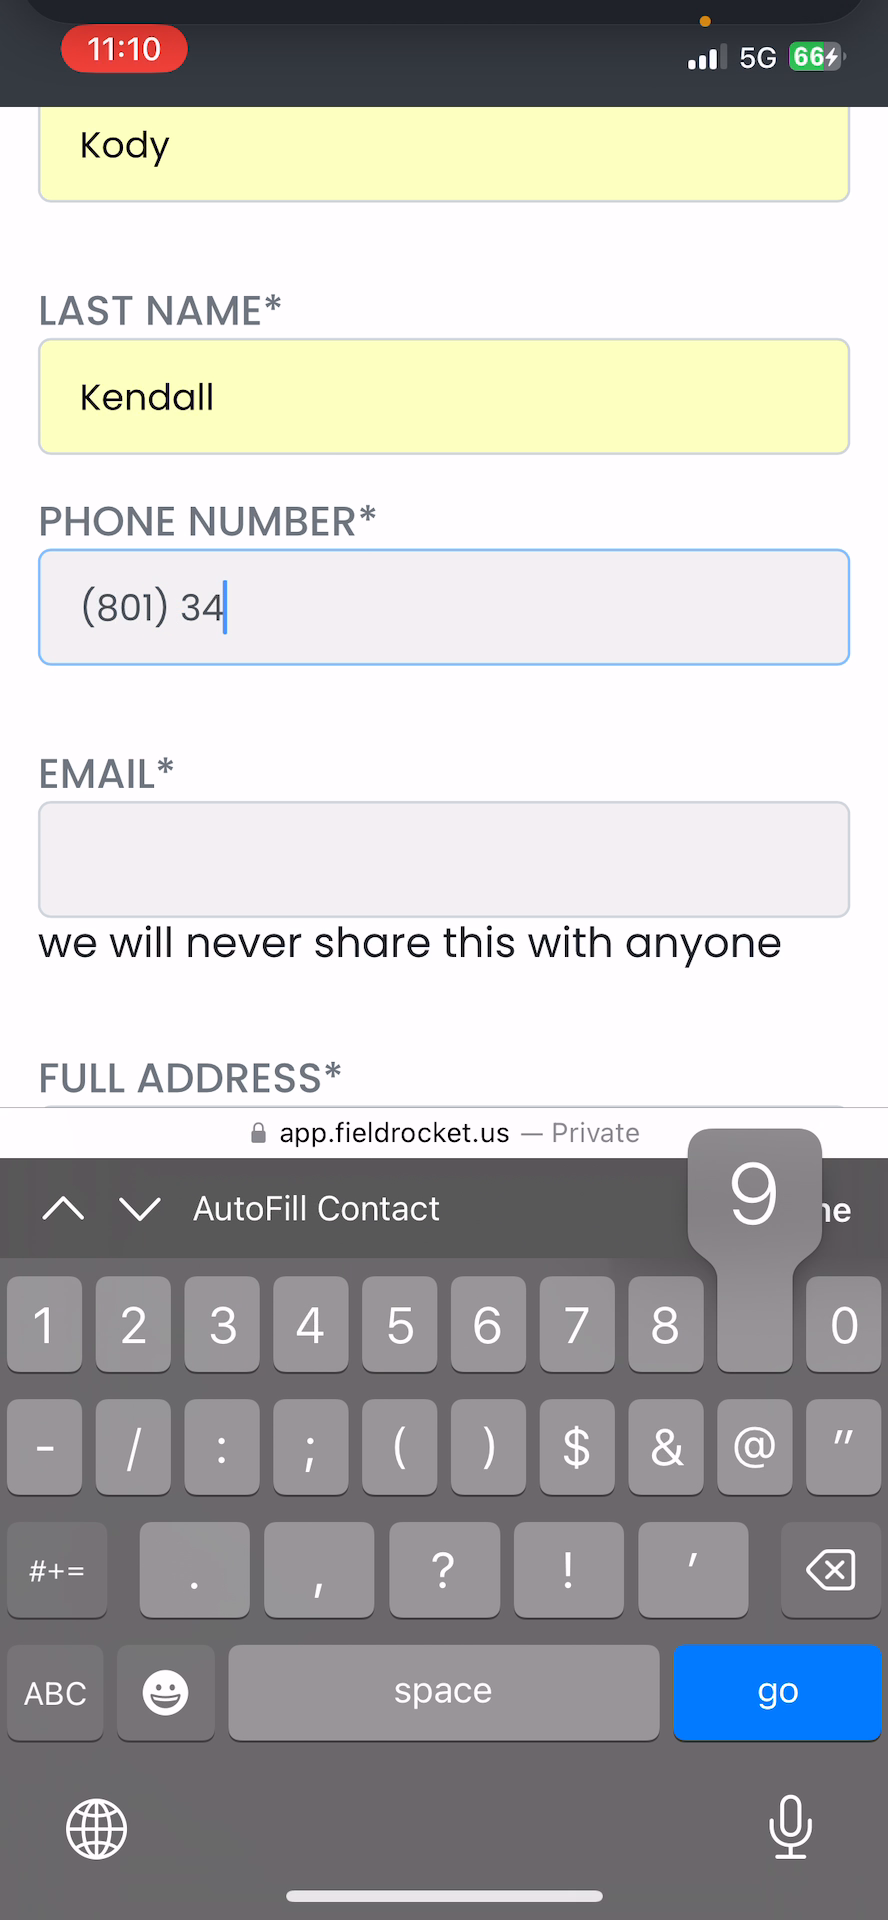
Step 19: The customer can click to autofill their information. Most smart phones have smart form fill in, so it’s easy for your clients to fill in their info.
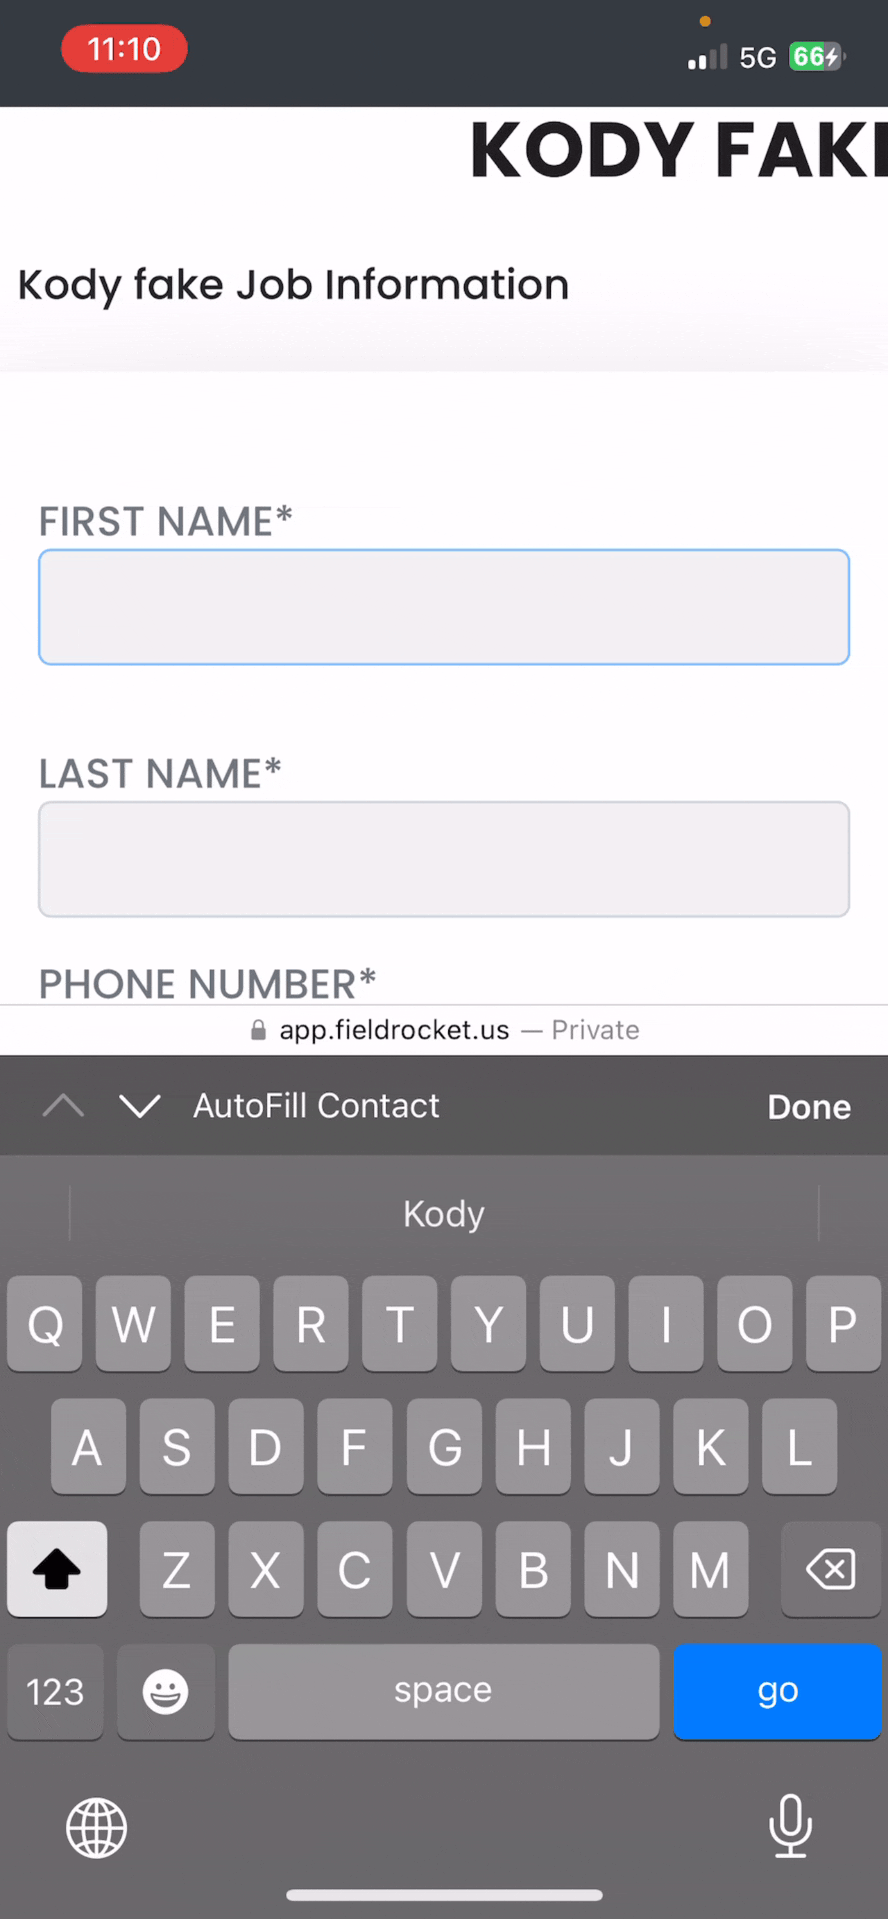
Step 20: The customer can manually type in any information that doesn’t get filled in automatically.
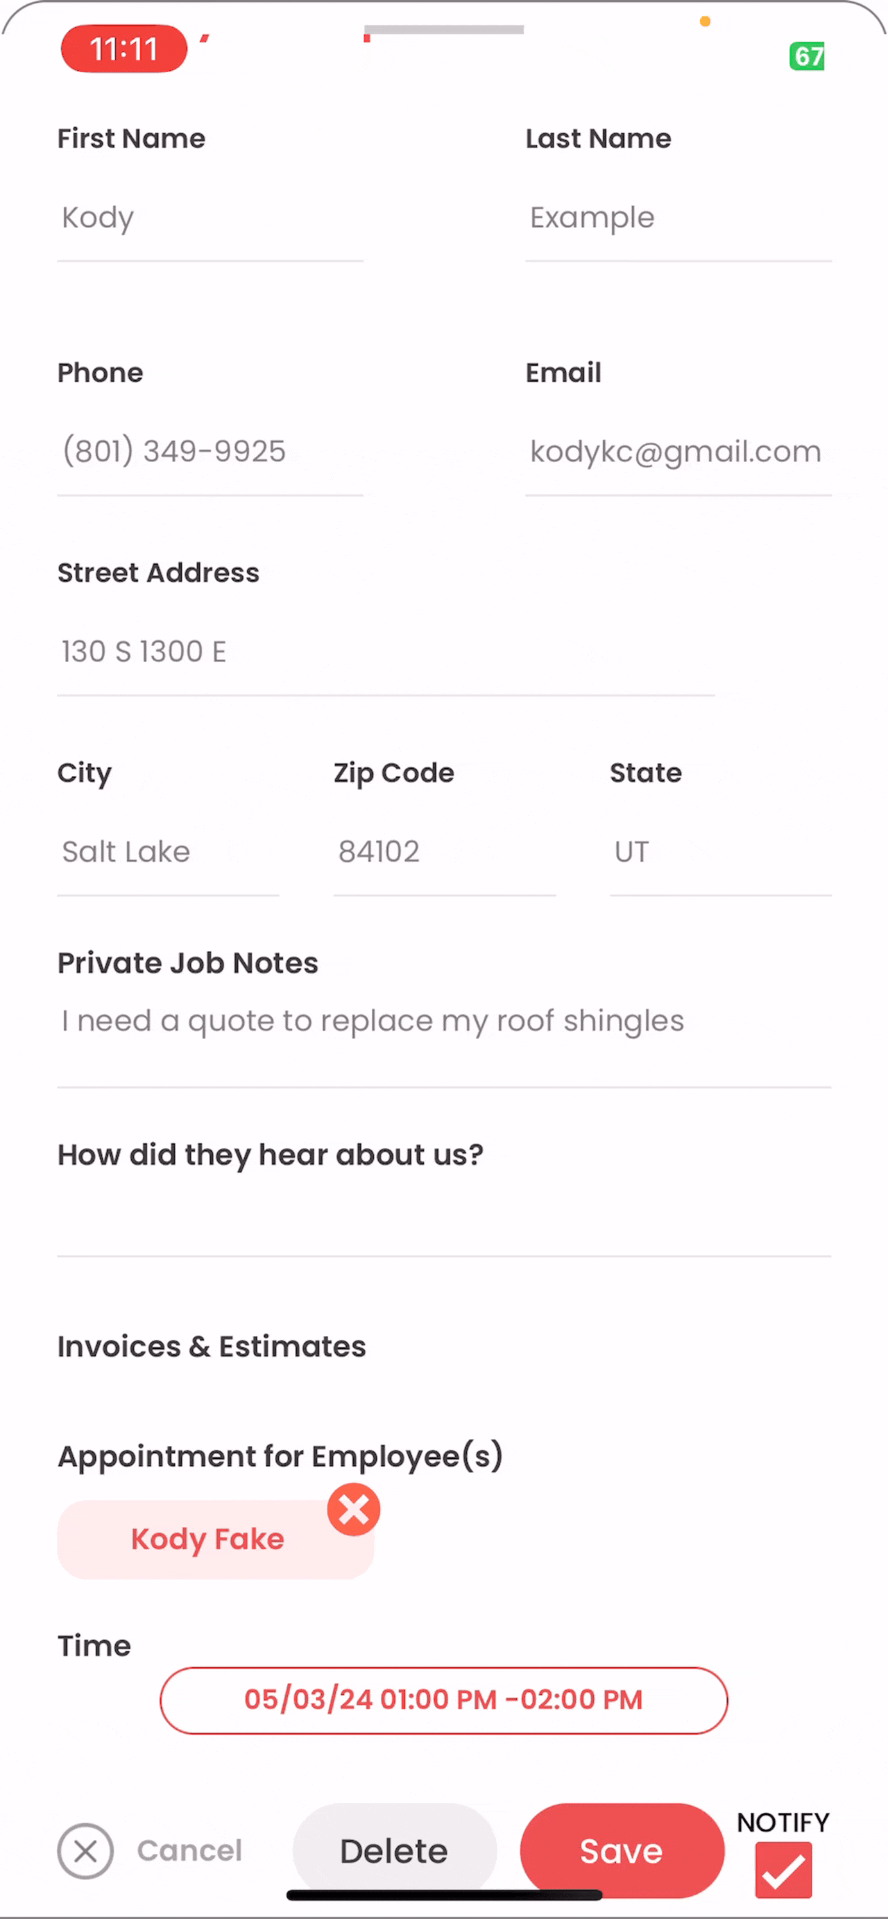
Step 21: If the customer is already in your database, their information will pop up and they can confirm their info
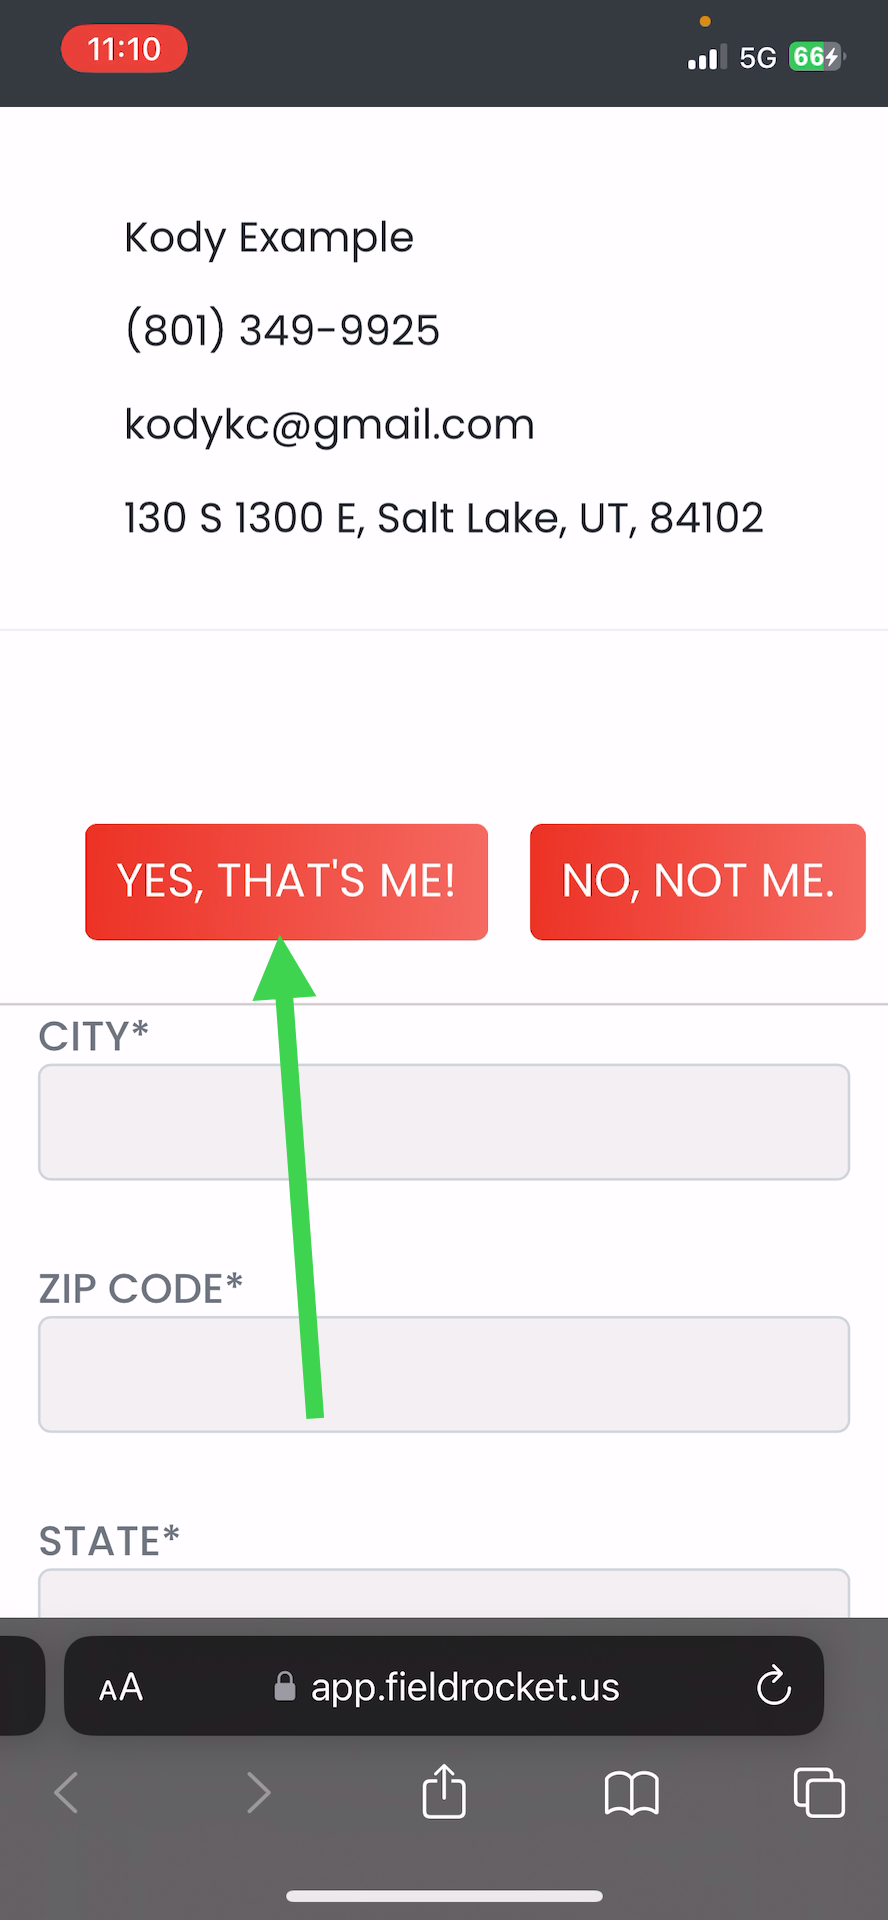
Step 22: The customer can confirm their information, and the rest will be filled in automatically.
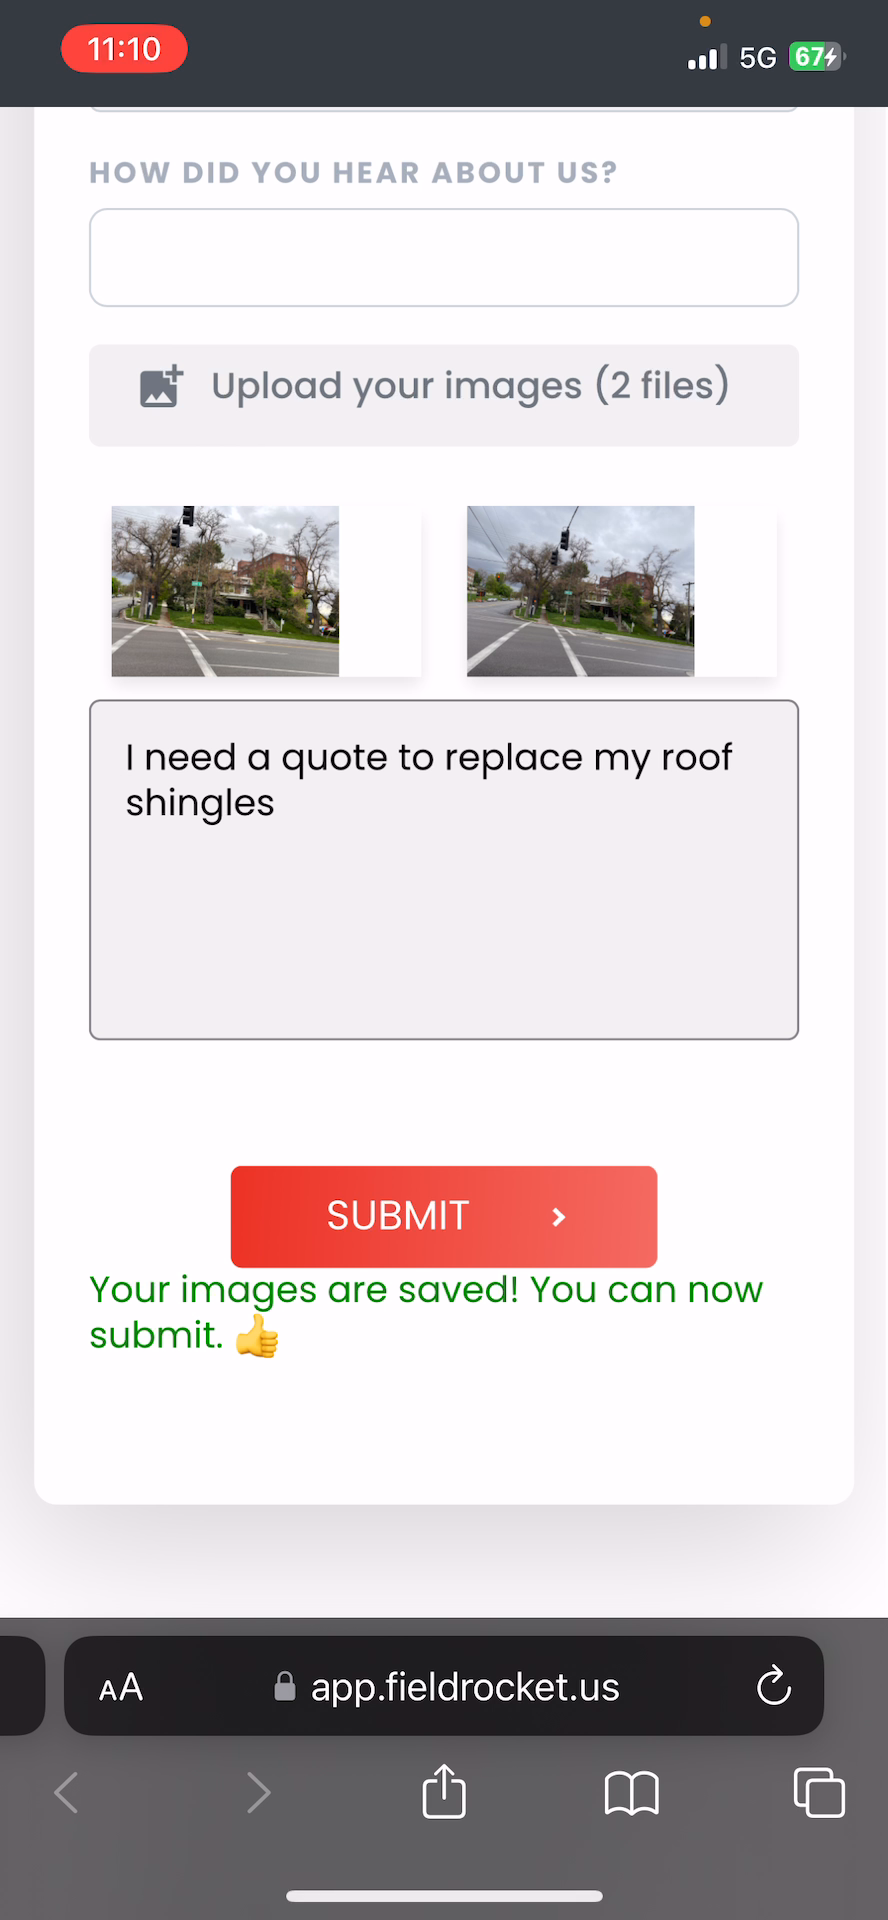
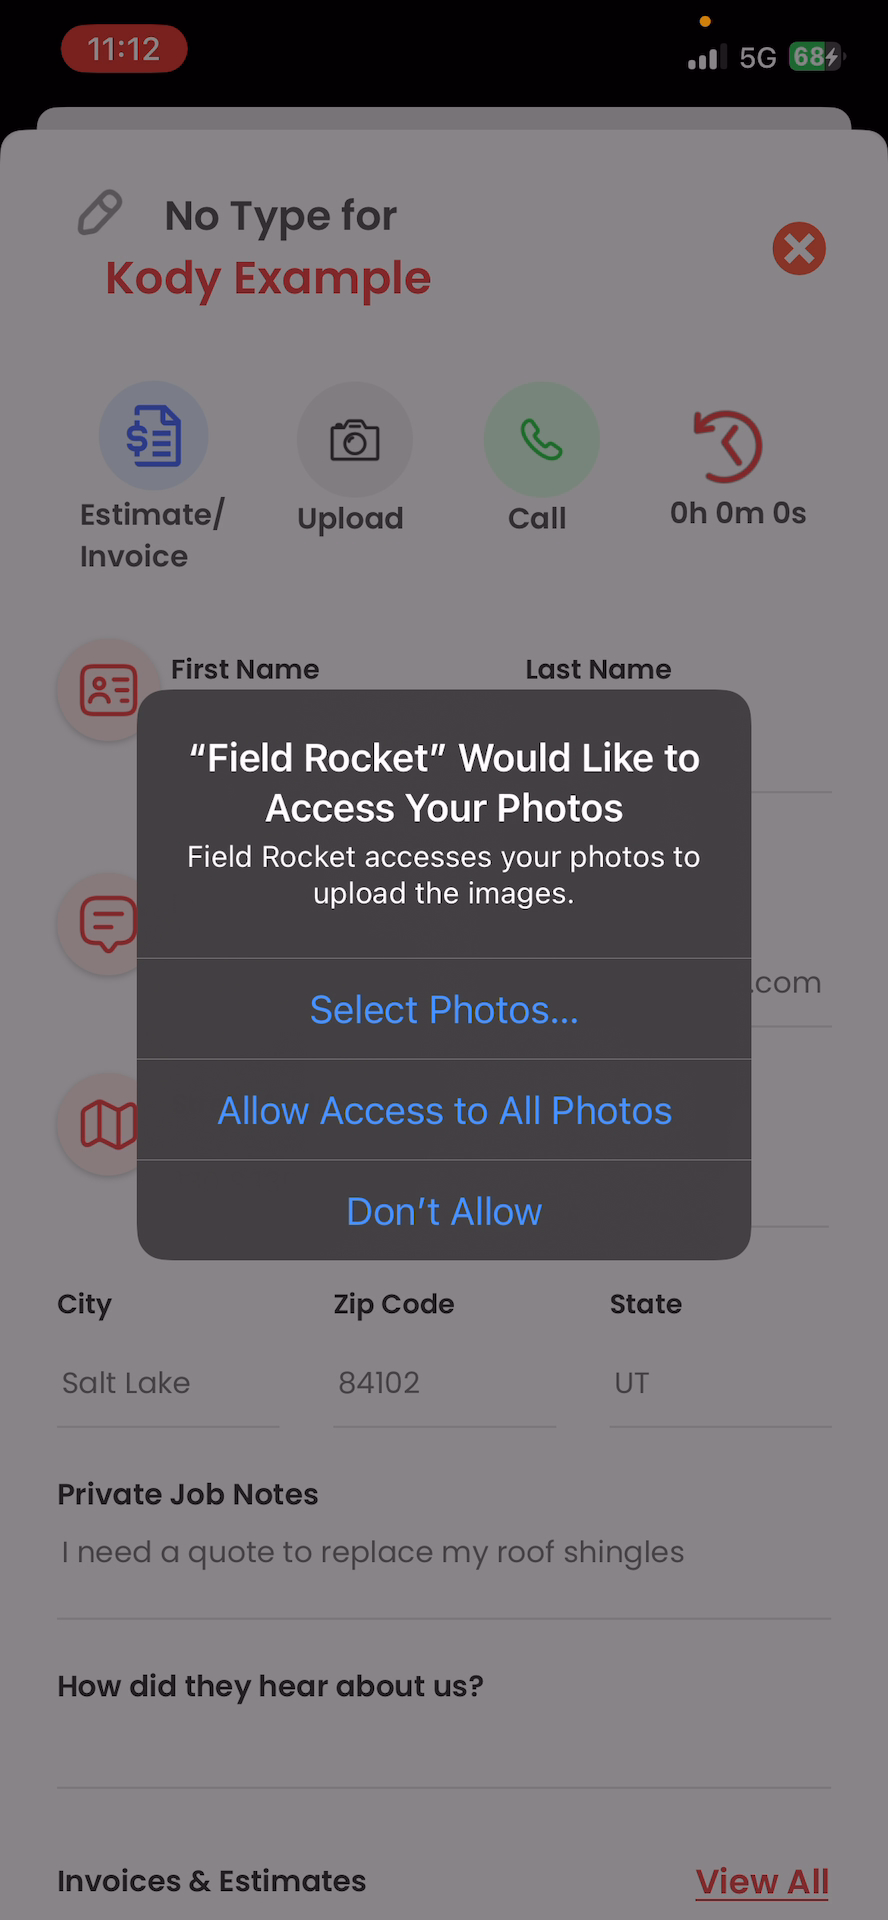
Step 23: The customer can upload images for more job details.
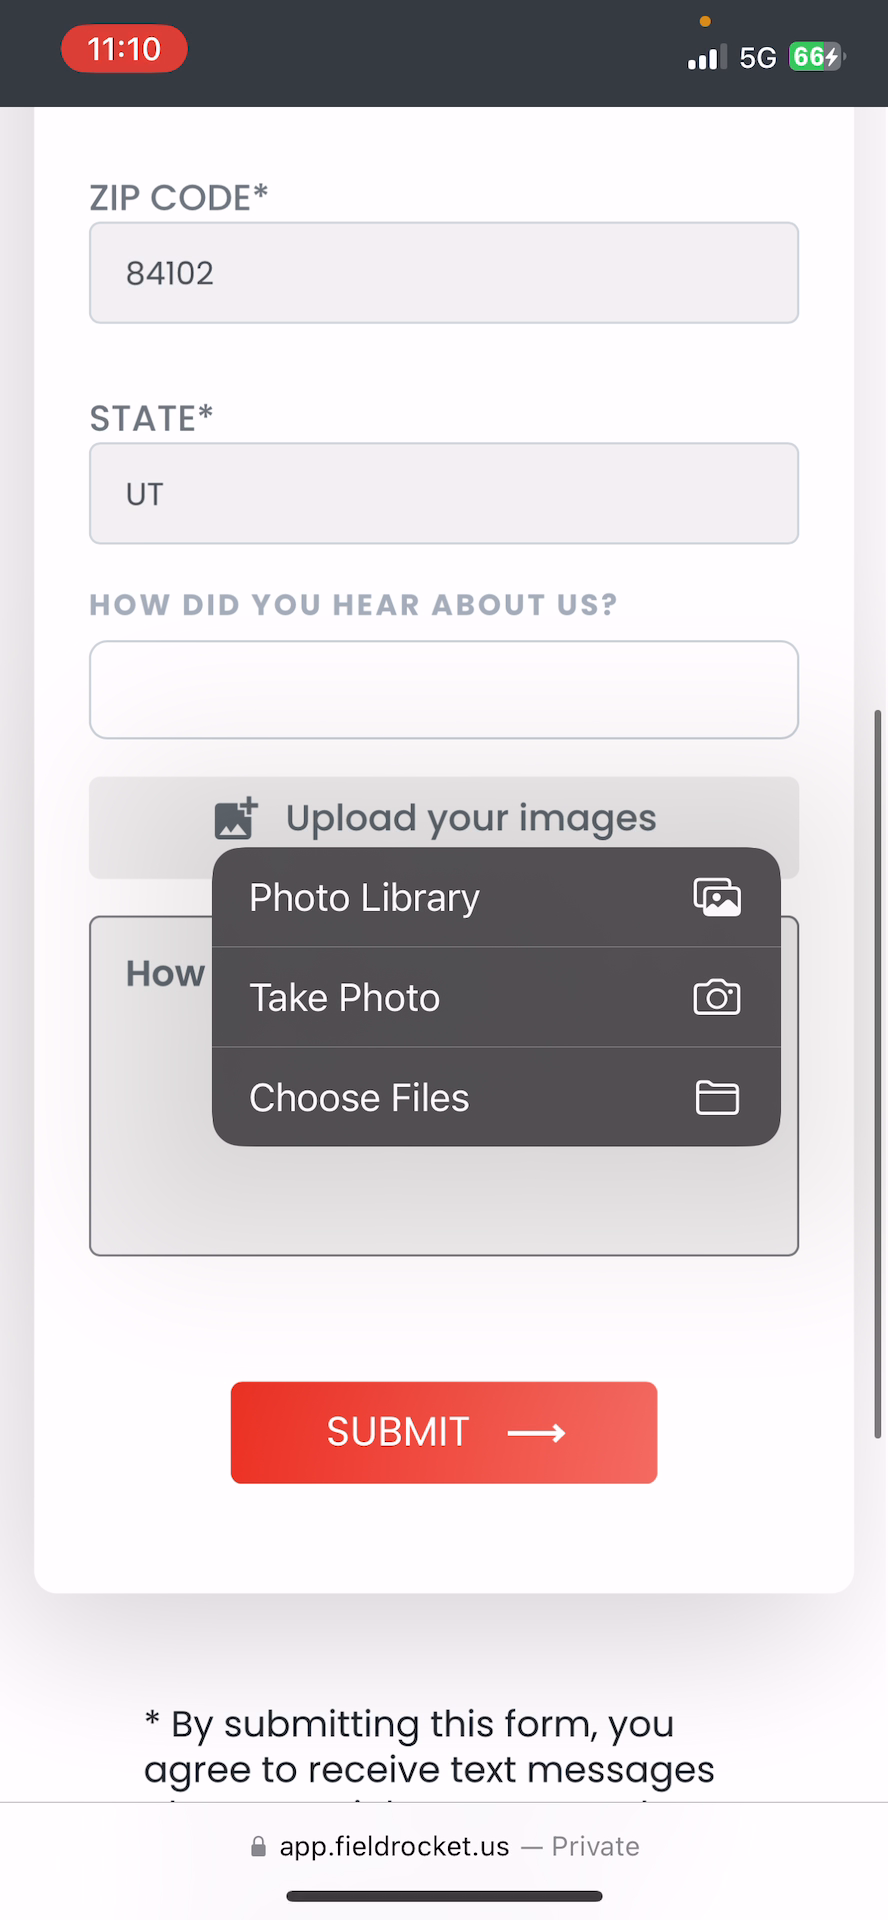
Step 24: The customer can add notes to specify what they need help with.
Step 25: The customer can then hit the submit button.
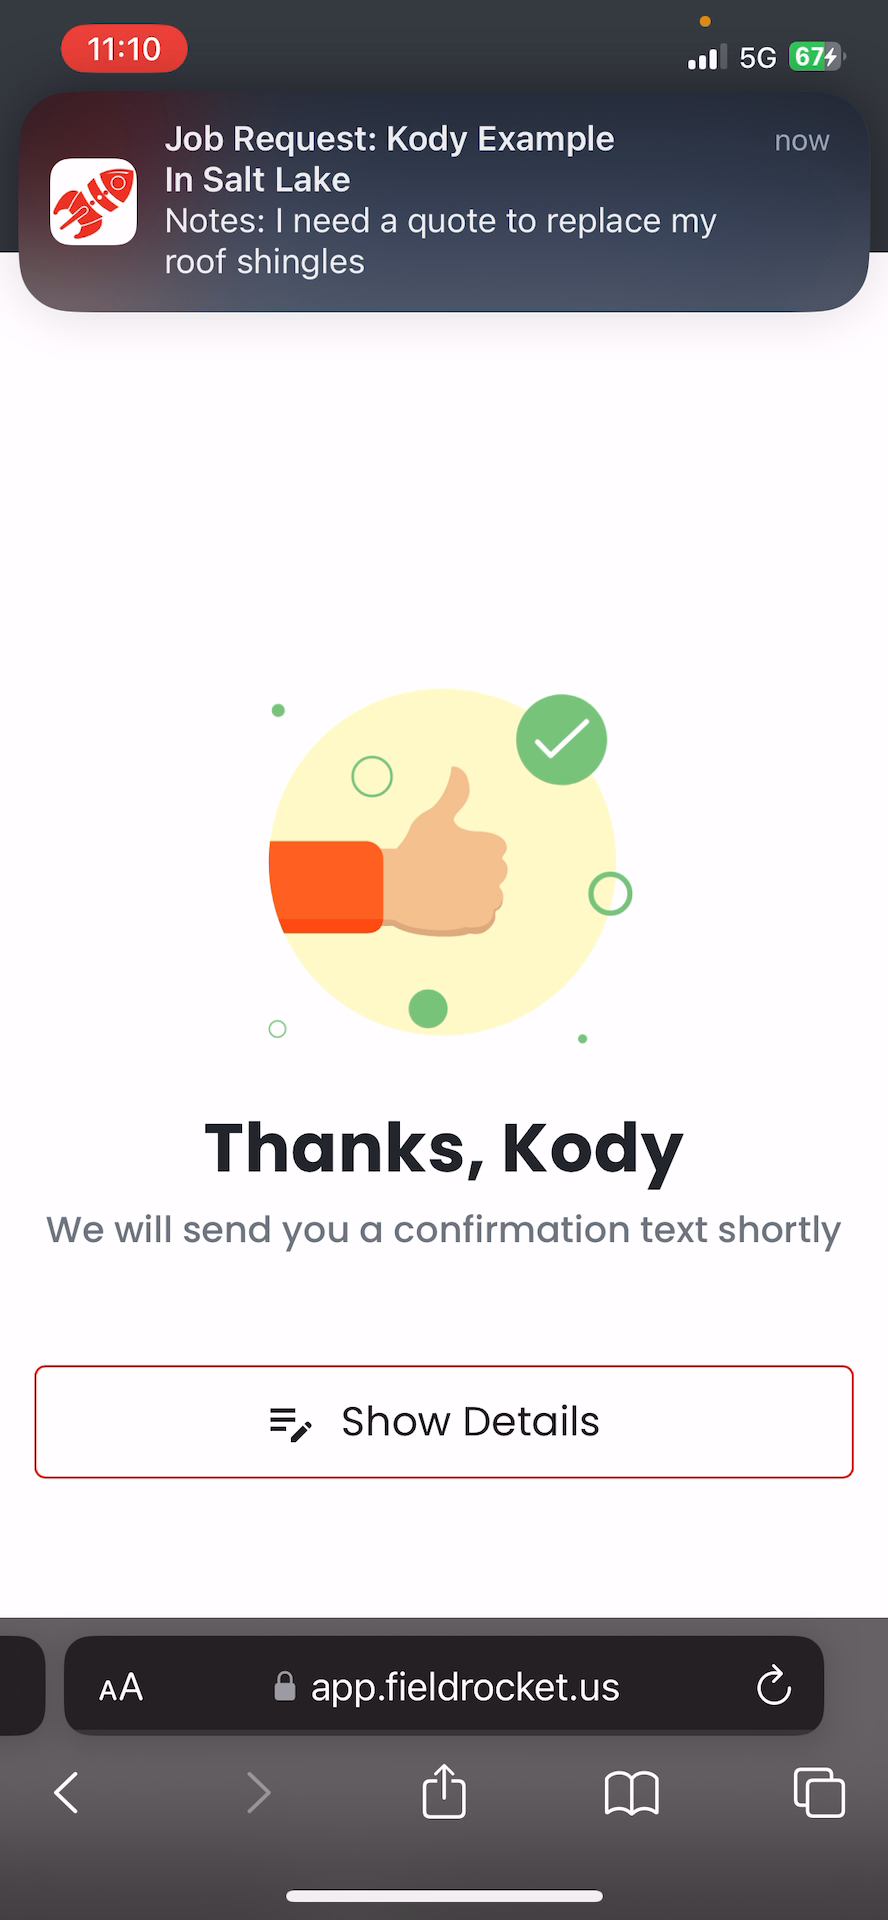
Step 26: You’ll get a notification, and the job request will appear on your dashboard.
Step 27: Tap on the wrench and screwdriver icon to view your unscheduled job requests.
Step 28: Tap on the job request to come to your calendar.
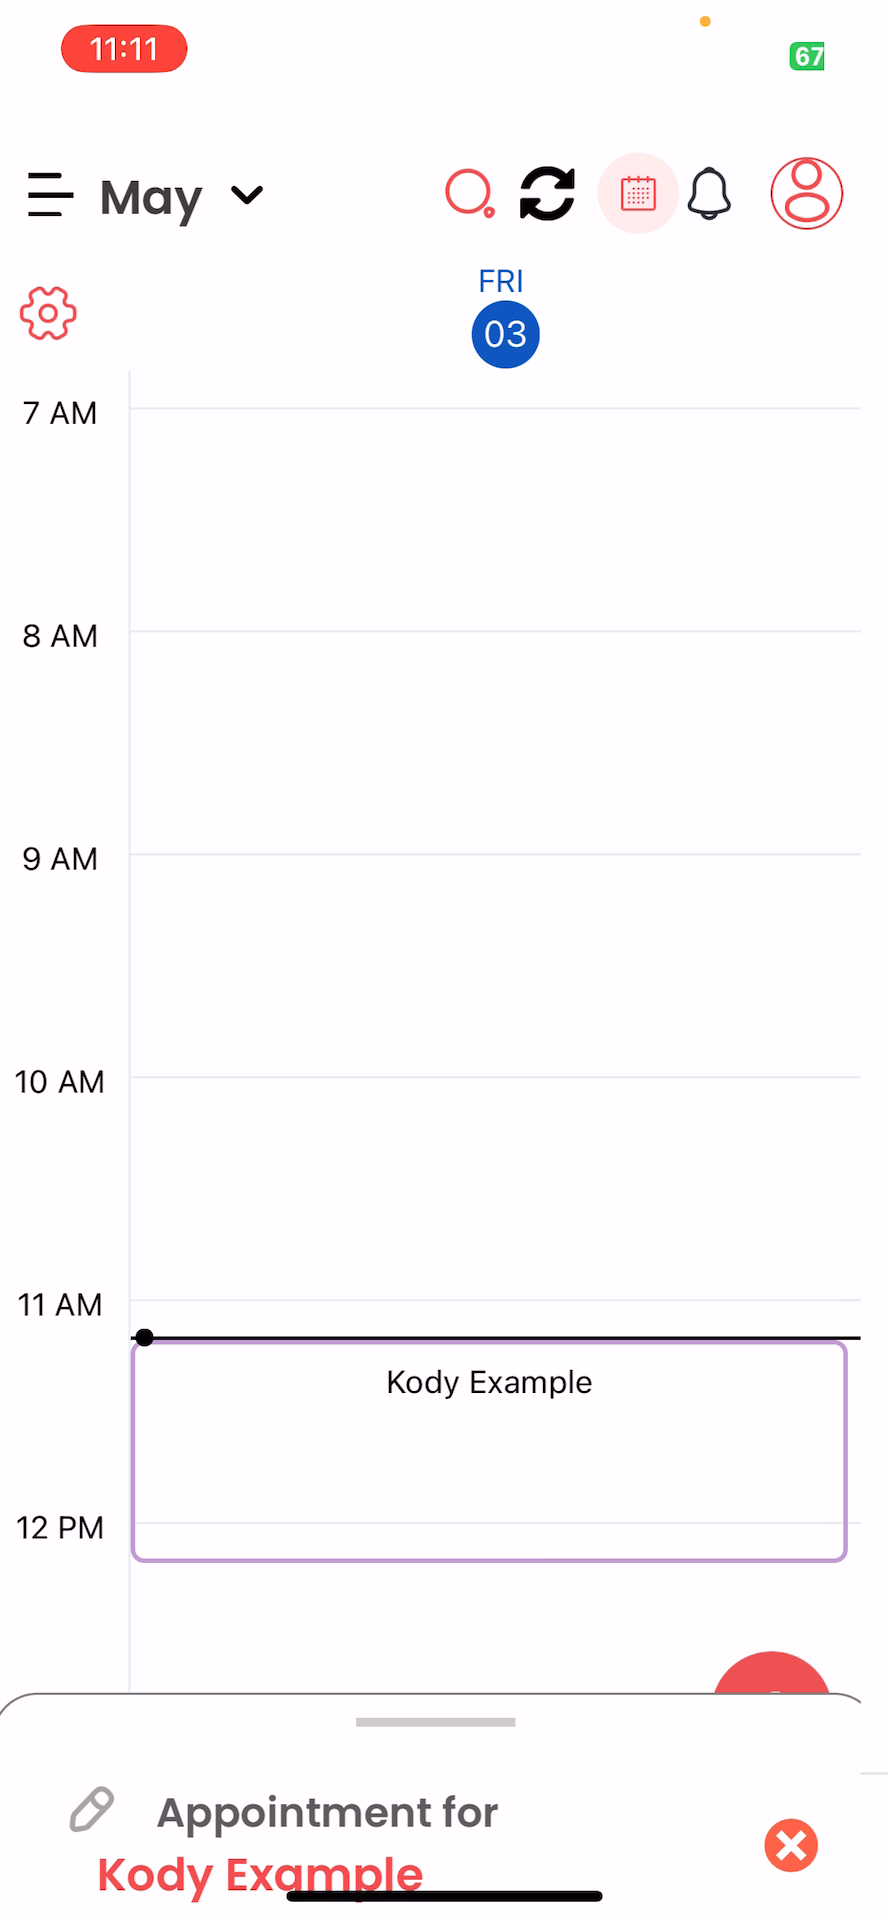
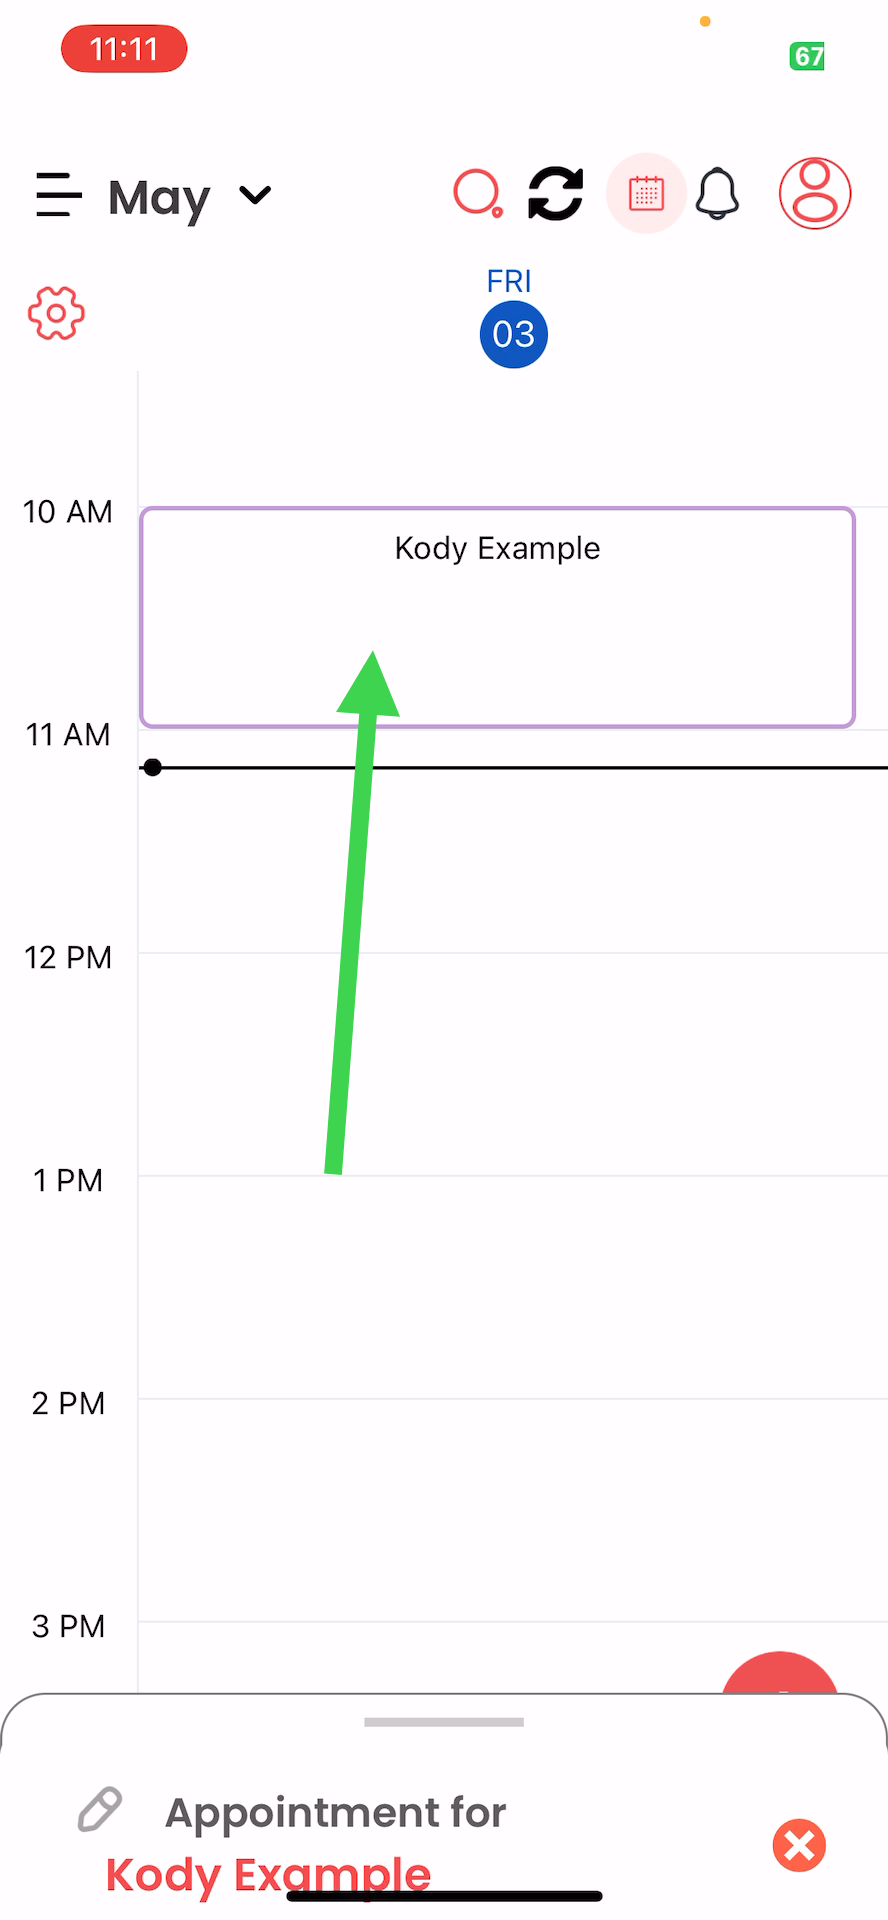
Step 29: Swipe right or left to find the desired day for the customer appointment.
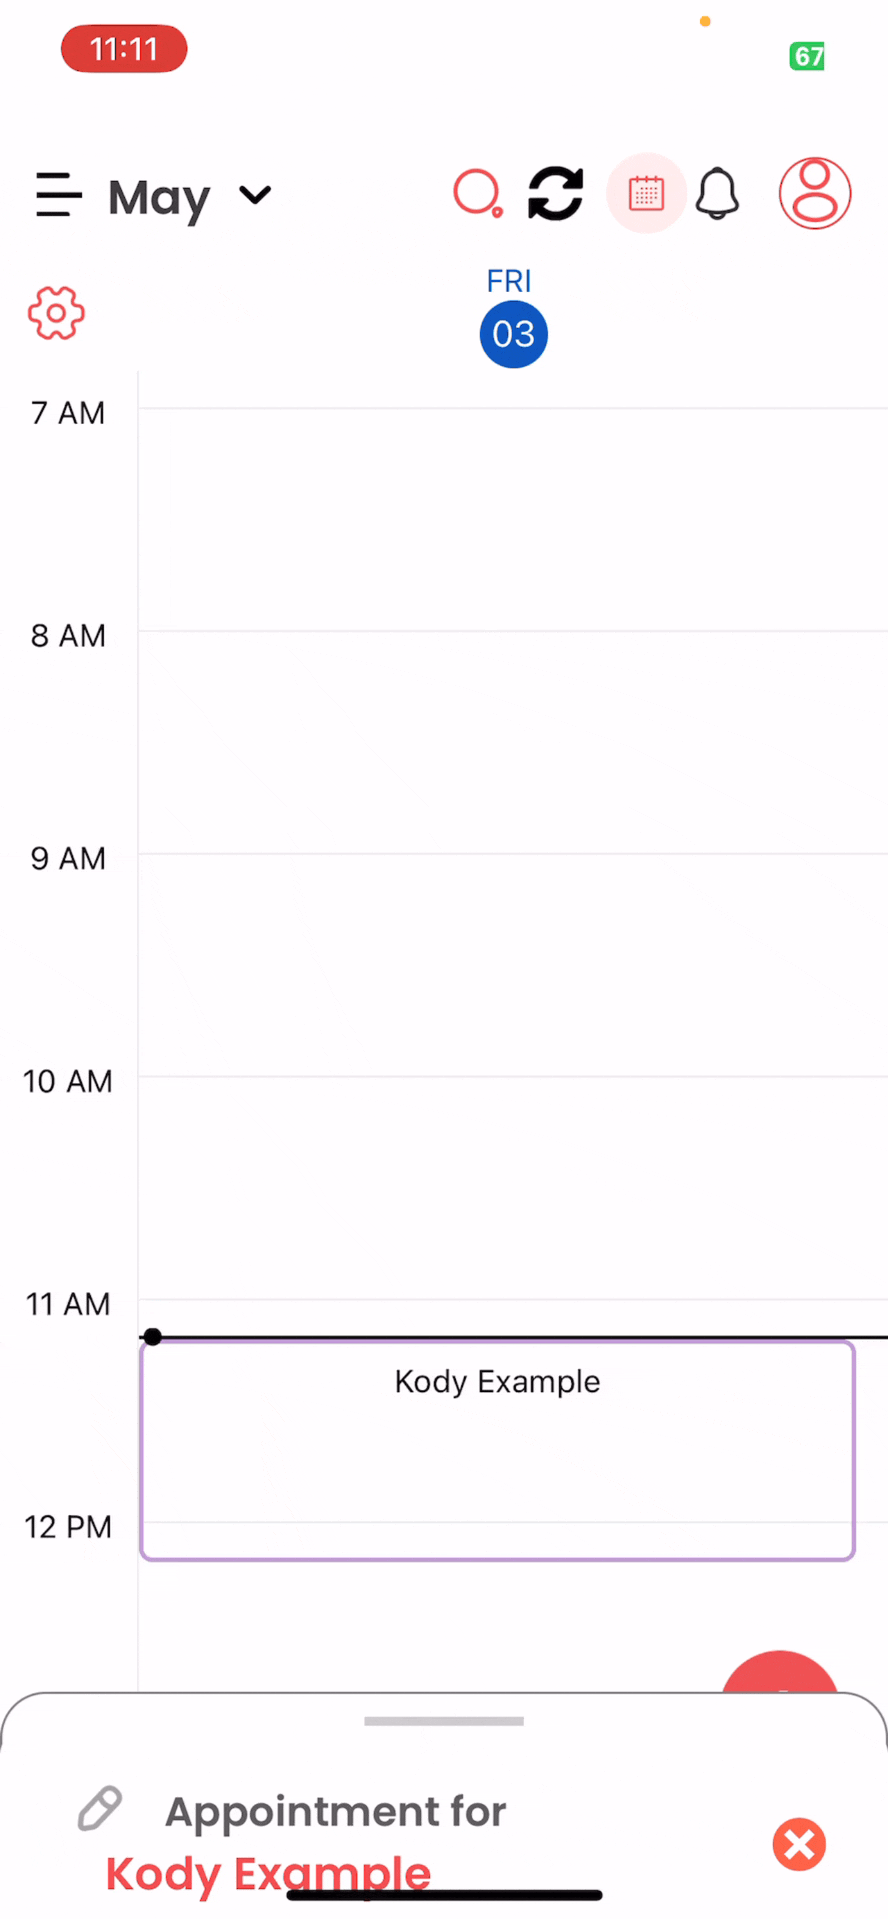
Step 30: Tap anywhere on the calendar to set the appointment.
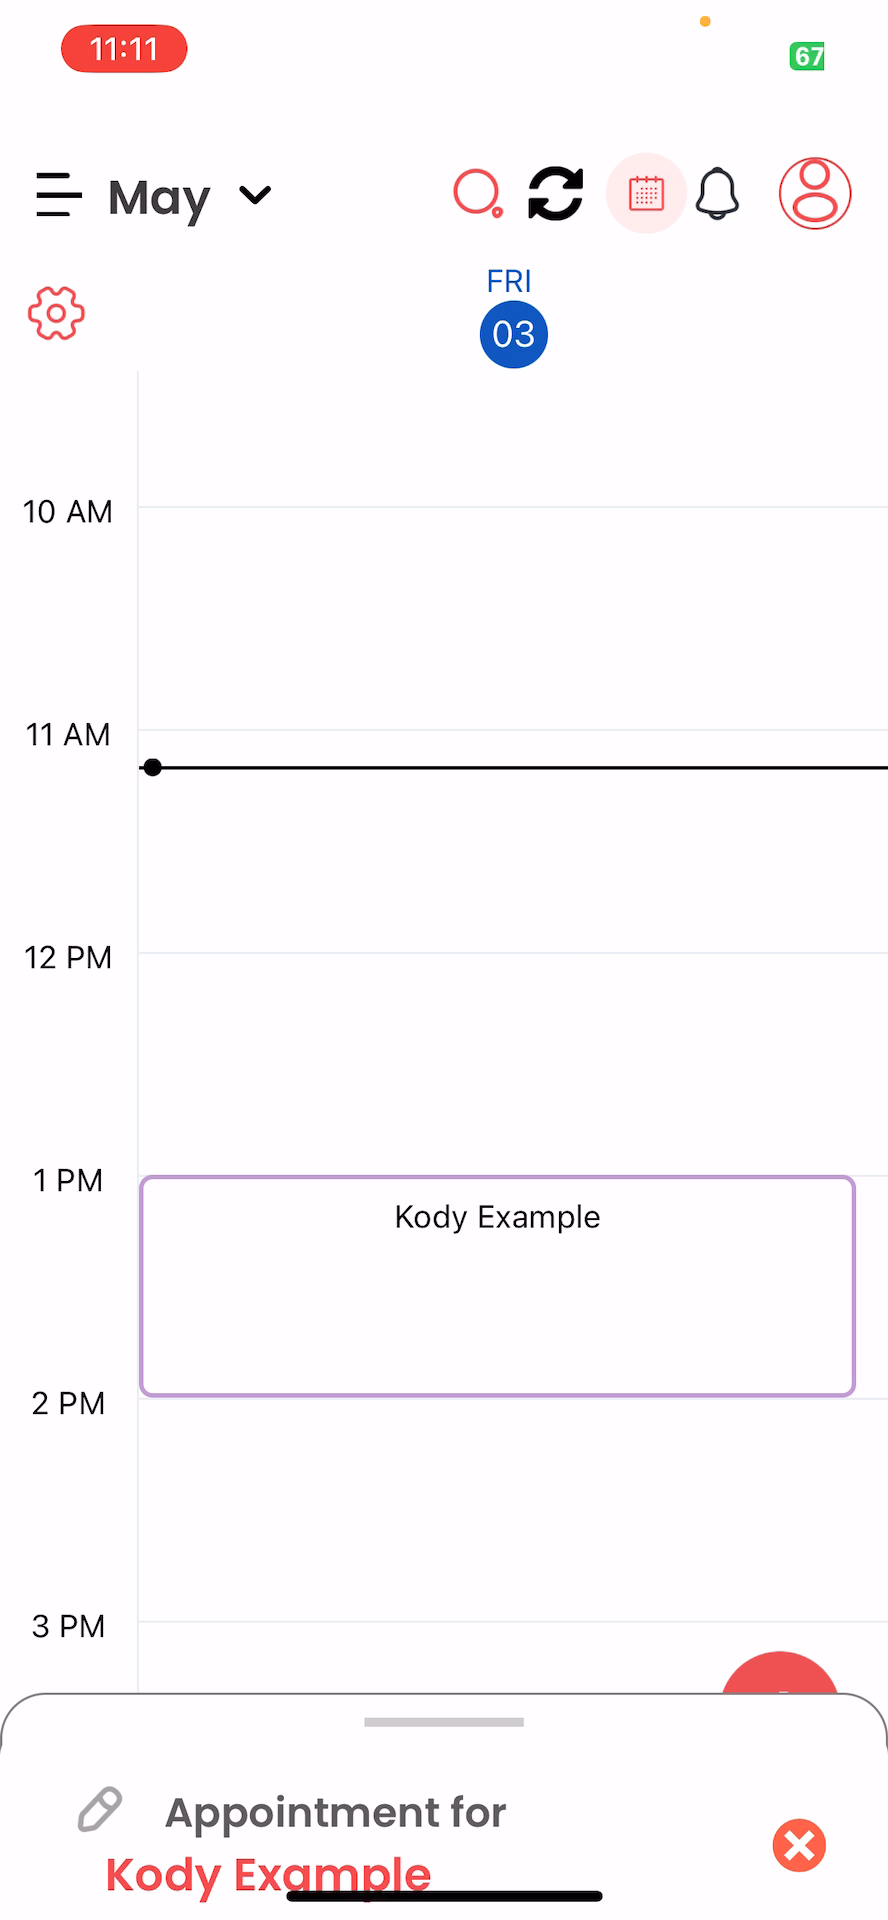
Step 31: Tap the purple box to open the appointment details.
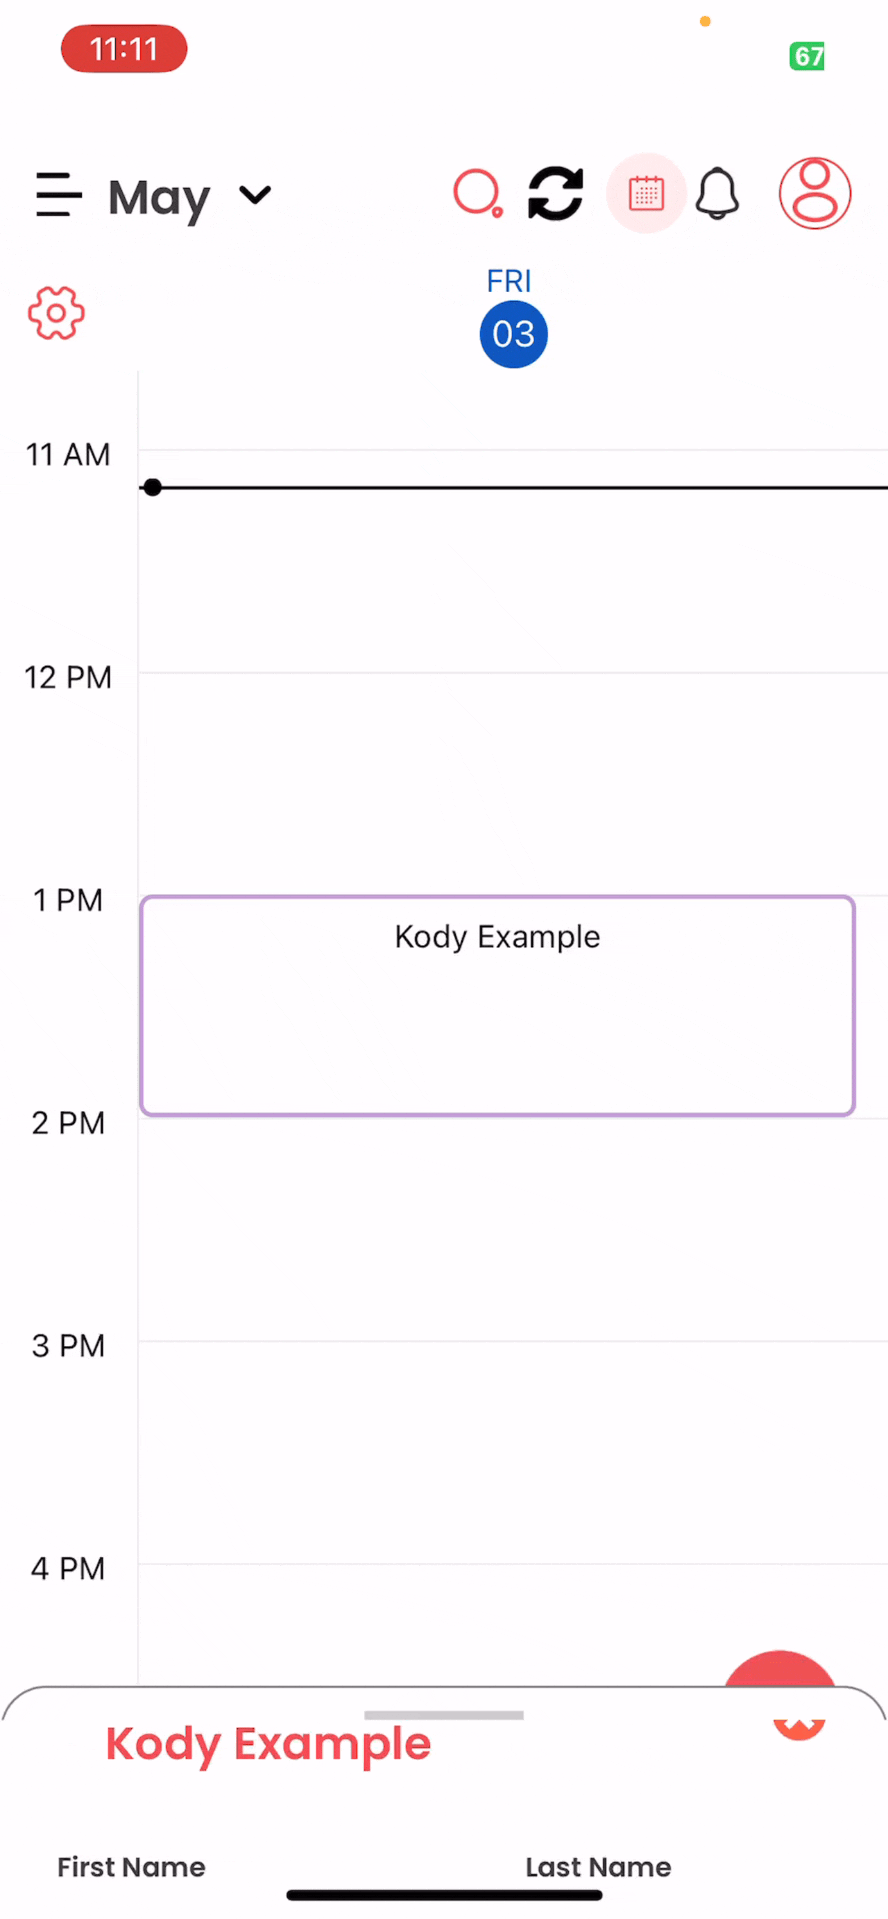
Step 32: Alternatively, you can swipe up with your finger to view the details.
Step 33: Scroll to the bottom and tap the checkbox that says notify.
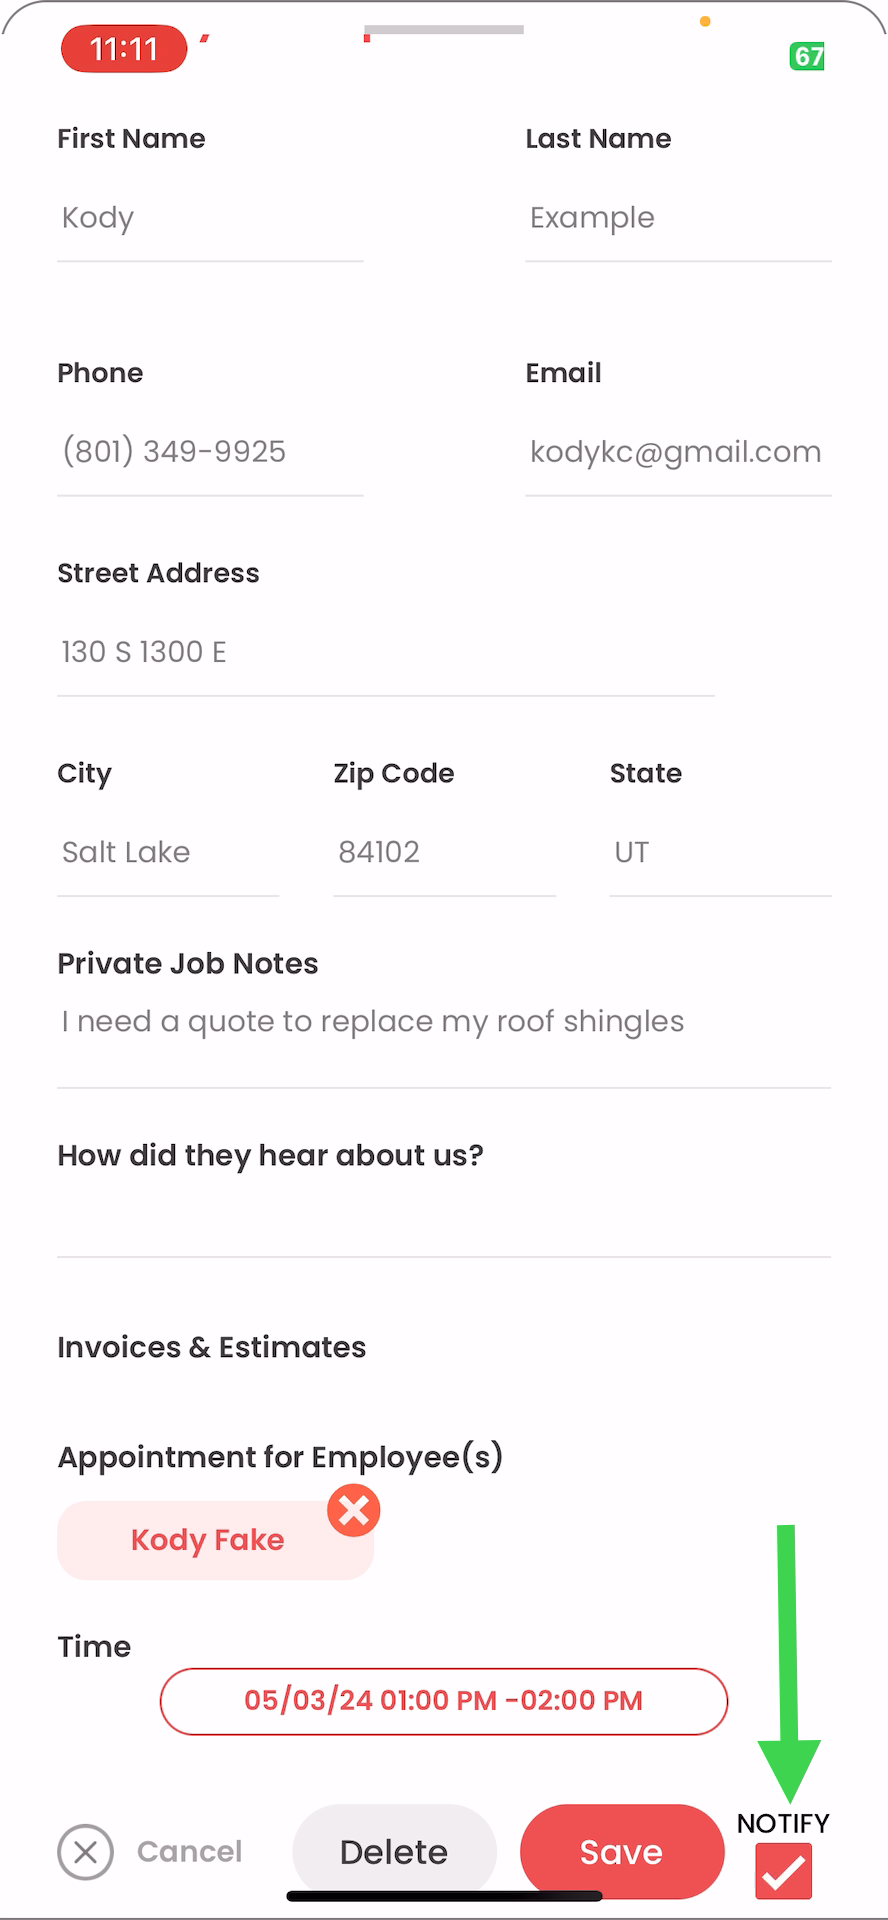
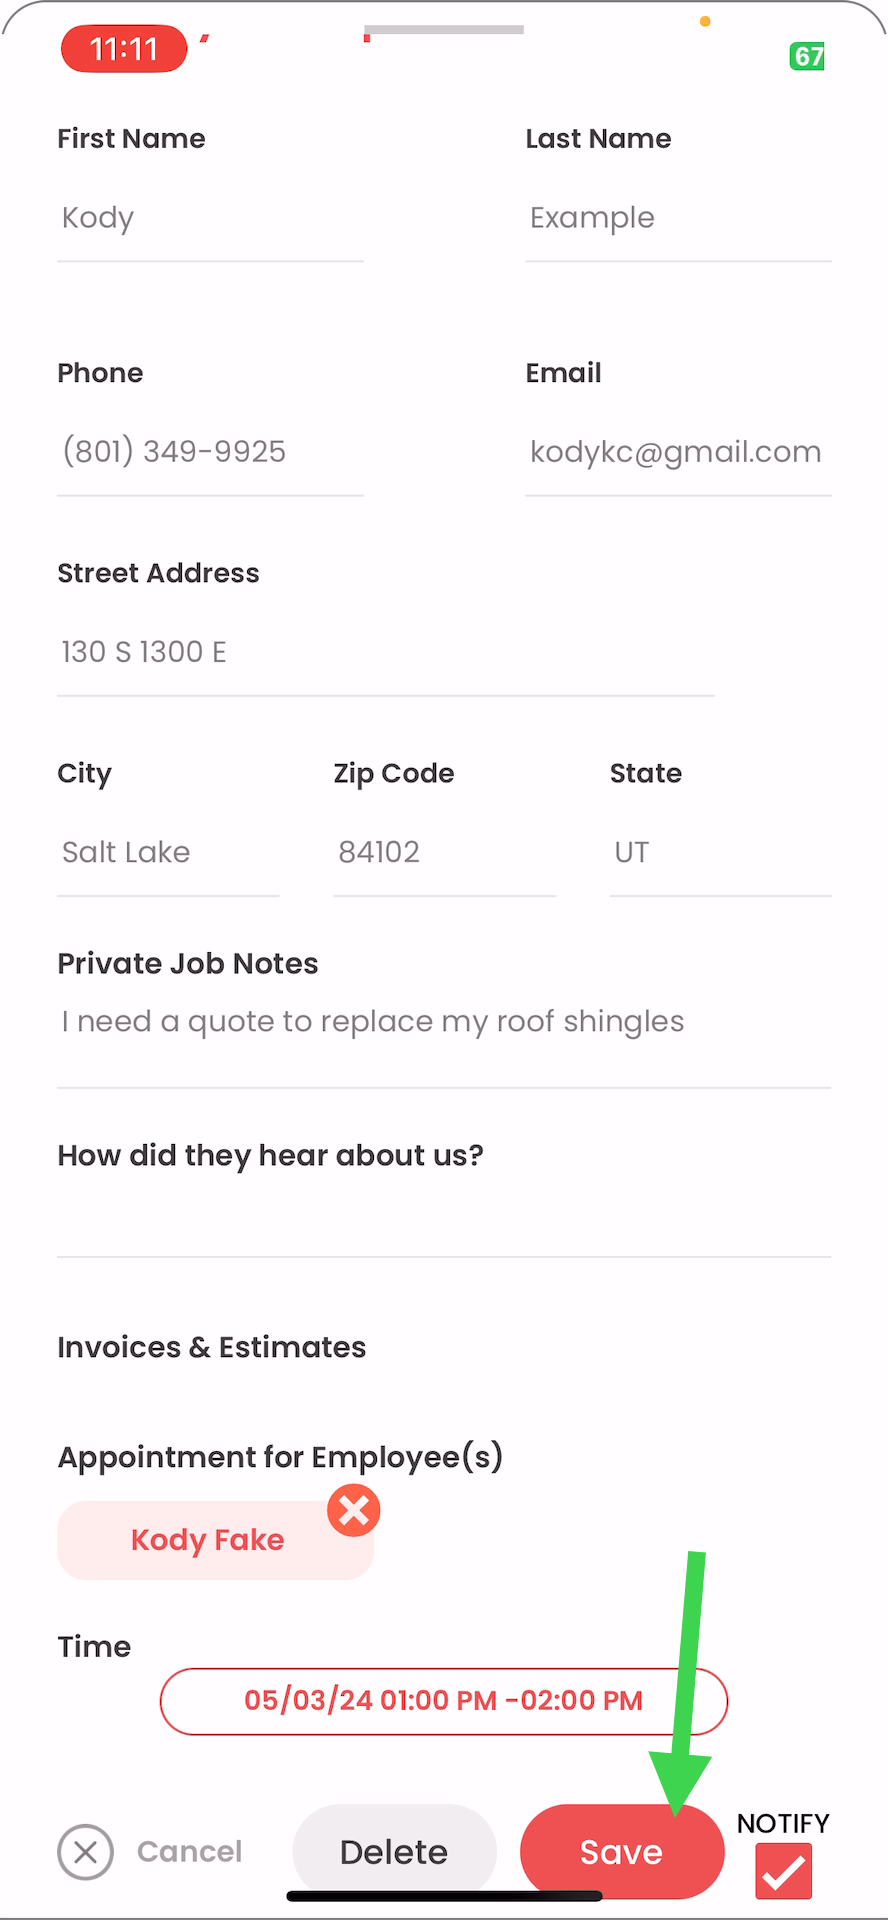
Step 34: Hit save to send a text message to the client with the scheduled time range.
Step 35: After saving the appointment, access the appointment details by tapping on the appointment on your calendar

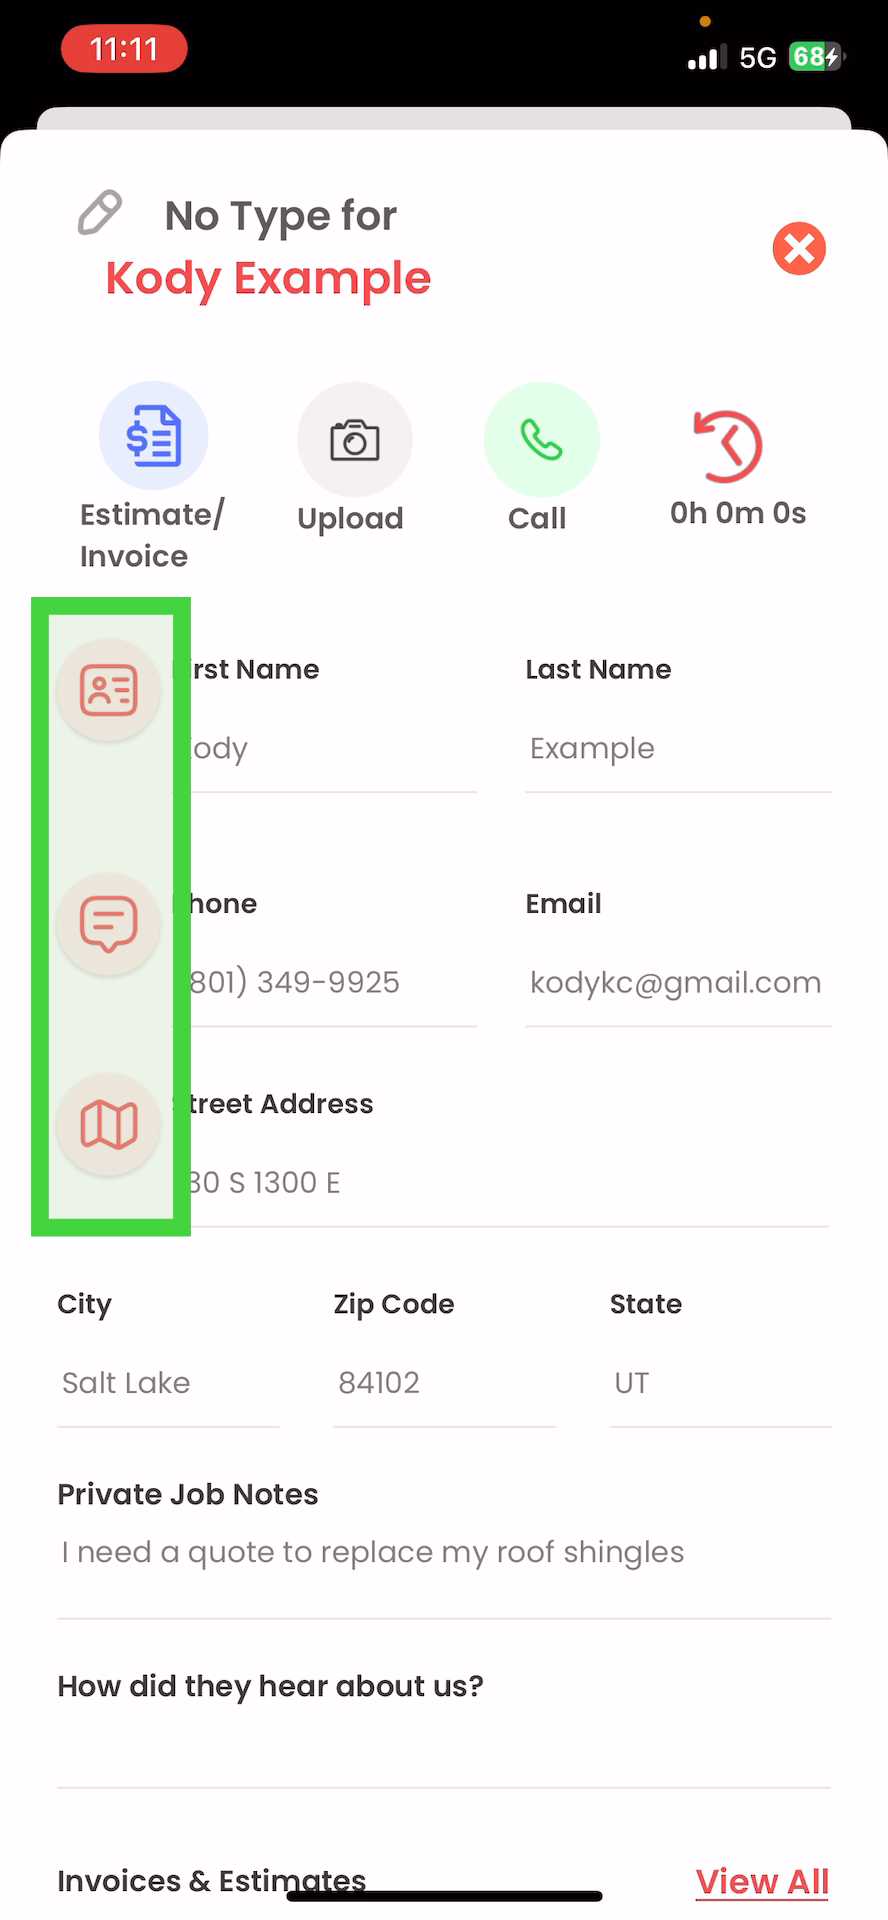
Step 36: There are buttons on the top, and left-side.
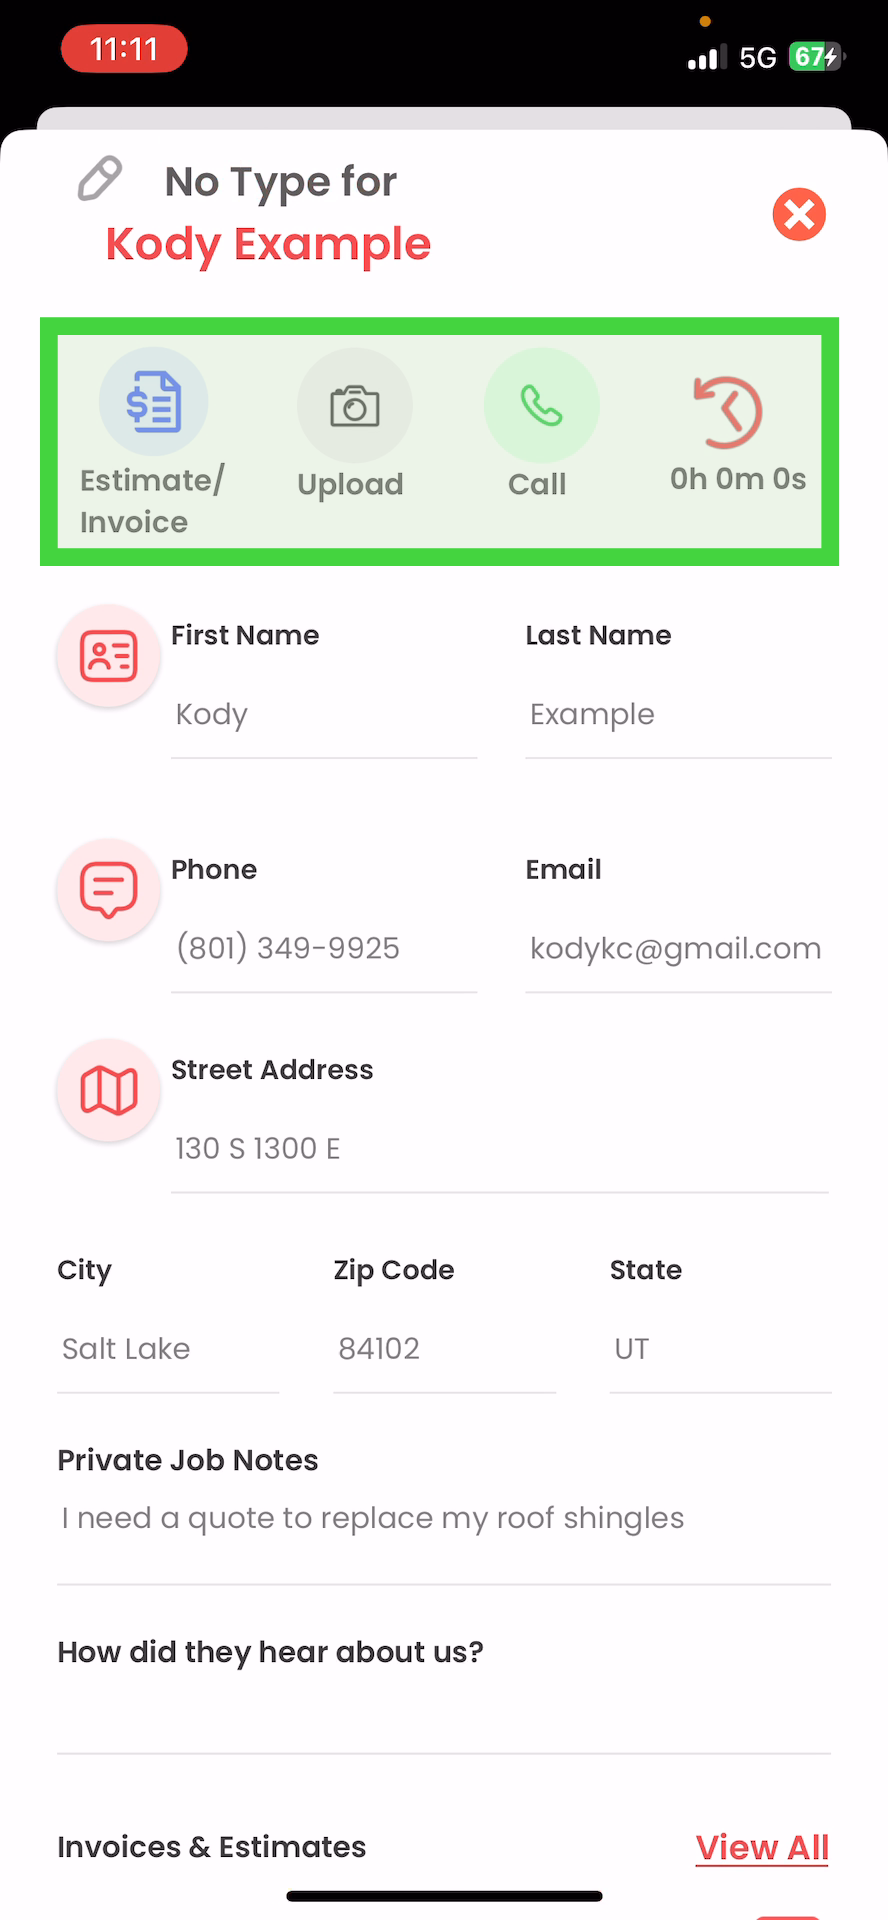
Step 37: Tap on the message icon next to the phone to send a notification to the client.
Step 38: Tap on the map icon under the street address to pull up Google Maps or Apple Maps for navigation.
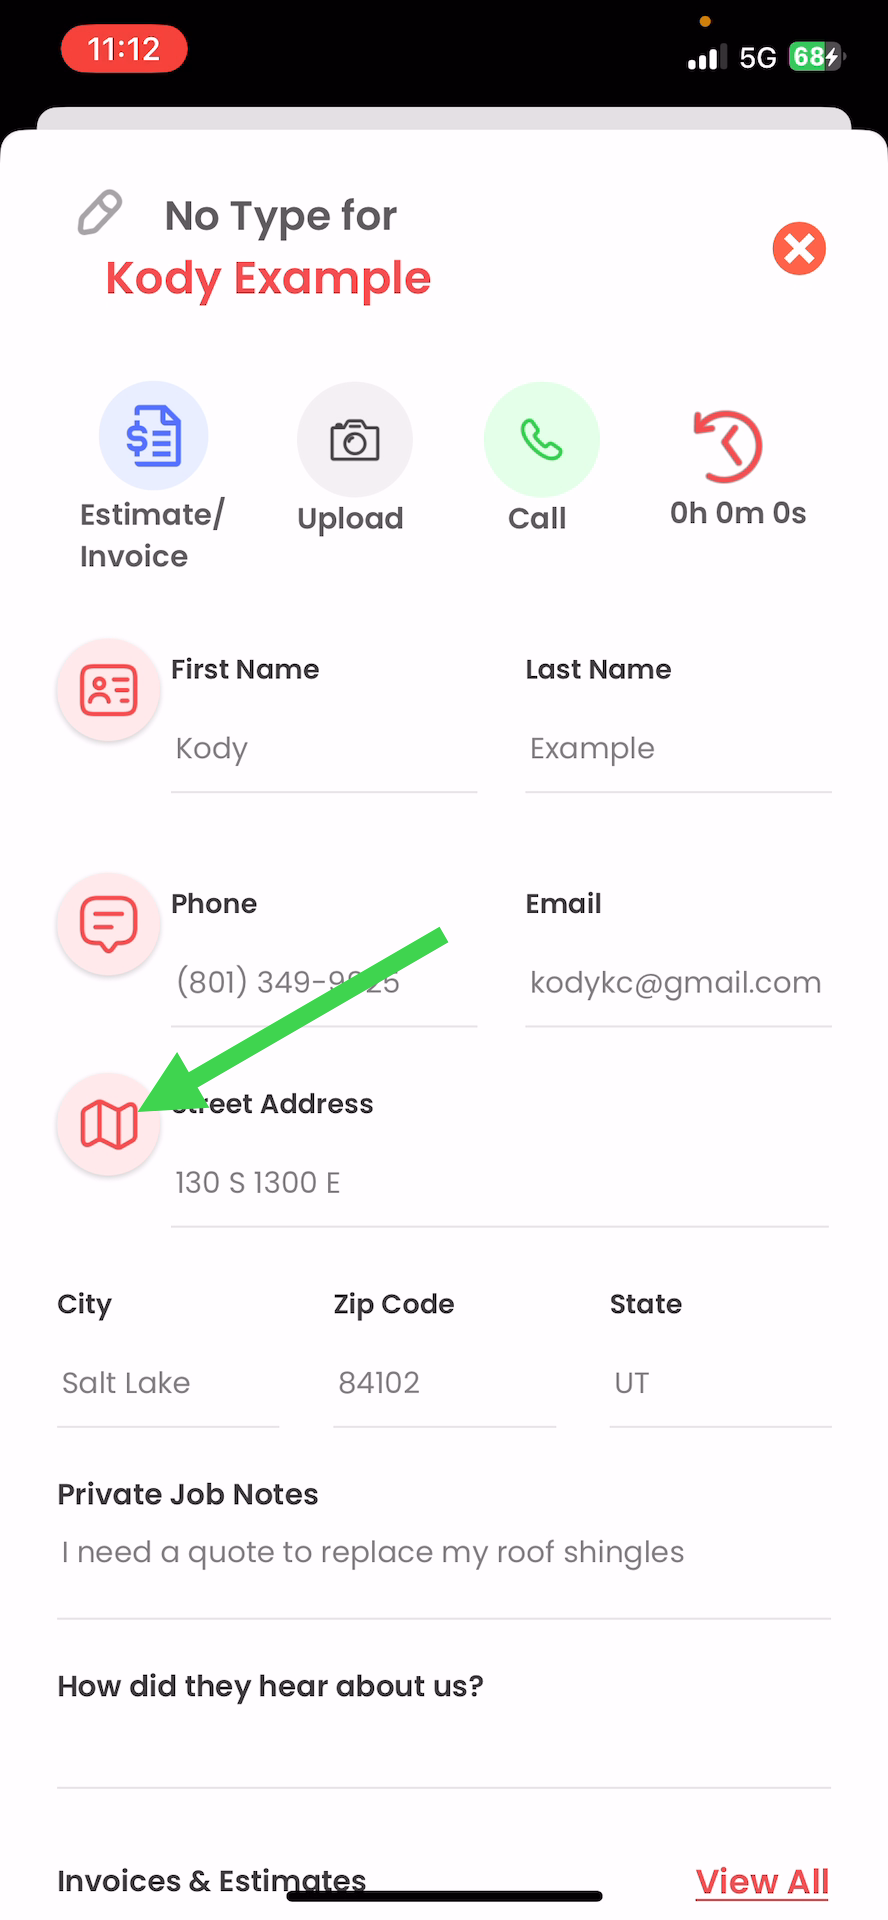

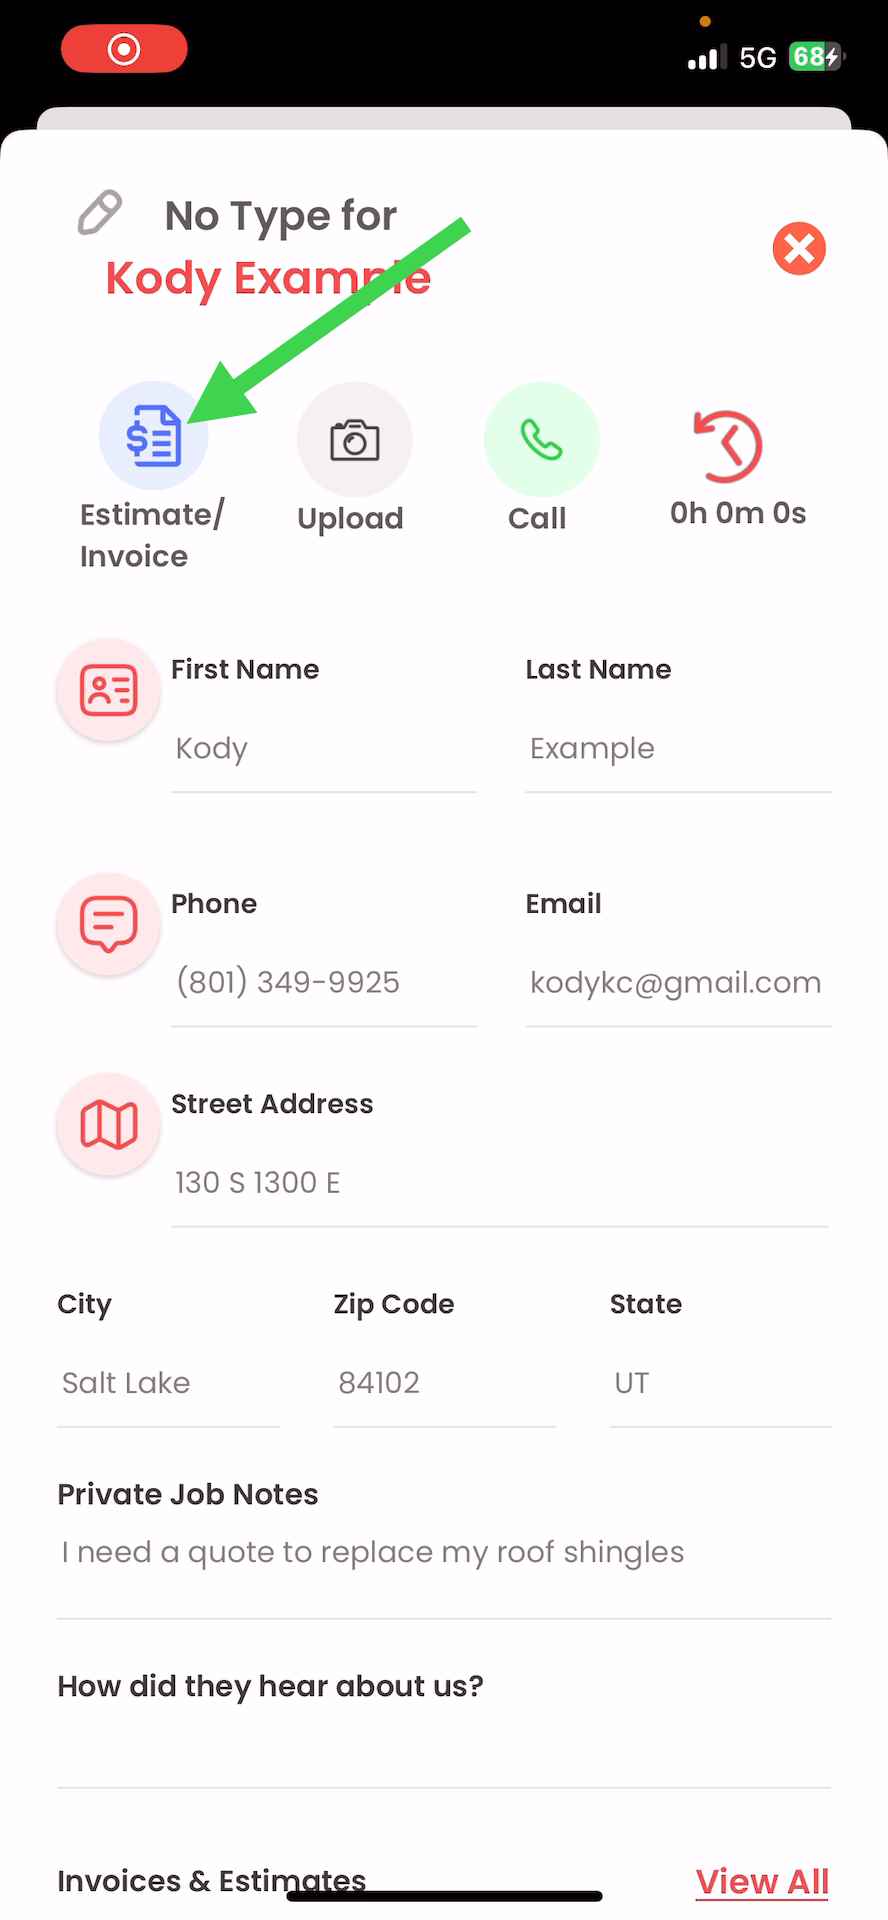
Step 39: Create an estimate or an invoice by clicking on the blue icon.
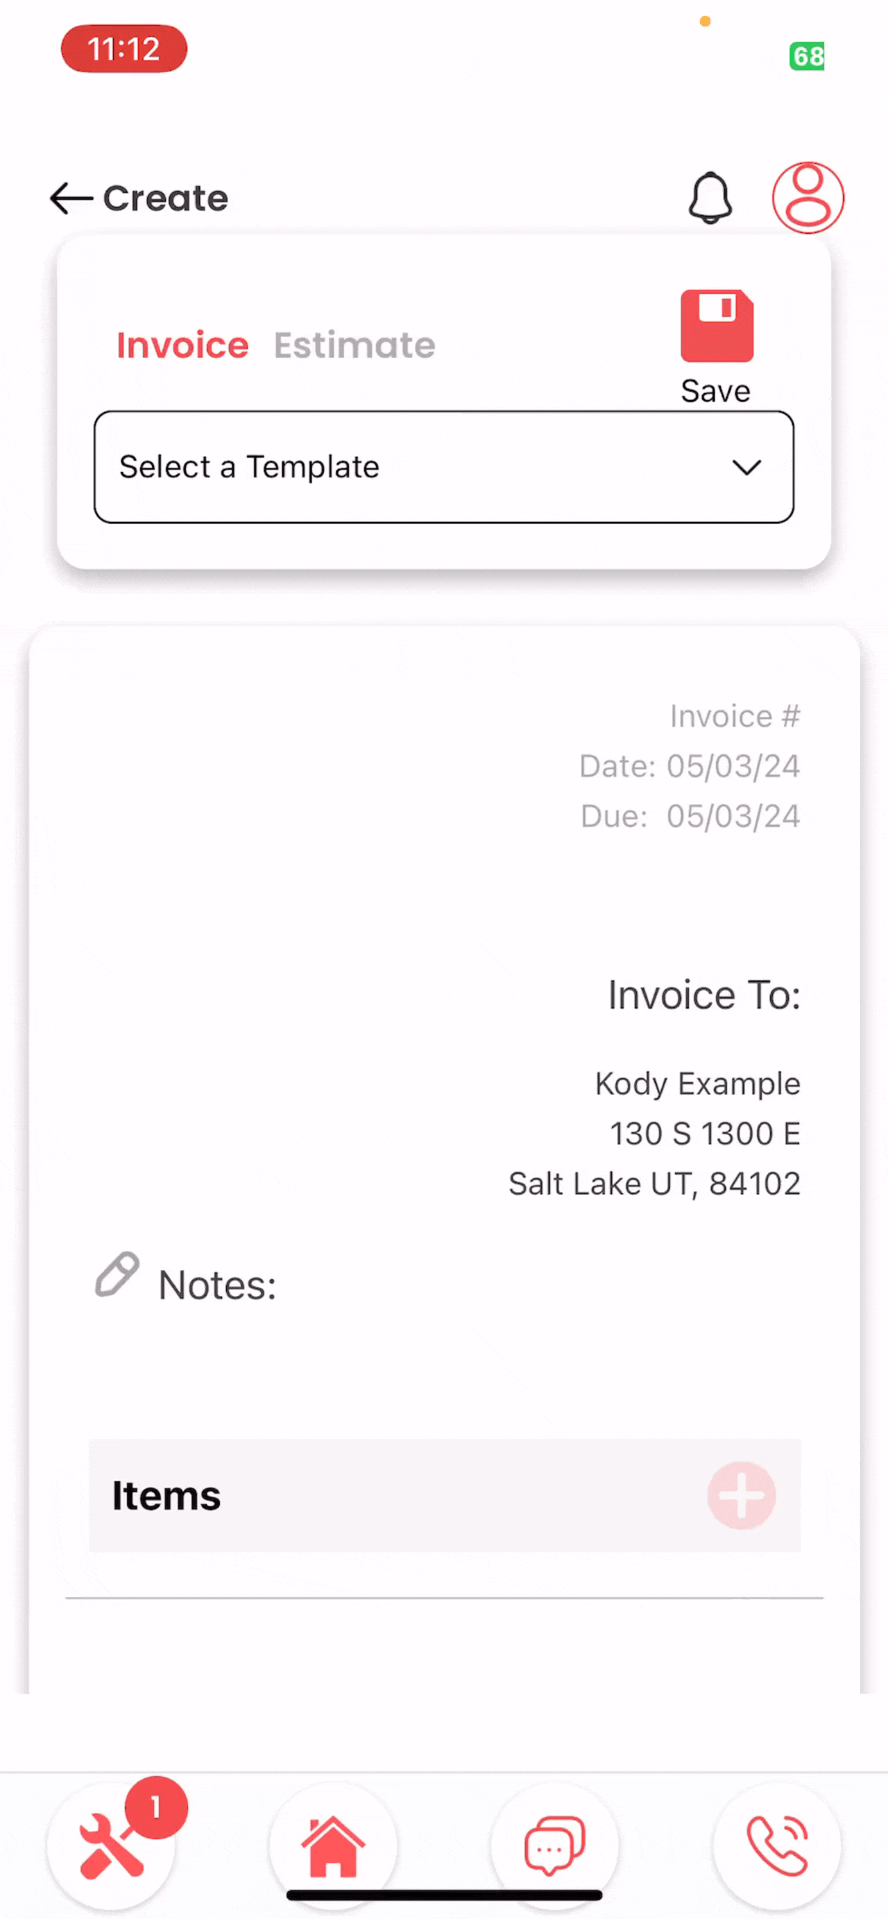
Step 40: Toggle between invoice and estimate
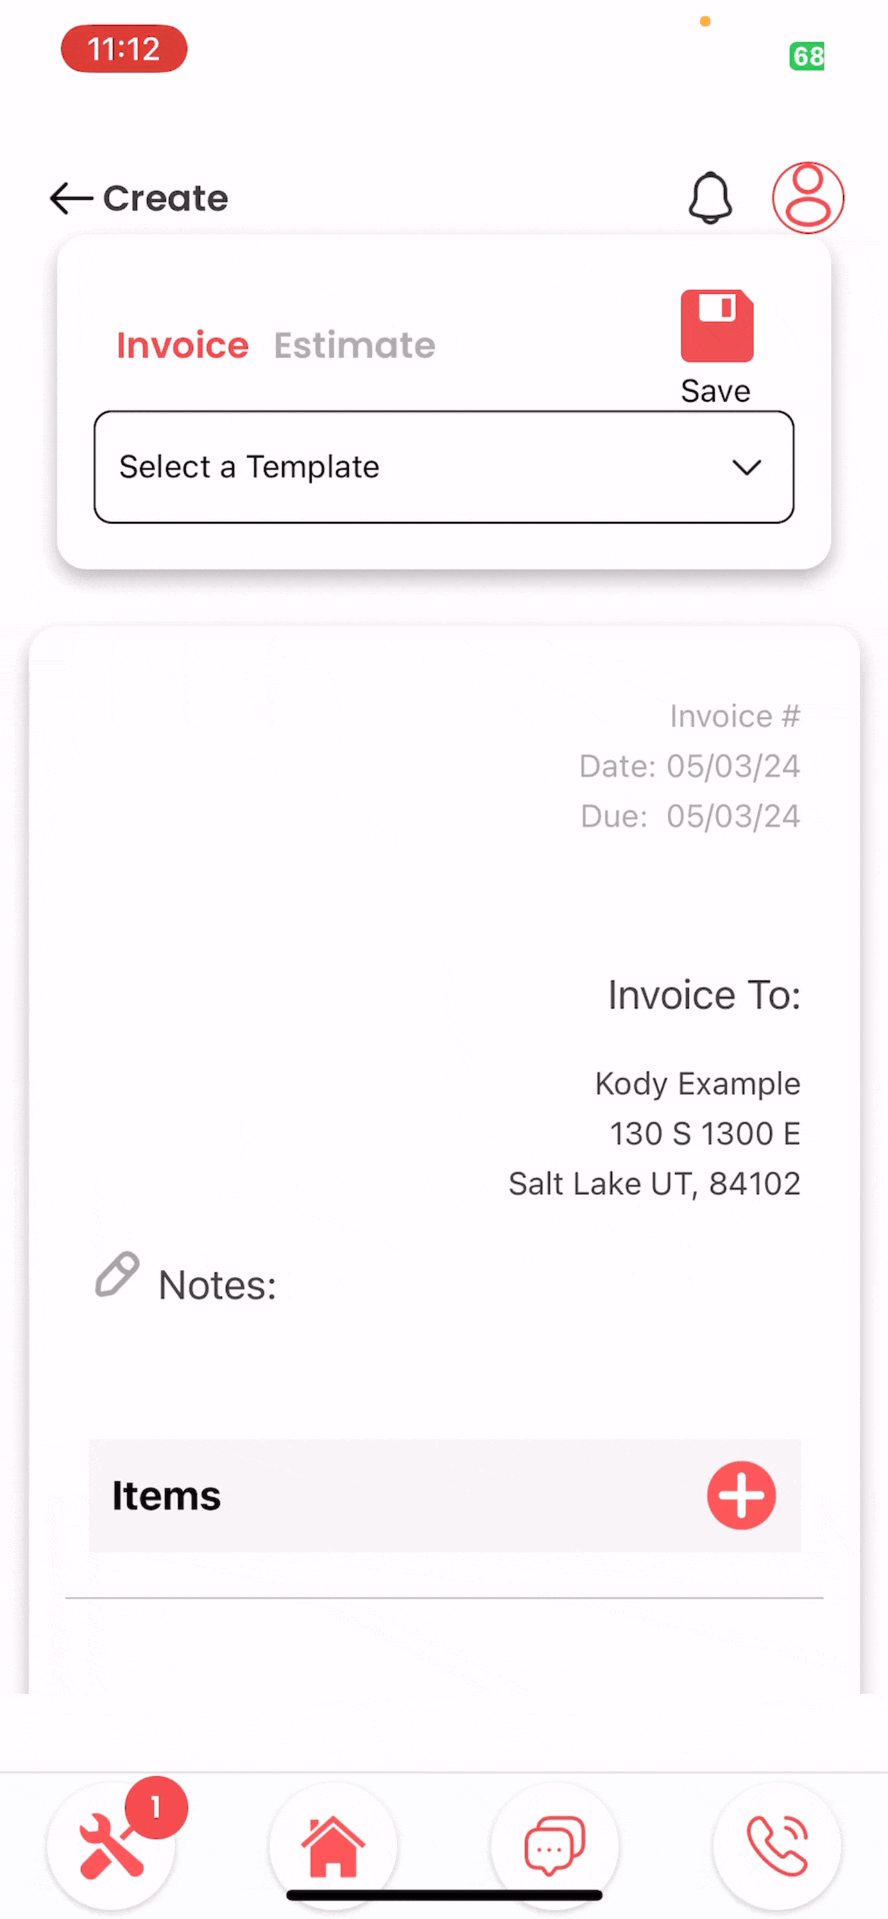
Step 41: Add a Line Item and Select an Item from your Price Book. Save your Invoice
Step 43: Upload Images, and publish the jobs to your Website to attract new customers and leads.
This guide concludes how to capture leads with Field Rocket, take them from lead to schedule, to creating an estimate or invoice. Our next tutorial will be how to take your jobs that are in the Field Rocket app, and publish them on your website so your business can attract new customers and you can generate new leads for your business.


Leave a Reply